How to Use Photoshop AI Generative Fill in 2024

How to Use Photoshop AI Generative Fill

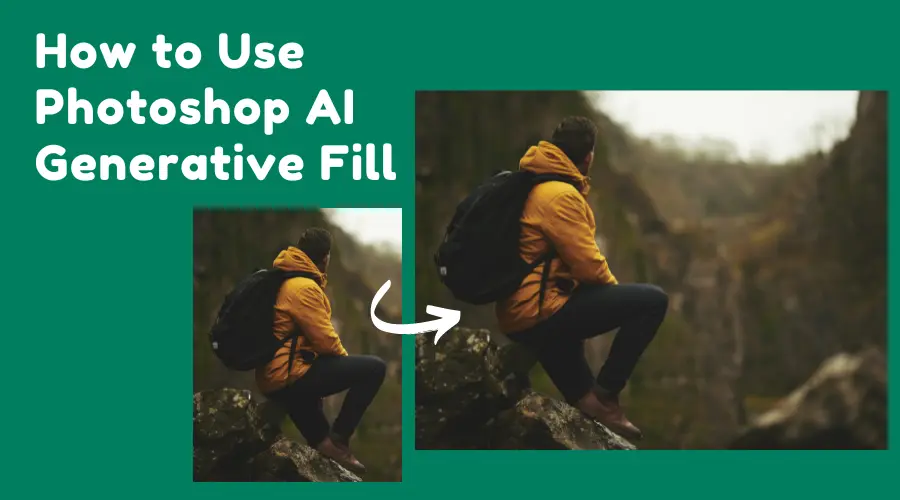
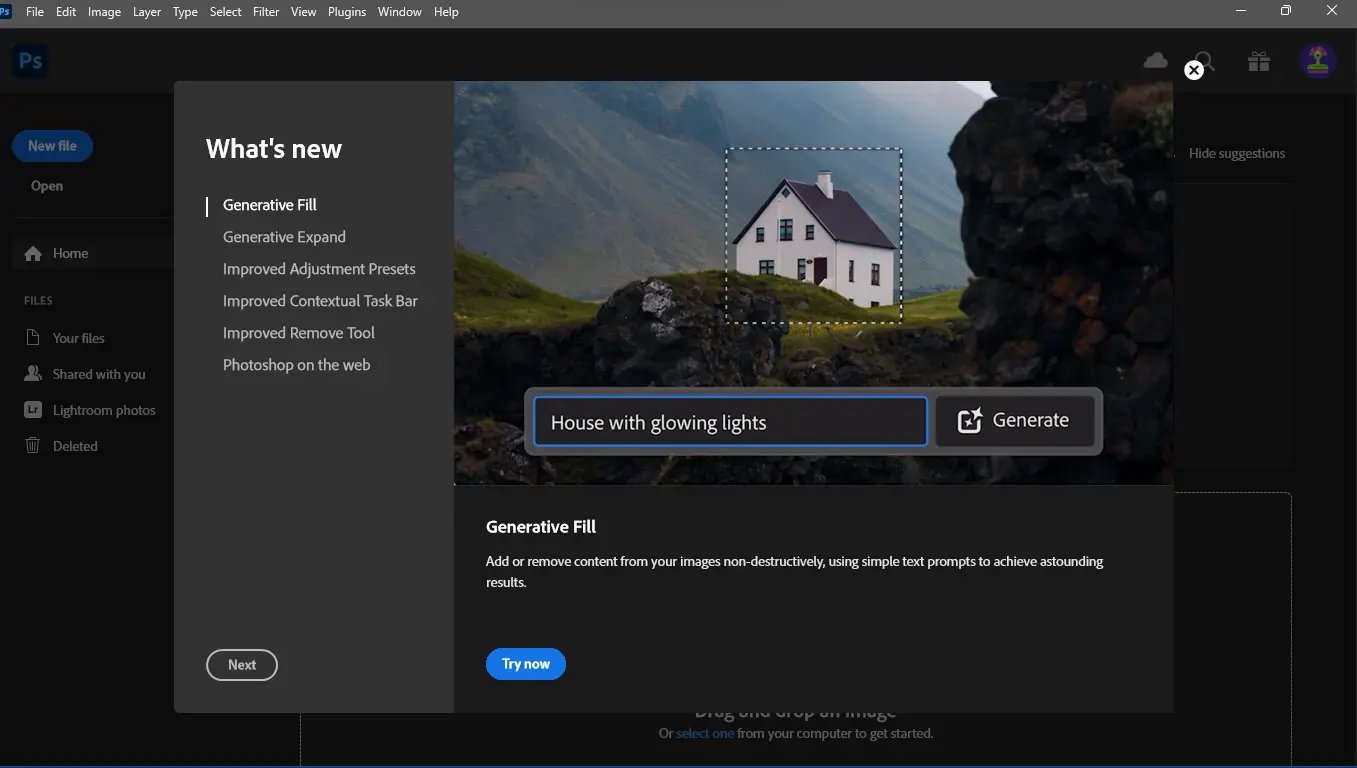
The Photoshop AI Generative Fill is a groundbreaking addition to the photo editing world. Adobe introduced this tool in 2023. Since then, it has been helping the photo editors to create impressive effects. You can fill or replace areas in your photos with just a few clicks.

Unlike other AI image editors, this tool gives more realistic results. Using this creative tool, you can precisely remove unwanted objects from your image. You will get step-by-step guidance to make the best of generative fill AI here. So, let’s jump into the main topic. 

Features | Photoshop Ai Generative Fill Online

Features of Photoshop AI Generative Fill

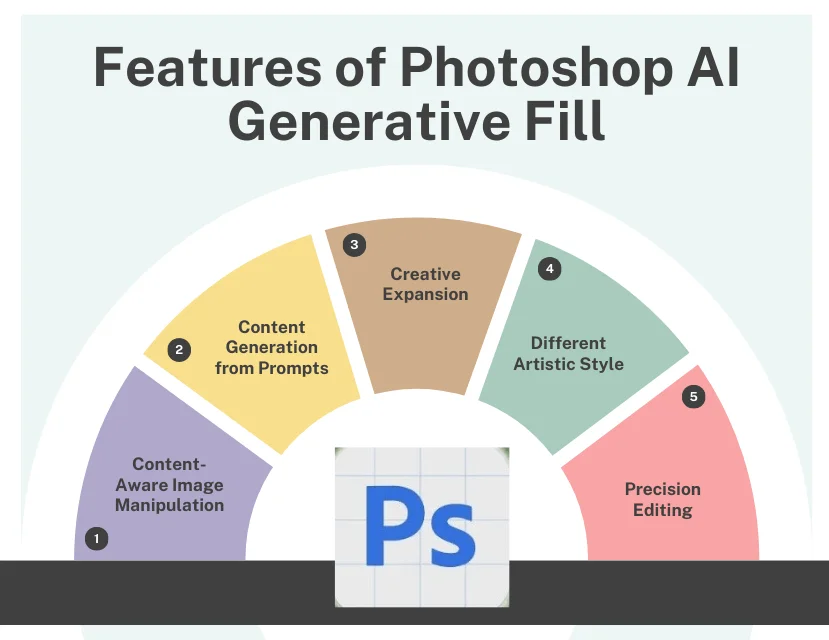
Let’s understand the features you will get in Photoshop AI Generative Fill. 

A. Content-Aware Image Manipulation

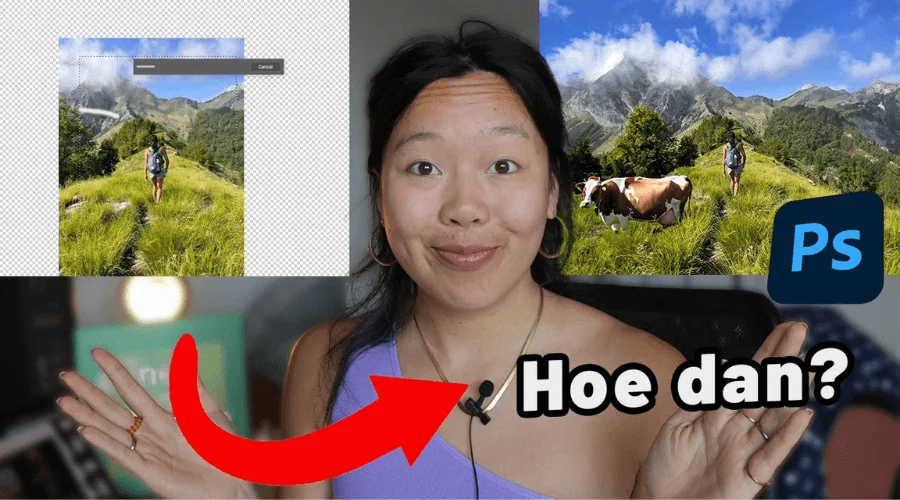
You can easily remove unwanted objects from images. Just make a selection of the object using the quick selection tool or the lasso tool.  Then write a prompt on the Generative Fil. The AI will replace the removed area with contextually appropriate content seamlessly.

Again, you can replace the background without painstakingly masking subjects. The AI generates a new background that blends naturally with the rest of the image.

B. Content Generation from Prompts

The AI power tool allows the generating parts of an image from textual description. Describe a scene or object in the prompt box, and the AI will generate content matching that description within the selected area. Based on the prompts, it helps fill in missing or damaged parts of an image.

C. Creative Expansion

The Photoshop AI Generative Fill extends the boundaries of your image. AI fills the newly added space with coherent content. You can add new elements that align with the initial context. Thus create more creative designs with less effort. 

D. Artistic Style 

The AI allows the application of different artistic styles to portions of an image. It creates realistic effects based on the rest of the content. You can also create a dramatic mood in the photo. You can change a daytime scene to nighttime.  

E. Precision Editing

It helps to edit more precisely. Select specific areas of an image for targeted editing without affecting the rest of the image. So, you can edit non-destructively. 

How Does Photoshop AI Generative Fill Work?

Photoshop AI Generative Fill

Photoshop’s AI Generative Fill uses advanced machine learning techniques. It is trained on Adobe’s Firefly AI models. They contain a vast dataset of images and textual descriptions to understand and generate contextually appropriate content. 

The training process involves learning patterns. It follows relationships between various visual elements and how they relate to textual descriptions. The AI understands context, style, and semantic meaning from the input data.

Generative Fill uses GANs. This Generative Adversarial Networks is a class of machine learning frameworks. Here two neural networks (a generator and a discriminator) are trained simultaneously.

Additionally, the diffusion models generate images by progressively refining noise into a picture. They are effective for creating detailed images by iteratively enhancing rough drafts into polished visuals.

The AI analyzes the selected area and its surrounding context. Thus, it understands what content would seamlessly blend into the image. It considers colors, textures, lighting, and spatial relationships within the scene.

Additionally, The Generative Fill operates on separate layers. It ensures the original image remains unchanged. However, you can further refine the generated content using Photoshop’s tools. 

How To Use | Generative Fill AI

Using AI Generative Fill of Photoshop

Using AI Generative Fill of Photoshop is super easy. Here is how you can use it: 

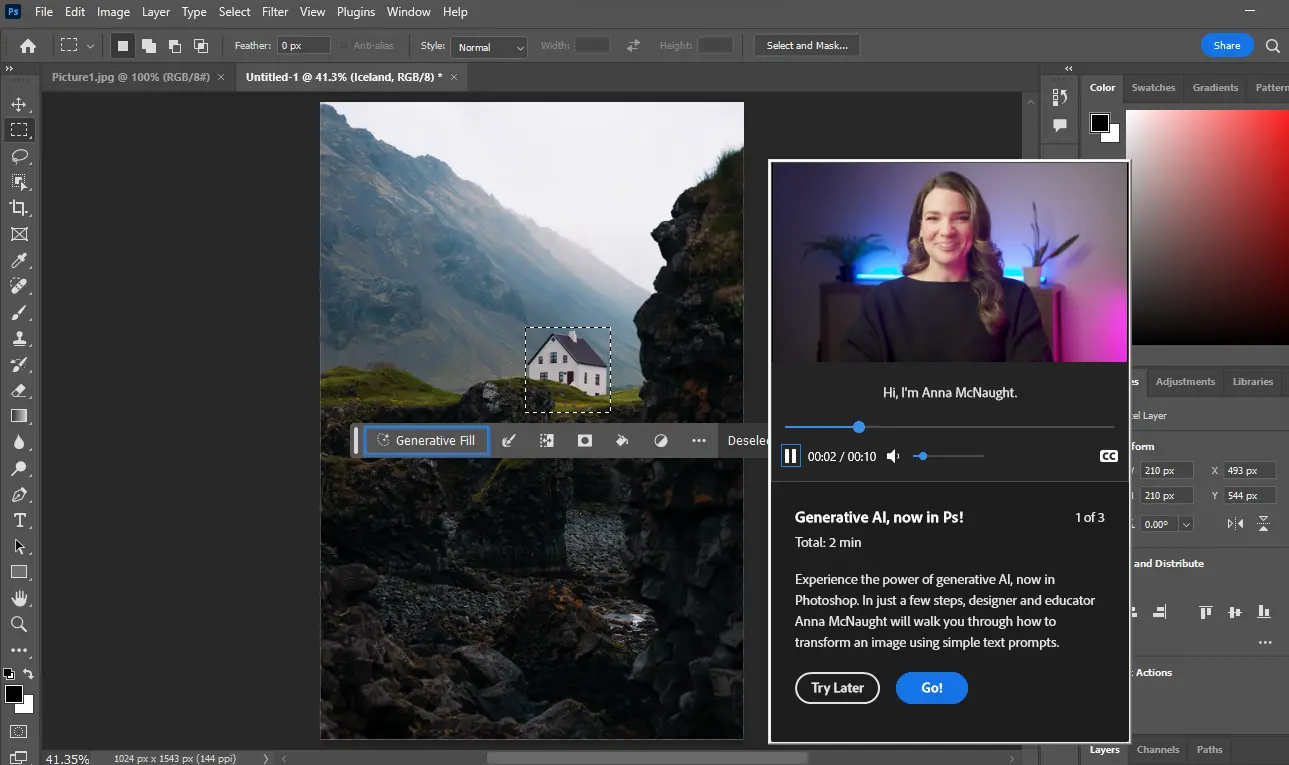
Step 1: Open Your Image in Photoshop

Go to Photoshop on your computer. Now open the image by going to File > Open. You can also do it by dragging and dropping the image into Photoshop.

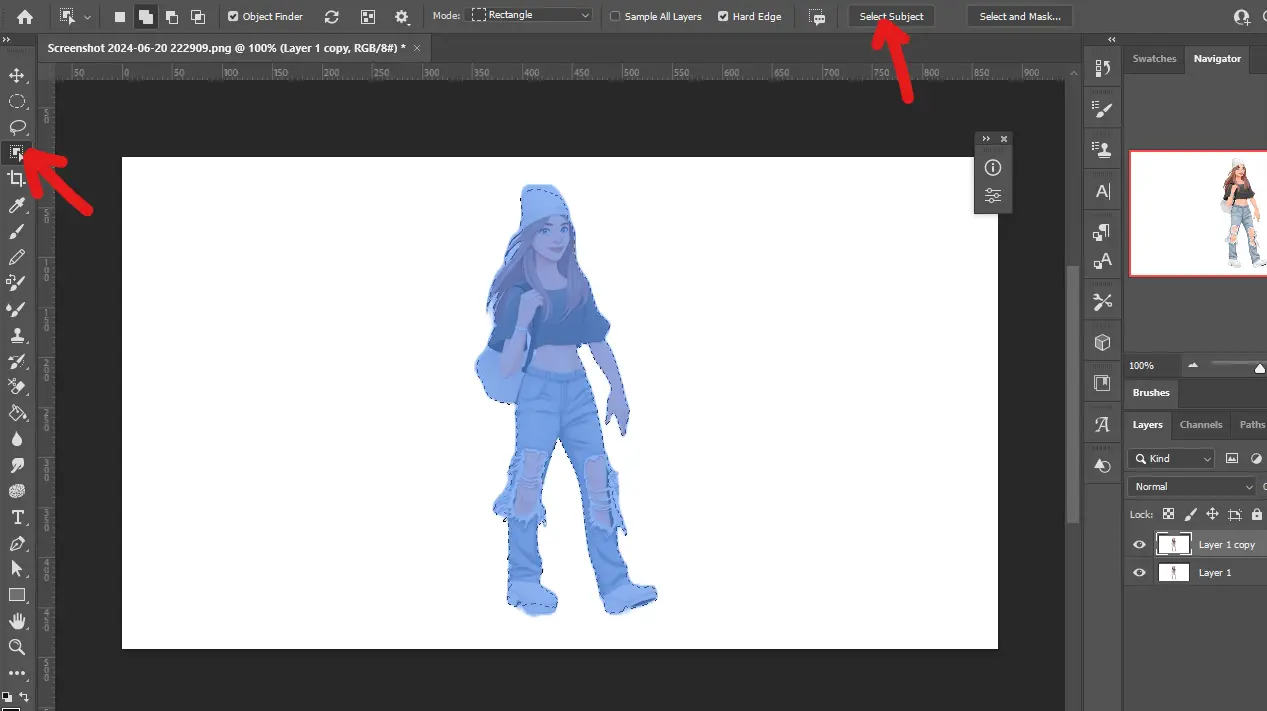
Step 2: Select the Area to Edit

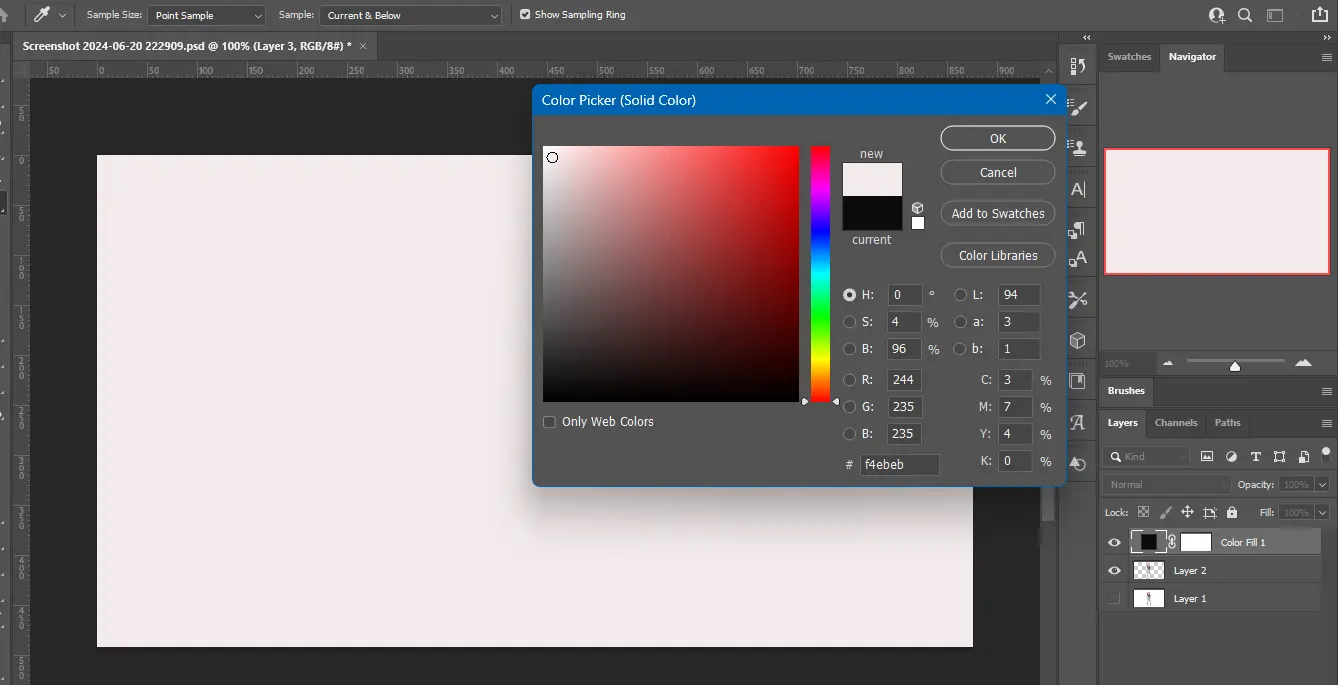
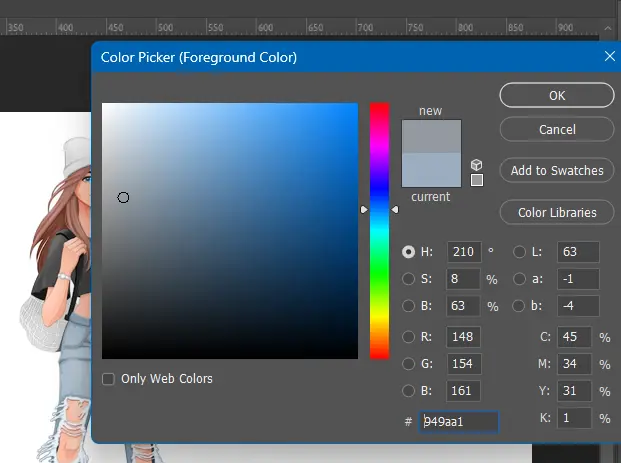
Here you need to select the area where you want to apply the generative fill. There are different image selection tools available in Adobe Photoshop. You can use the lasso tool for freehand selections. Meanwhile, quick selection allows the automatic selection of areas. Moreover, the object selection tool automatically detects and selects objects within your image.

Step 3: Activate Generative Fill

Now it is time to activate the generative fill. Right-click inside the selected area to bring up the context menu and choose Generative Fill. Also, you can find the Generative Fill by going to the Edit menu at the top. 

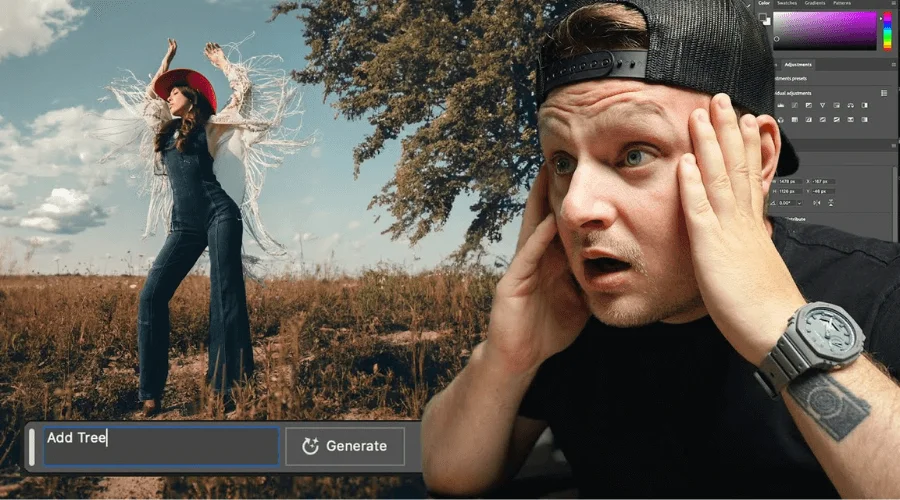
Step 4: Provide a Text Prompt 

Now you will get a dialog box to input a textual description.  The AI will generate content based on your description. For instance, you can type “sunset sky” to replace the current sky in your image with a sunset scene.

You can also leave the text box blank. In this case, the AI will generate content based on the surrounding area without specific guidance.

Step 5: Review Generated Options

Photoshop generates multiple fill options. You can choose the best one from the outputs. Scroll through these options to see how each fits within your selection. If you find the best match, click on that option. If none of the options are perfect, you can either modify your selection or text prompt and try again. 

Step 6: Refine and Adjust

The selected fill will be applied to your image as a new layer. After that, you use Photoshop tools and features to blend and refine the generated content.

Step 7: Finalize Your Edit and Save the File

Now merge the layers or keep them separate for future adjustments. Save your work by going to File > Save As and choosing your preferred format.

Applications of Photoshop AI Generative Fill

The Photoshop AI Generative Fill is powered by Adobe’s Firefly AI models. It has become a revolutionizing addition to the photo editing industry. The Photoshop AI is helping the professional photo editors in different ways. Here are the applications of Photoshop Generative Fill: 

Photography & Photo Editing

Photo Editing, Photoshop AI Generative Fill

In photo editing, you can use this tool to remove backgrounds from the photos. It is a time-saving and cost-saving option. 

So, you can create a suitable background for e-commerce product images. Previously it had taken a lot of time to replace the background. Now you are just a few clicks away from getting cutout photos. 

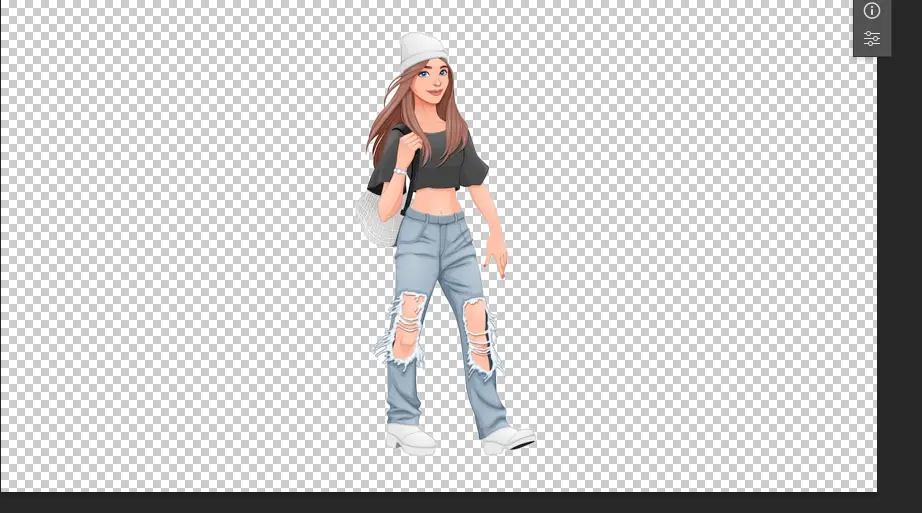
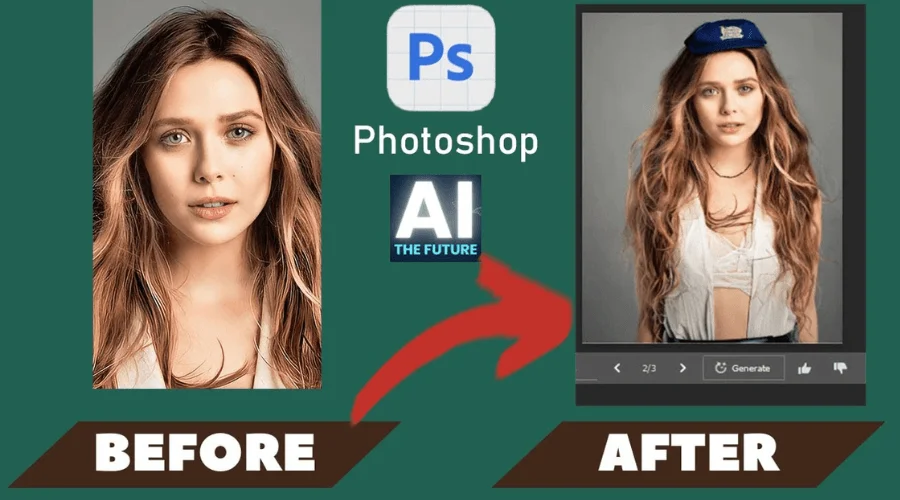
Moreover, this tool allows removing distracting elements. Then, you can fill the space with contextually appropriate content. Thus, repairing the damaged photos becomes much easier. It also helps to add a particular element and enhance them. 

For instance, you can add makeup, hair, and accessories to the photos. Thus the Generative Fill saves time and cost for both the photographers and photo editors.

Marketing & Advertising

Photoshop AI Generative Fill in Marketing

You can quickly generate promotional material using the generative fill ai. Additionally, you can create product mockups by using this technology.

For example, you can create a series of holiday-themed ads by generating festive elements like decorations and seasonal backgrounds. After generating, you can customize the image to make look more eye-catching.

Film & Entertainment

AI Generative Fill in Entertainment, Film & Entertainment

Photoshop AI will be effective for creating entertainment content. It can help you design a set by generating and adjusting elements within the scene. By creating conceptual art, you can visualize the scenes and characters described in scripts or narratives.

For instance, you can create concept art pieces depicting various locations described in a fantasy novel. Moreover using AI you can create and enhance the visual effects. It can generate CGI elements with real-world footage.

Education & Research

Education and Research

You can also use this AI to generate illustrations for educational materials, such as textbooks and presentations. You can reconstruct historical sites or artifacts by filling in missing parts based on contextual information.

Photoshop AI also enhances scientific images, such as satellite or microscopic images. It can create representations of theoretical models or hypotheses.

Web & UI/UX Design

Web and UX Design

The UI and UX designer can generate UI elements or backgrounds for app and website prototypes. You can create user interfaces based on different contexts or themes. It also helps apply generative styles to web elements like buttons, headers, and backgrounds.

Adobe Generative AI Online

Adobe Generative AI Online

The Firefly web app is a gateway to the world of generative AI. It empowers you to unleash your creativity using simple text descriptions. It is free to use. Firefly is accessible to anyone with an internet connection.

Additionally, it has a super easy user-friendly Interface. You do not need any expertise or downloading the software. It has some basic image editing functionalities but you will not get the advanced photo editing tools here. Here’s what Firefly has in store for you:

A. Image Generation

You can use Firefly for image generation like Photoshop generative AI. It creates new images from scratch by feeding your imagination into the text prompt. All you need is to describe in the prompt box. 

B. Text Effects

Breathe life into your text with unique styles and textures. Imagine fiery neon letters or shimmering chrome headlines. The AI will create your desired typography.

C. Image Editing Magic

This generative fill online will take your photo editing to a new level. You can remove unwanted objects, seamlessly replace backgrounds or recolor vector artwork. The Firefly’s AI assistants handle these tasks with impressive finesse.

Photoshop Generative Fill Not Showing Up Problem

Photoshop generative fill not showing up may happen due to a couple of reasons. To resolve this issue download and install the latest version of Photoshop. Generative Fill is a core feature of Photoshop 2024 and beyond. Ensure you’re running the latest version by opening the Adobe Creative Cloud app.

It may also happen if you are logged out of your Adobe Creative Cloud account. So, make sure that you are logged in to your account. Moreover, the Generative Fill options might be hidden within the Contextual Task Bar. So, enable it to get the option.

Again, a corrupted installation might cause issues. Consider uninstalling and reinstalling Photoshop from the Creative Cloud app.

Checkout Our Latest Articles:

FAQ | Photoshop AI Generative Fill

Which Version of Photoshop Has Generative AI?

The Photoshop generative AI launched as a beta version in early 2023. However, the detailed version was launched in 2024 with Photoshop version 25.0.

Where Can I Learn More about Generative Fill?

The Adobe help center can help you get detailed instructions and tutorials on the Photohsop Generative Fill. Moreover, numerous YouTube channels offer video tutorials on using Generative Fill for various editing tasks.

Final Thoughts

So this is all about the Photoshop AI Generative Fill. You can use this tool of Photoshop to create unique designs for your projects. It allows you to edit photos in a more quick time. However, this is not free of cost anymore.

So need to buy a subscription to use the generative fill of Photoshop. Yet there are some alternatives that you can use to create similar types of designs free of cost. 

Show your love

How to Add a Drop Shadow in Photoshop

how-to-add-a-drop-shadow-in-photoshop

A perfectly created drop shadow gives the product photo a realistic look. You can turn your raw photo into a professional one by applying a drop shadow. But the question is “How to add a drop shadow in Photoshop”.

Well, here you will get a step-by-step guide on creating high-quality drop shadows. We will explain the whole process with examples to help you understand the shadow creation accurately.

A drop shadow is a dark area behind an object in the photo. Naturally, it is created due to the light source. This effect makes the object appear lifted off the background.

The drop shadow in a photo ensures that the object is not just floating in the background. It has some thickness that adds depth to it. Thus a well-placed drop shadow makes the image look more professional. As a result, it looks more appealing to the viewers.

Drop shadow is essential for product photos. The product photos should look eye-catching to generate sales. The shadow effects give the photo a professional look and make it believable. Thus a shadow helps create credibility for the brand. That’s why, the demand for this photo editing service is also high.

In this post, we will use different Photoshop tools to create a drop shadow effect. We are going to give you the easiest techniques to learn this professional photo editing technique.

Types of Shadows | Drop Shadow in Photoshop

Shadows result from the obstruction of light by an object. There are several types of shadows, each with distinct characteristics based on the light source. Understanding these types helps to create a more perfect shadow in Photoshop.

A. Cast Shadow

Type of shadow

It is the most common type of shadow. formed when an object blocks light from reaching a surface. As a result, it creates a dark area behind the object. The cast shadow’s shape is a distorted projection of the object.

Drop shadow is a cast shadow used in graphic design and digital imagery to give the illusion of depth. Drop shadow in Photoshop is typically a blurred shadow that appears to be cast by an object.

B. Hard and Soft Shadow

Hard and Soft Shadow

Hard shadows have sharp, well-defined edges. They are produced by a small or point-like light source that creates clear outlines.

Meanwhile, soft shadows have blurred and diffuse edges. They are created by a larger or diffused light source. It leads to a gradual transition between light and shadow.

C. Reflection Shadow

Reflection Shadow

It is like a mirror effect. It results from light bouncing off surrounding surfaces. They are lit by light that has reflected off other surfaces nearby. The reflected image appears reversed and behind the original object.

How To Add a Drop Shadow in Photoshop

Here are the steps we are going to follow to create a drop shadow in Photoshop.

Steps-01: Remove the Background of the Photo

Remove the Background of the Photo, How to Add A Drop Shadow in Photoshop

The first step of adding a drop shadow is removing the background from the image. So, open your image in Photoshop. Then duplicate the background layer by pressing ctrl+j. Thus the original image will remain unaffected.

Now make a selection of your subject in the image using an image selection tool. There are different tools available in Photoshop to select the subject. Or you can simply click on the “Select Subject” option.

Remove the Background of the Photo

Then take the selection to a new layer. You can simply copy the selection and take it to a new layer. Now rename the new layer. It is essential to work on the photo non-destructively.

Now uncheck the eye icon of the original background layer and the duplicated background layer. Thus you can hide these layers while working on the isolated layer.

Steps-02: Create a New Layer and Change the Background to a Solid Color

Create a New Layer and Change the Background to a Solid Color

Now we will create a new background layer and place it behind our subject cutout layer. Click on the “+” icon from your layer panel to open a new layer. Then click on the adjustment layer icon and select solid color to change the background color of the layer.

We will go with a white color for this tutorial. So, select the white color and hit ok. No name the layer to “new background.” No drag this layer and place it beneath the subject cutout.

Steps-03: Choose the Shadow Color

Photoshop Eye Dropper Tool

You can choose a particular shadow color that suits your image. You need you use the Photoshop Eyedropper tool to choose the color. The eye dropper tool sets the selected color as the foreground color.

Color Picker in Photoshop, How To Add A Drop Shadow in Photoshop

However, you need a less saturated color for the shadow effect. You can make further adjustments to the color from the Color Picker of Photoshop.

Steps-04: Create a Drop Shadow

Layer Style Panel in Photoshop

Now it is time to create a drop shadow. We will create a drop shadow using the fx button which is located at the bottom of the layer panel. So, click on the f  button and select drop shadow.

A new dialog box will appear. You can make the necessary adjustments from this dialog box. However, you can change those values later according to your requirements. Now hit okay if you think the values are good for now.

Steps-05: Create a Layer From the Drop Shadow

Create a Layer From the Drop Shadow

After that click on the layer option from the optionbar of Photoshop. Then select layer style and select create layer. It will separate the drop shadow from the layer. So, you can make further adjustments to the shadow. Click OK on the warning box.

Steps-06: Distort the Shadow

Distort the Shadow, How To Add A Drop Shadow in Photoshop

Now it is time to distort the shadow to create an artistic effect. Select the drop shadow layer and activate the transform tool. You can also go to the Edit option from the optionbar then select Transform and select Distort. Now select the right direction of your shadow and place it accordingly.

Steps-07: Create an Alpha Channel

Create an Alpha Channel

It already looks good, isn’t it? Now it is time to make it a bit more realistic. A shadow usually looks blurrier. We can achieve it by creating an alpha channel. It will allow us to adjust the area of the shadow. Thus we can make it lighter and blurry.

So, go the the channel panel from the windows or will get the option in the layer panel. Then click on the channel menu and select a new channel. You can rename it or leave it as default. From the channel options make sure the selected areas button is active.

Steps-08: Create a Gradient Within the Alpha Channel

Create a Gradient Within the Alpha Channel

Now select the alpha channel that you have just created. Toggle the eye button of the channel that you will get on the left of the channel. Click on the gradient tool from the Photoshop toolbar. Set the background to white and the foreground to black.

Gradient Effect, How to Add a Drop Shadow in Photoshop

You will get some options in the option bar. Then set the tool from black to white from the options. Make sure the type is set to linear. Now using your cursor draw the gradient on your shadow.

Here you will get a red gradient. You can toggle the eye button to get rid of the red distractions. Select any of the channels on your channel panel. It will deselect alpha 1.

Steps-09: Blur the Shadow

Blur the Shadow

Go back to the layer panel. Now select the drop shadow layer to apply the filter. Then go to the filter option from the option bar select blur and again select lens blur. From the options of the lens blur, you can make the necessary adjustments.

Blur the Shadow and Necessary Adjustments

Steps-10: Create a Layer Mask

Create a Layer Mask

Again go to Select from the option bar and select Load selection option. Make sure the Alpha 1 channel is selected from the dropdown. Then hit ok if the new selection radius button is active.

Inverse option in Photoshop

After that go to Select again and select inverse. Now from the bottom of the layers plane select the layer mask icon.

Steps-11: Final Touch

How to Add a Drop Shadow in Photoshop

Finally, make sure everything in the image looks great. If it is okay then you can save the image. Now select all the layers and merge them. This is how you can add a drop shadow in Photoshop. Then go to File>Export and export the image to the desired format.

Things To Consider To Create a Shadow Effect

Shadows add depth and realism to your images! Here are the key things to consider when creating them: light source, object shape, blur, color, and distance. Let’s dive in!

  • The light source is the first thing to consider in a shadow effect. The direction of light determines where the shadow will fall.
  • Consider the shape of the object. It influences the shape of the shadow it casts. Transparent objects cast weaker, more diffused shadows. Completely opaque objects will cast darker, more defined shadows.
  • Adjust the blurriness of the shadow accurately. It impacts its realism. A perfectly sharp shadow can look unnatural, while a very soft shadow may lose definition.
  • Shadows are not always pure black. Depending on the light source and environment, shadows can have a hint of color.
  • Consider the distance between the object and the surface receiving the shadow. It affects the size and softness of the shadow.

Importance of Shadow Effect for E-Commerce

The shadow effect plays a vital role for e-commerce businesses. Such as,

  1. Customers can’t physically touch the products. That’s why, high-quality images are crucial for driving sales.
  2. The shadow effects help create realistic photos. A well-placed drop shadow simulates a natural shadow. It makes the product appear three-dimensional. Thus e-commerce businesses get better marketing material by hiring a shadow creation expert.
  3. Drop shadows separate the product from the background. It is effective for the backgrounds commonly used in e-commerce photography. This ensures the product is the main focus point of the image. And the professional product images attract more customers.
  4. When customers can see the product’s dimensions and details, they’re more likely to feel comfortable making a purchase. Consider A/B testing your product images with and without shadows to see what resonates best with your audience.

Checkout Our Latest Articles

Frequently Asked Question

What is the Cost of a Shadow Adding Service?

The cost of a shadow-adding service depends on the type of shadow and the expertise of image editors. However, the average pricing of a shadow-adding service starts at $0.30 per image.

How To Create Drop Shadows Using Layer Style?

Double-click on the layer of Photoshop. It will pop up with a layer-style dialogue box. Go to the drop shadow option. Here you will get different adjustment options to create a drop shadow.

Final Thoughts

So, this is how to add a drop shadow in Photoshop. Here we have tried to give you an insight into the shadow effect creation process, You may not get the result at the initial attempts. So, practice more and more to create high-quality shadow effects.

Again, the shadow is important for e-commerce product photos. However, handling a large volume of photos is not an easy task. A professional photo editing agency can help you in this situation.

So, hire an expert photo editing company who has a good review of this service. The experts of the company will deliver your products in time and you can set a better marketing strategy.

Show your love