Table of Contents
Do you get surprised at the photos you see in real estate magazines? Moreover, these may seem impossible for you to shoot. Because you think shooting the interior is trickier than the exterior. If this is the scenario, this article will teach you “how to shoot best interior photos”.
Here I have brought some pro tips that can help you to take your interior photography to a whole new level. After reading this article you will know a lot about how to take interior photos for real estate.
Before going to the main point I would like to ask you, do you have any experience of shooting any real estate? If yes, then you must have some idea about the interior shoot. For those who are new, let me tell you some basic facts about interior photography.
What is Interior Photography
The term “interior photography” refers to shooting the rooms, kitchens, bathrooms, or any spaces inside the house. Though Interior photography is a part of real estate photography is a bit different from it. Interior shooting requires more attention, time, energy, and focus.
How To Shoot Best Interior Photos
Let me tell you some tips on “How To Shoot the Best Interior Photos”.
01. Before The Shoot
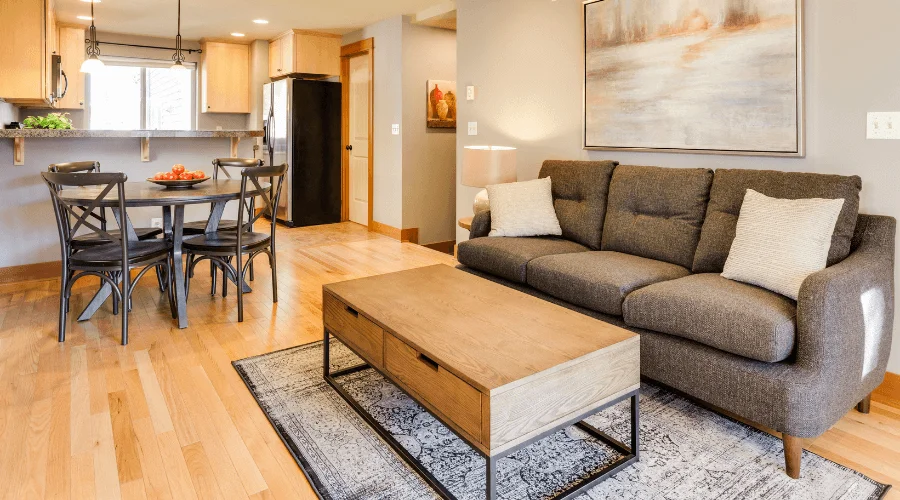
First, talk to your client. Ask them what kind of interior photographs they want from each of the rooms. Make a plan on how you will execute the whole task. Another important part is visiting the place beforehand. Visiting the property will allow you to know the place better. You can have a detailed idea about the place.
I know you do not want to miss any small but important objects. You can mark those objects so that you don’t miss any of them while shooting.
Focus on every corner and make a proper plan. Notice the orientation of the building. By this, you will get an appropriate idea of where and how the sunlight enters the room.
You can decide where to shoot with low light. You can prepare your camera gear according to your needs as well.
02. Use Natural Light
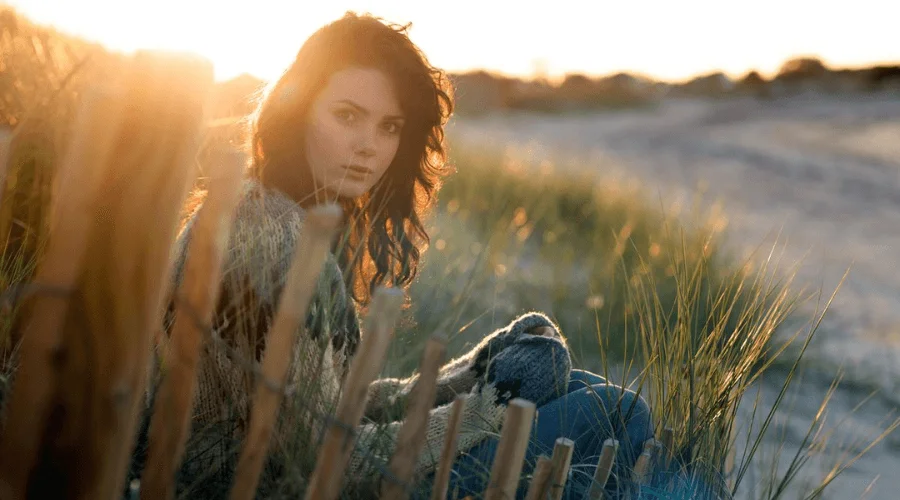
Interior photography lighting is a major discussion in the field of photography. The most common advice that you will find online is, to use natural light as much as possible. Using natural light is, of course, the best idea.
The camera doesn’t work like our eyes. Cameras don’t work like our eyes. A camera cannot capture light always as it is. In my opinion, natural light is ideal to make your photographs more realistic.
But you can use flash to fill the shadows and the dark corners. Before using flash try it on the wall and make sure it doesn’t reflect.
Sunny midday when the sun is right above the head is the perfect time for shooting interiors. Because during this time, long and bright spots from the sun don’t streak through the window.
Do not forget to switch the lights off. I repeat keep lights off. Shooting in natural light will give you an excellent result.
03. Don’t Go Too Wide
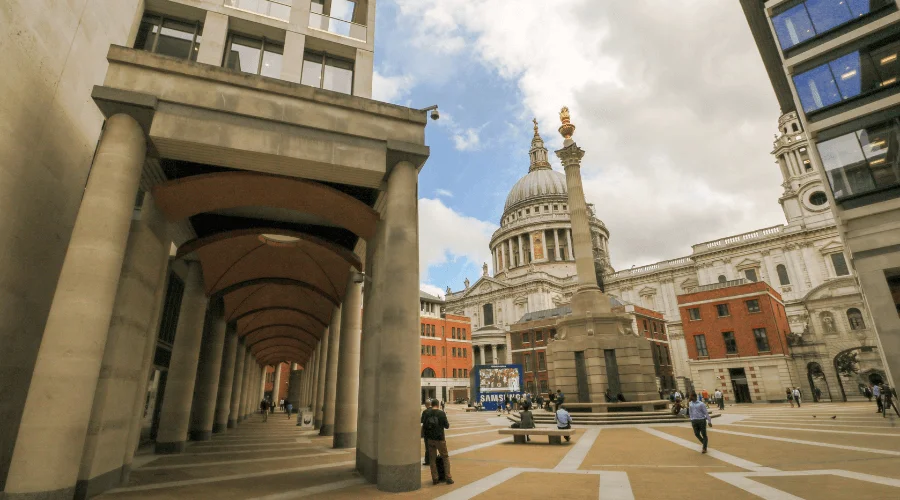
We all think that a wide-angle lens takes the best photos. But when it comes to taking interior real estate photographs you need to rethink it. You can check out that in interior design magazines.
Professional Photographers prefer wide-angle, especially in real estate photography. In real estate photography, the purpose is to show the wide spaces. But it is not the same for interior shooting.
Interior photography is all about showing the designs. Considering this fact you must be an interior photography lens control expert. Because interior photographs require tighter compositions. For this, I would suggest that not go wider than 24mm.
The width of the course will depend on the space inside the house. But if you have enough space where you can take the photo from a distance and use a tight lens, do that. Therefore, you can minimize the possible lens distortion.
04. Composition
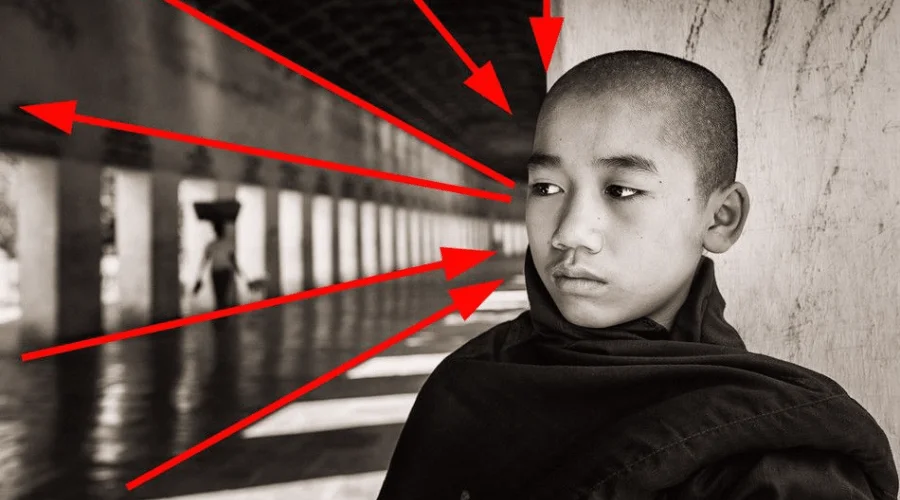
Composition is the key factor in photography. Interior photography composition is something that your camera alone cannot do. The term composition covers a vast area. I said vast because it includes many things.
Photographer’s knowledge of the camera, his artistic sight, and his eye for composition. Apart from that, the composition also includes using color, balancing temperature, leading lines, depth of the field, etc.
What you chose to keep inside the frame or exclude from the frame and how did you manage to do so? A photo is not just a document, rather it is a work of art. Photography composition helps a photographer to make interior designs stand out.
The clients also want to highlight the designs. So while shooting interior be careful about this matter. Without proper composition, a perfect shot, a beautiful location gets ruined.
I am going to discuss a little more about composition. The fact is, there is no particular way of photo composition. You always have to improve yourself. I just can help you with some tips that you can use, to begin with.
Otherwise, it is up to your ability to make a photograph better, catchy, and spellbound. Here you go with the tips:
- Use the rule of thirds
- Symmetry
- Leading lines
- Use of depth
- Size equals power
- Don’t follow any fixed rule
You might get confused with the last tip. Yes, I have kept this intentionally. Because composition is such a thing where you can apply many rules. If the photograph is praiseworthy then your technique will also get admiration.
05. Use layers
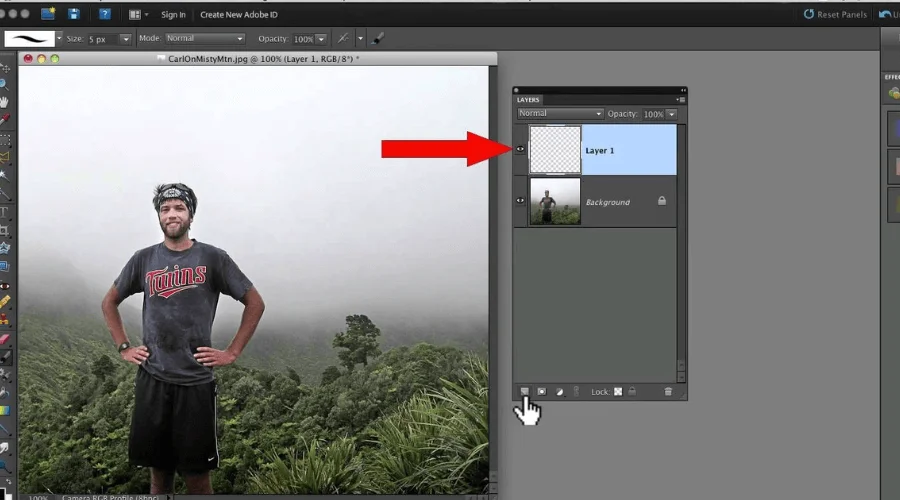
Working with layers is a common tool in photo editing programs. Interior photography requires the full attention of the photographer throughout the whole process. The literal meaning of layers is the process of overlaying one image or effect on another.
Using layers is more advantageous than making direct adjustments to the original photo. Using layers allows you to edit your photos temporarily without losing data.
Usually, we see that each time the image loses a small amount of data when we change the image adjustment. Moreover, editing photos with layers lets you edit selected parts of the photo.
06. Using Depth in Interior Photography
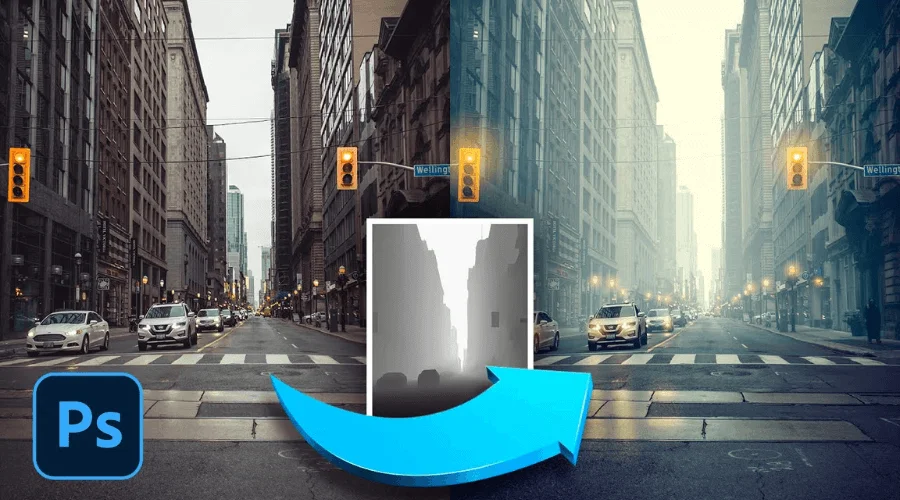
In this type of photography, it is essential to create depth with the furniture and styling items. You can create a luxurious look with this. Think of yourself as an audience. Then look at the photo and notice if your eyesight gets distracted by any unwanted object.
Things like this happen when the f-stop is not consistent with the item you want sharp. Interior image f-stop ranges from f8 to f-16. If you want to create depth you should go to lower f-stop.
07. Shooting Raw

RAW files are the untouched or unedited versions of the images. You can compare it with the negatives of the photo. Most cameras can shoot RAW nowadays.
The RAW image lets you have firm control over your final image. When you shoot RAW it allows you to adjust the white balance and set the photo size.
08. Remove Clutter
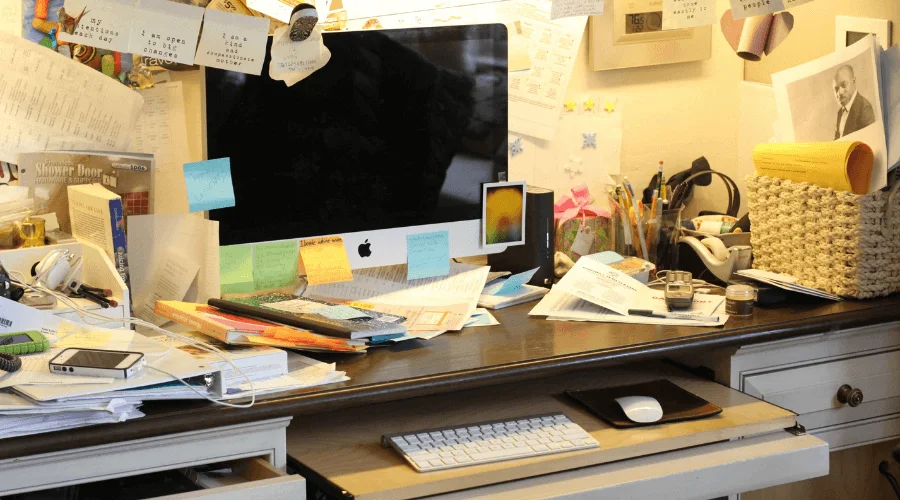
Well, everyone knows this little fact about photography. Removing clutter is a must. You must talk to your clients about what exactly they want to show. Then it would help if you made a plan on how you will show them. Prepare the photo space according to the client’s demands.
Don’t just ask what to do and how to do it. They have invested in your expertise. So show that to them. You can give some recommendations to them about what they should remove from sight.
09. Use Vignette and Detail
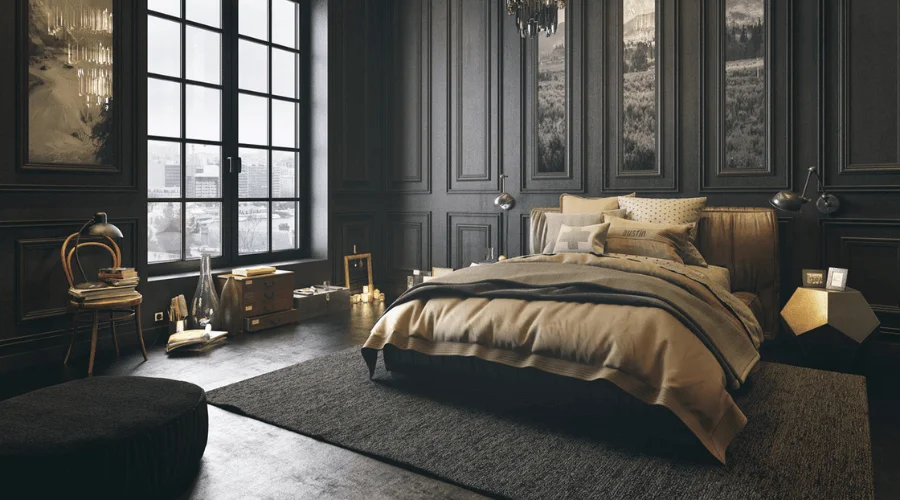
Taking wide-angle photographs is more popular in real estate photography. But when it comes to shooting the interior it’s better to go for vignette and detail. By this, you can get the attention of the viewer to the objects.
You can attract the audience even to the smallest nooks of the rooms. They can have a clear idea about the inhabitant’s interests. Interior designers, builders, and architects get a strong marketing message.
10. Make Room
As an interior photographer, you know how important it is to have enough space. And you may not get the space you need in every house. Moreover, in the same house, the kitchen and living room have a different amount of space.
In that case, you have to make space for yourself. Especially while shooting in bathrooms and kitchen you may get stuck with the walls. When situations like this arise don’t hesitate to move staff as you need to make room.
Going with the wide-angle lens in the small room produces fish-eyed photos. That’s why I suggest you move the staff that is creating an obstacle on your way to take a perfect shot.
For instance, move the tub plant if you have to place the tripod there. Similarly, you can move anything from your way to make room to have enough space for shooting.
11. Use Bracket
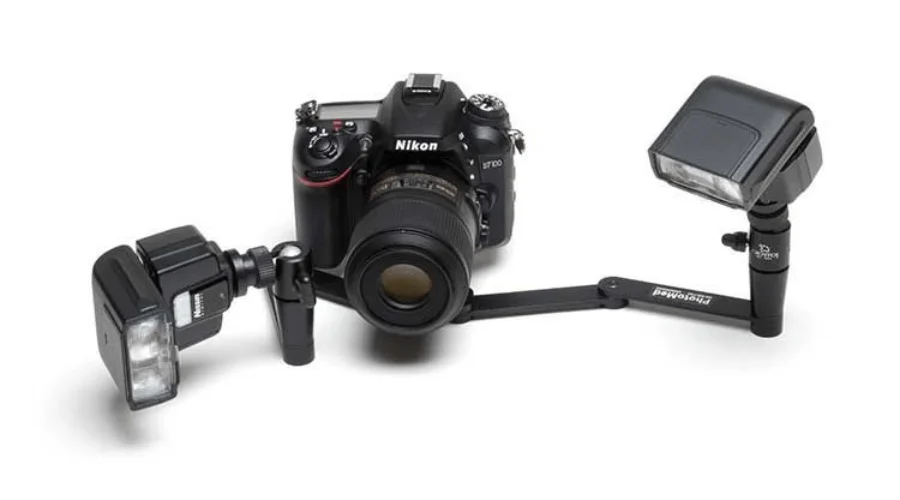
We often see that there is an excessive amount of light while shooting the interior. A photographer must overcome this issue of uneven lighting.
To our eyes, any particular scene may seem pretty. But the same scene becomes ugly in a photograph. Because the sky reflects too much the object becomes dark. Our eyes are much ahead of cameras in terms of coping with different kinds of light reflections.
So, how to overcome that limitation? Well, that’s where you need to bracket the exposure. Bracketing allows you to take three photos in three different settings.
The first one is with the camera recommended setting. Then the second one should be with underexposure. Then take the final one with overexposure settings. Therefore you can have three different exposures and blend them later.
12. White Balancing
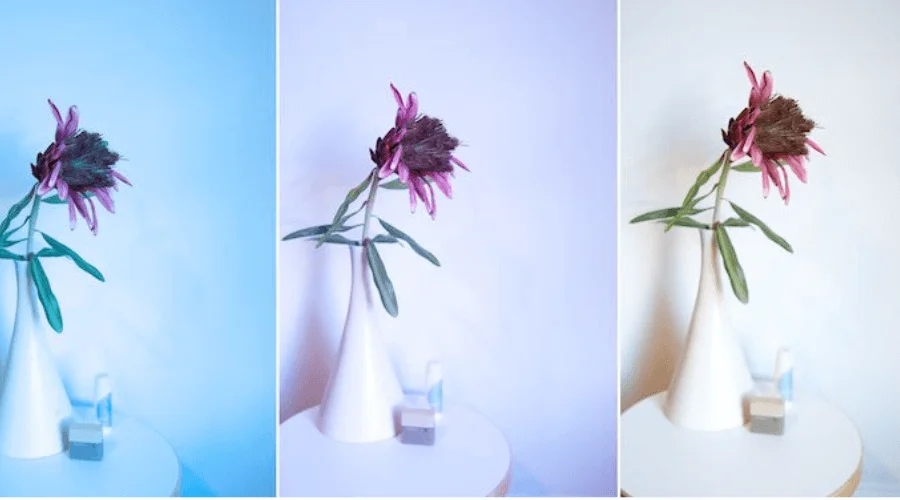
The quality of your photo largely depends on this matter. I am talking about the impact of white balance in interior photography. White balance determines the warmth of a photo. In the previous days, it was hard to reach a reasonable point about white balance.
Now you can easily buy a cardboard color checker card. A color card shows if your white balance is accurate or not. Following some simple steps, you can have a perfect white balance.
13. Post-production Editing
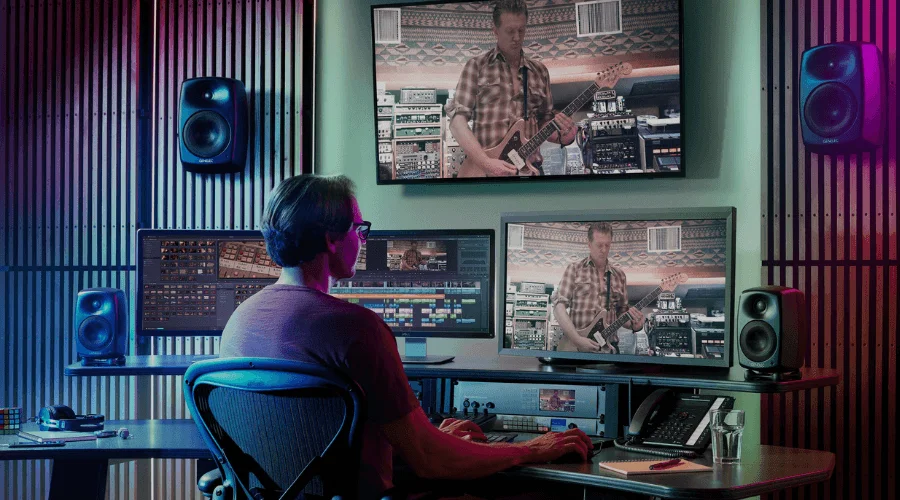
Well, when you are done with all the shoots, then comes the editing part. Photography post-editing software is one of the most important parts of photography. The term is well-known to all professional photographers.
Interior photography editing is a time-consuming and tedious task. That’s why most photographers tend to outsource their photographs. If you have enough knowledge of photo editing then you can do it yourself.
But if you are getting too many orders, you will face trouble managing those. Then I would suggest you take a photo editing service.
Conclusion | How To Shoot Best Interior Photos
In conclusion, it is wise to say that you have to be very creative while shooting interior photos. As photography is a form of art you cannot overlook the importance of creativity. All the tips will go in vain if you cannot find the best angle to shoot. Shooting inside the house is slightly different from shooting outside.
Interior photographers have to focus on the details of the objects. So while shooting, keep that in mind and try to bring the best way possible to make the photos excellent.


