Aperture is one of photography’s three key components, along with shutter speed and ISO. It is an essential element in setting the exposure, depth of field, and the general look of an image. Whether you are a beginner or an experienced photographer, understanding aperture will allow you to control your camera. Once you gain an understanding and control over it, the picture that comes out can even be as you desire.
What is Aperture?
The aperture is the hole in a camera lens through which light passes to enter the camera body and hit the sensor or film. Consider it like the pupil of an eye: it can grow larger or shrink in size to regulate the influx of light. Aperture in photography is expressed in f-stops, which are the numbers you see followed by an f to such as f/1.4, f/2, f/2.8, f/4, f/5.6, f/8, f/11, f/16, f/22, and so on.
The f-stop number is the ratio of the focal length of the lens to the diameter of the aperture. For instance, if a lens has a focal length of 50mm and an aperture diameter of 25mm, this would mean that the f-stop is f/2 (50 ÷ 25 = 2). So, the lower the f-stop, the wider the opening; the higher the f-stop, the tighter the opening. This long-and-inverse relationship may be hard to get in the beginning, but practice makes perfect.
How Aperture Affects Exposure
Aperture is one of three main elements in the exposure triangle, the other being shutter speed and ISO. Combined, they influence the overall brightness or darkness of an image.
-
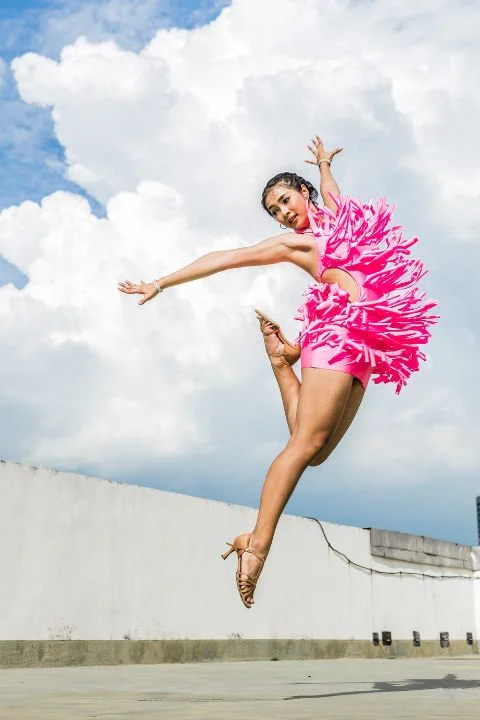
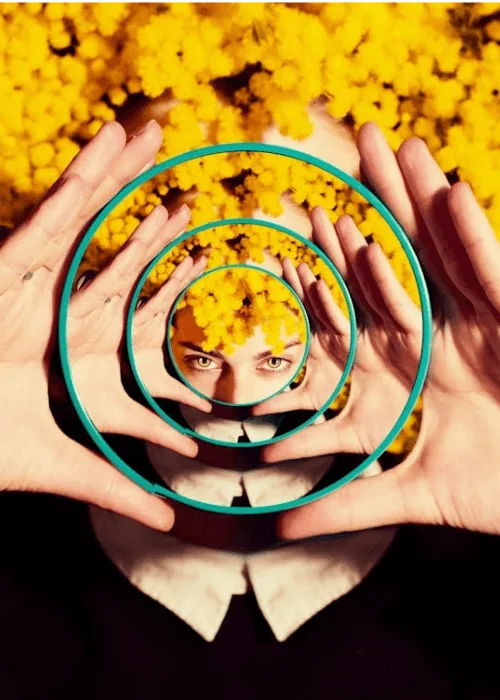
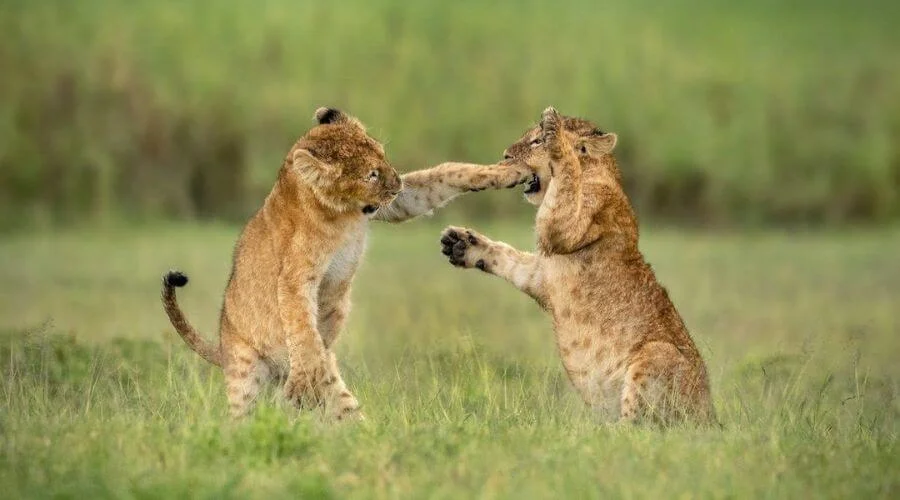
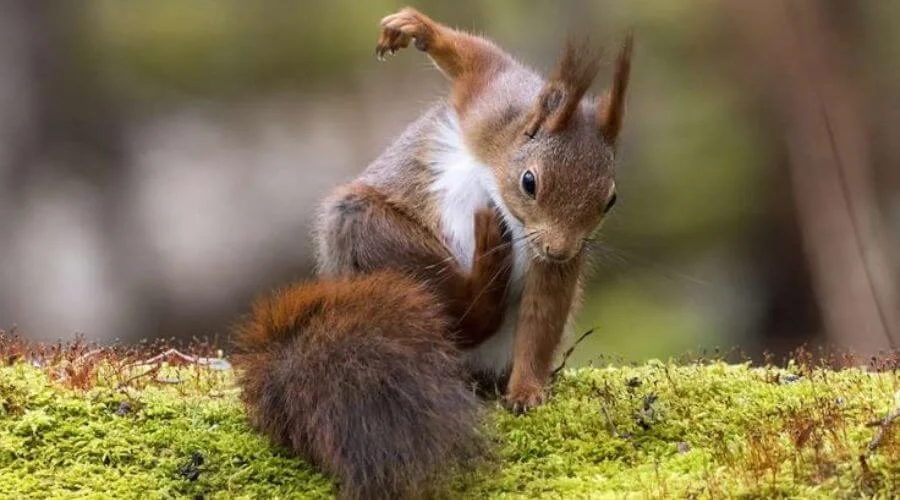
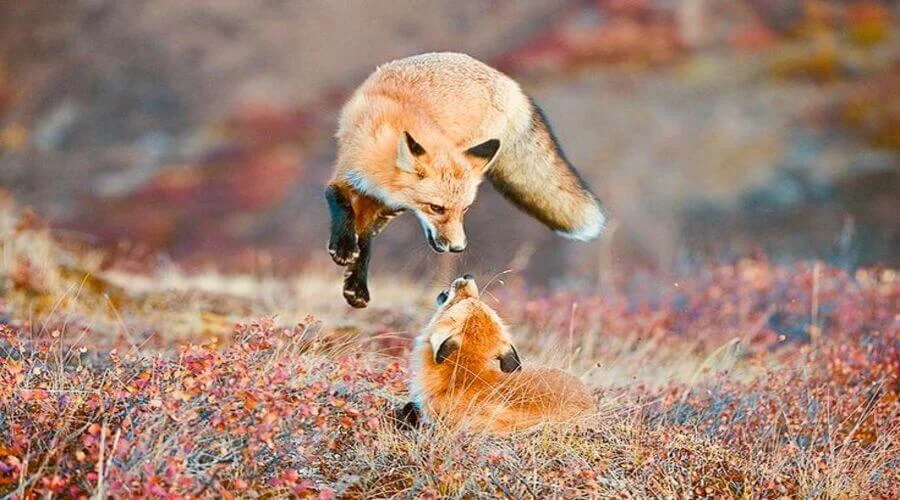
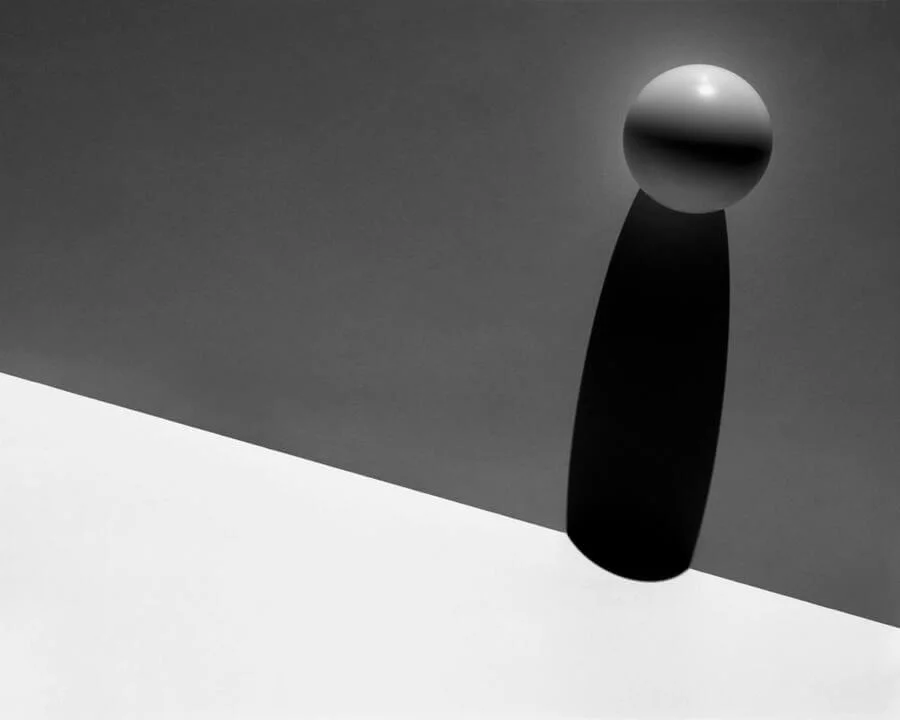
Wide Aperture( Low f-stop number, for example: f/1.4): It allows more light to come into the camera, making the image brighter. This is useful for working in low-light conditions or when you want a shallow depth of field (like the detail below).
-
Small Aperture (High f-stop number, e.g., f/16): A small aperture allows less light to enter the device, resulting in a darker image. This is perfect for sunny conditions or when you require a wider depth of field.
Opening the aperture lets in more light, allowing you to expose the image without adjusting the shutter speed or ISO. But aperture first affects other parts of the photo: depth of field, sharpness, and those should be considered in equal measure.
Depth of Field and Aperture
Depth of field (DoF) describes how much of the subject is in focus in any given image. While aperture directly affects DOF, it’s also a powerful creative tool.
-
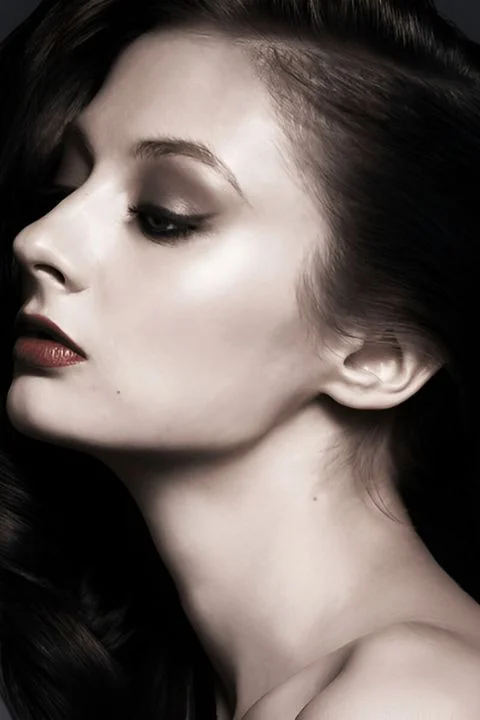
Shallow Depth of Field: Low Aperture (for instance, with f/1.4). This high aperture size results in a shallow depth of field, and it focuses on the subject, allowing the foreground and background to be blurred. This is often employed in portrait photography, where you want to separate the subject from busy backgrounds.
-
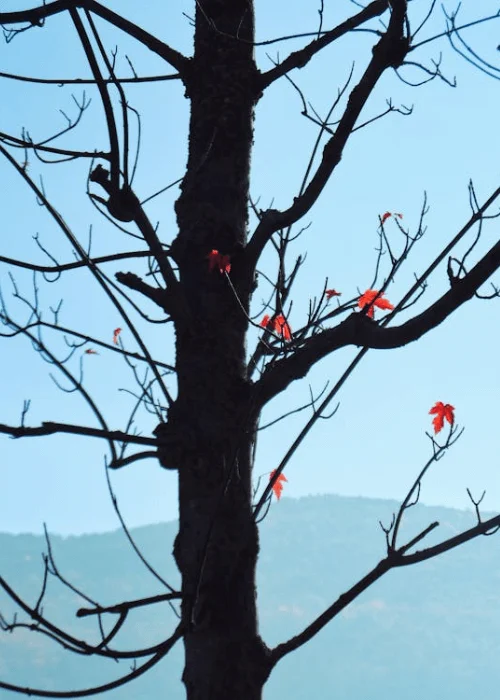
Deep DOF (Small Aperture/Small f-stop, e.g., f/16): A small aperture gives a deep depth of field and image with the foreground and the background in focus. This is often employed in landscape photography so that everything from the closest flower to distant mountains is in focus.
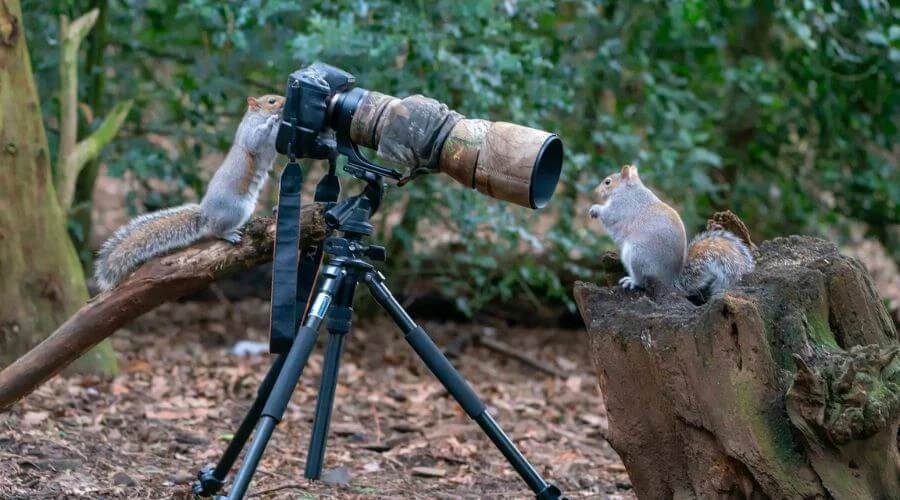
The aperture you choose depends on the type of photography you are doing and the kind of effect you are trying to achieve. A wildlife photographer, for example, may choose a wide aperture to blur the background and bring the animal into focus, while an architectural photographer may choose a narrow aperture to keep the entire building in focus.
Aperture and Lens Sharpness
Aperture has a direct effect on the amount of light hitting the sensor as well as the depth of the field, but it also plays a crucial part in an image’s sharpness. Do all lenses have an optimum range of apertures across which they perform their best? This typically lies around f/8 to f/11 for most lenses. At wider apertures (e.g., f/1.4 or f/2), lenses may be just slightly soft or vignetted (dark at the corners). Diffraction starts at very small apertures (e.g., f/22), leading to reduced overall sharpness.
Knowing your lens’s sweet spot will lend you the best possible image quality. But creative considerations like how much depth of field you want often trump absolute sharpness.
Aperture Priority Mode
Many cameras have Aperture Priority (often labeled as “A” on the mode dial on most cameras, or “Av” on Canon). In this mode, you specify the aperture required, and the camera takes care of setting the shutter speed to give the correct exposure. This method allows you to maintain creative control over depth of field while making sure exposed correctly.
Well, if you’re shooting in an environment where the lighting is changing quickly, such as during a sunset or during an indoor event where the ambient light is constantly in flux, that’s exactly when Aperture Priority is useful to have. It lets you concentrate on composition and depth of field at all times without having to keep adjusting your shutter speed.
Camera Aperture Comparison Chart
Below is a detailed comparison chart of common aperture settings (f-stops) and their effects on exposure, depth of field, and typical use cases. This chart will help you understand how different apertures impact your photography.
| Aperture (f-stop) | Aperture Size | Light Intake | Depth of Field | Sharpness | Common Use Cases |
|---|---|---|---|---|---|
| f/1.4 | Very Large | Very High | Very Shallow | Soft (Wide Open) | Low-light portraits, creative bokeh, astrophotography |
| f/2 | Large | High | Shallow | Moderate | Portraits, low-light photography, subject isolation |
| f/2.8 | Large | High | Shallow | Good | Portraits, events, wildlife, and low-light situations |
| f/4 | Moderate | Moderate | Moderate | Very Good | Portraits, street photography, and general use |
| f/5.6 | Moderate | Moderate | Moderate | Excellent | Group photos, travel photography, macro |
| f/8 | Small | Low | Deep | Optimal (Sweet Spot) | Landscapes, architecture, and product photography |
| f/11 | Small | Low | Deep | Excellent | Landscapes, long exposures, maximum depth of field |
| f/16 | Very Small | Very Low | Very Deep | Good (Diffraction may occur) | Landscapes, long exposures, maximum depth of field |
| f/22 | Very Small | Very Low | Very Deep | Soft (diffraction) | Long exposures, sunstars, and extreme depth of field |
Practical Applications of Aperture in Different Genres of Photography
Aperture plays a critical role in shaping the look and feel of a photograph. By adjusting the aperture, photographers can control depth of field, exposure, and sharpness, creating a wide range of creative effects. Below are some aperture photography examples across different genres, showcasing how aperture choices impact the final image.
1. Portrait Photography: Shallow Depth of Field (Large Aperture)

-
Aperture: f/1.4 to f/2.8
-
Effect: A large aperture creates a shallow depth of field, blurring the background (bokeh) and making the subject stand out.
-
Example: A close-up portrait of a person where their eyes are in sharp focus, but the background is a soft, creamy blur. This technique is ideal for isolating the subject and eliminating distractions.
2. Landscape Photography: Deep Depth of Field (Small Aperture)

-
Aperture: f/8 to f/16
-
Effect: A small aperture ensures that both the foreground and background are in focus, capturing the full depth of the scene.
-
Example: A sweeping landscape with a sharp foreground (e.g., rocks or flowers), a midground (e.g., a lake or field), and a distant background (e.g., mountains or a sunset). Everything from the closest element to the horizon is crisp and detailed.
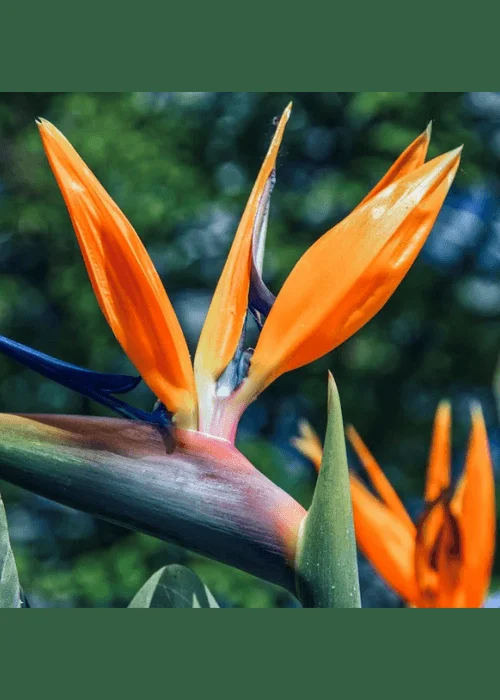
3. Macro Photography: Balancing Depth of Field

-
Aperture: f/5.6 to f/11
-
Effect: Macro photography often involves extremely close focusing distances, which naturally result in a shallow depth of field. A mid-range aperture helps keep the subject sharp while still blurring the background.
-
Example: A close-up shot of a butterfly’s wings where the details of the wings are sharp, but the surrounding leaves and flowers are softly blurred.
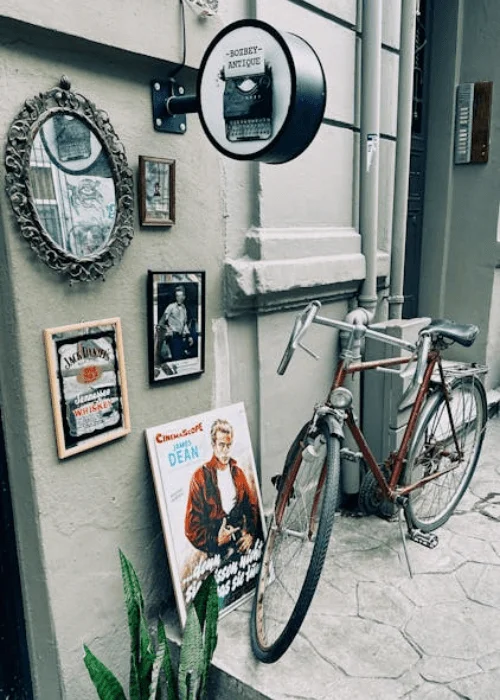
4. Street Photography: Versatile Mid-Range Aperture

-
Aperture: f/5.6 to f/8
-
Effect: A mid-range aperture provides enough depth of field to keep the subject and surroundings in focus while allowing for faster shutter speeds in changing light conditions.
-
Example: A candid street scene where a person walking down the street is in focus, and the buildings and other elements in the background are also reasonably sharp.
5. Low-Light Photography: Large Aperture for Brightness

-
Aperture: f/1.4 to f/2.8
-
Effect: A large aperture allows more light to enter the camera, making it ideal for low-light situations. It also creates a shallow depth of field.
-
Example: A dimly lit café where the subject (e.g., a person holding a cup of coffee) is well-lit and in focus, while the background is softly blurred. The large aperture ensures the image is bright enough without needing a very slow shutter speed or high ISO.
6. Product Photography: Controlled Depth of Field

-
Aperture: f/4 to f/8
-
Effect: A mid-range aperture ensures the product is fully in focus while slightly blurring the background to avoid distractions.
-
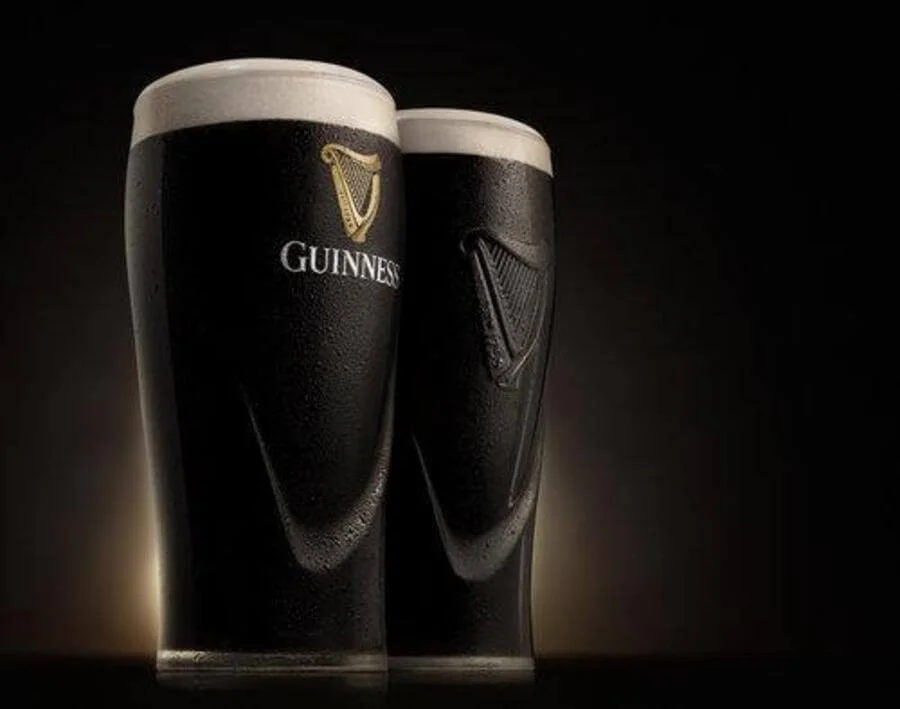
Example: A flat-lay photo of a watch on a table where the watch face and strap are sharp, but the table surface and background are softly blurred.
7. Astrophotography: Large Aperture for Starry Skies

-
Aperture: f/1.4 to f/2.8
-
Effect: A large aperture captures as much light as possible from stars and celestial objects, making it essential for astrophotography.
-
Example: A night sky filled with stars, where the Milky Way is visible. The large aperture ensures the stars are bright and detailed, while the foreground (e.g., a silhouette of a tree or mountain) is softly blurred.
8. Architectural Photography: Small Aperture for Sharpness

-
Aperture: f/8 to f/16
-
Effect: A small aperture ensures that the entire building or structure is in focus, from the nearest corner to the farthest detail.
-
Example: A photo of a skyscraper where every window, line, and detail is sharp and clear, with no blurring in the foreground or background.
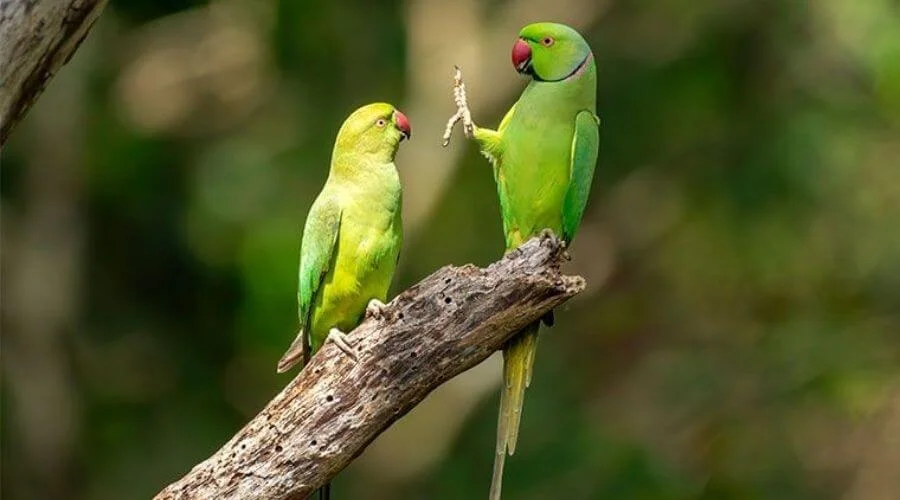
9. Wildlife Photography: Shallow Depth of Field for Subject Isolation

-
Aperture: f/2.8 to f/5.6
-
Effect: A large aperture blurs the background, making the animal stand out against a soft, non-distracting backdrop.
-
Example: A close-up of a bird perched on a branch, where the bird’s feathers and eyes are in sharp focus, but the leaves and background are blurred.
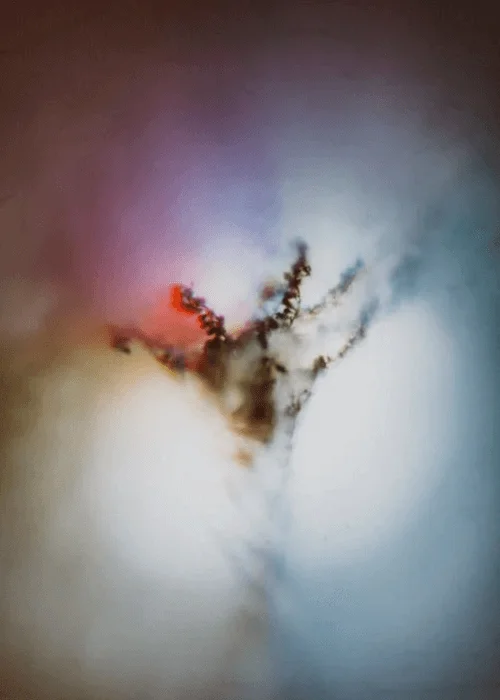
10. Creative Bokeh Effects: Large Aperture for Artistic Blur

-
Aperture: f/1.4 to f/2.8
-
Effect: A large aperture creates a shallow depth of field, turning out-of-focus light sources into beautiful, circular bokeh shapes.
-
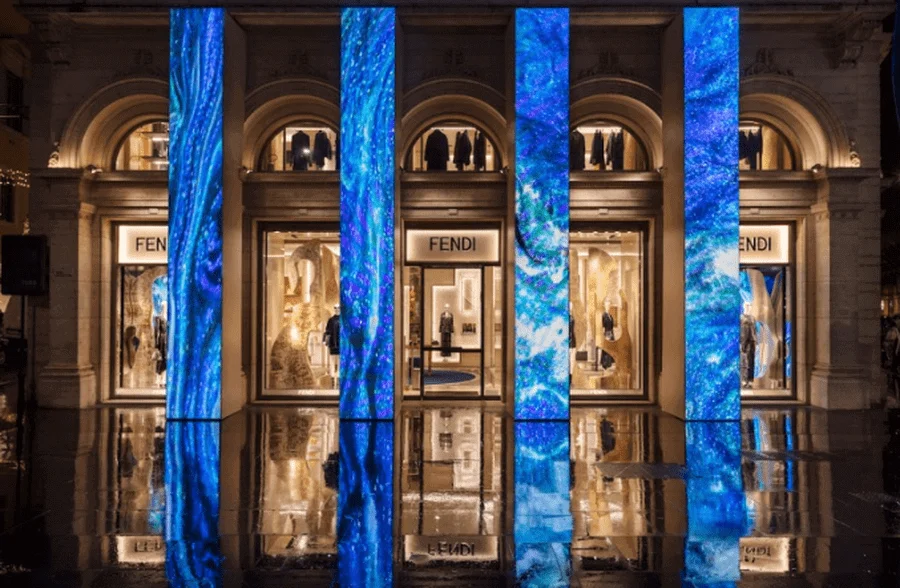
Example: A nighttime cityscape where streetlights and car headlights in the background are transformed into glowing orbs, while the main subject (e.g., a person or object) is in sharp focus.
11. Group Photos: Balanced Depth of Field

-
Aperture: f/5.6 to f/8
-
Effect: A mid-range aperture ensures that everyone in the group is in focus, even if they are standing at slightly different distances from the camera.
-
Example: A family photo where everyone from the front row to the back row is sharp and clear.
12. Waterfall Photography: Small Aperture for Long Exposures

-
Aperture: f/11 to f/16
-
Effect: A small aperture reduces the amount of light entering the camera, allowing for longer shutter speeds to create a silky smooth effect on flowing water.
-
Example: A waterfall where the water appears soft and misty, while the surrounding rocks and foliage remain sharp.
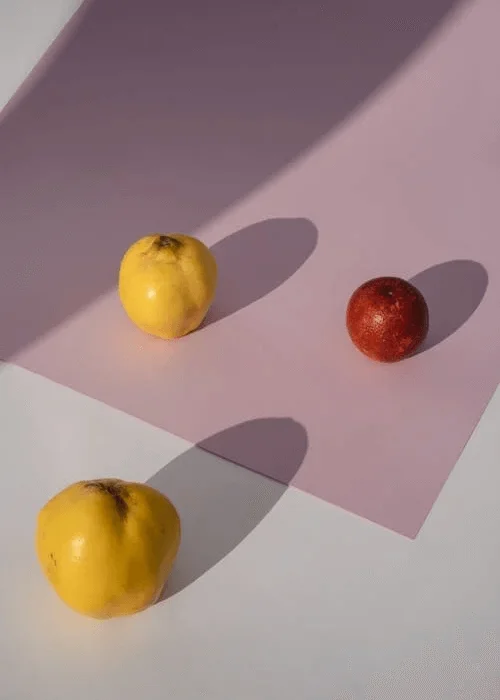
13. Food Photography: Shallow Depth of Field for Emphasis

-
Aperture: f/2.8 to f/5.6
-
Effect: A large aperture highlights the main dish while blurring the background and other elements on the table.
-
Example: A plate of pasta where the noodles and sauce are in sharp focus, but the tablecloth and utensils in the background are softly blurred.
14. Event Photography: Adapting to Changing Light

-
Aperture: f/2.8 to f/4
-
Effect: A moderately large aperture allows for faster shutter speeds in low-light environments, such as indoor events, while still maintaining some depth of field.
-
Example: A wedding reception where the couple is sharply in focus, and the background is softly blurred, creating a sense of intimacy.
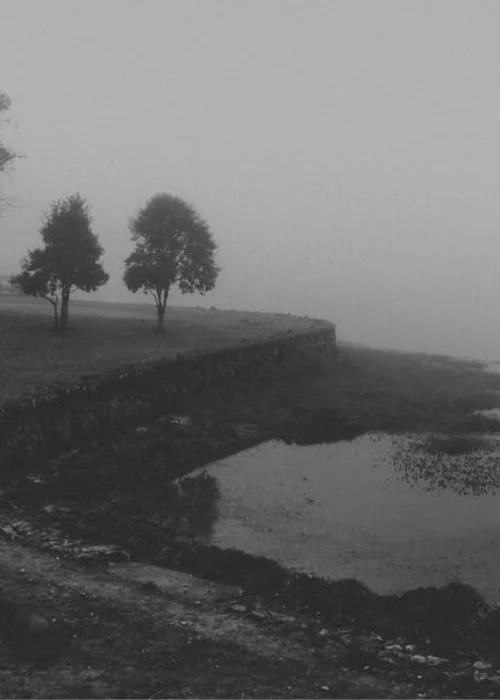
15. Black and White Photography: Using Aperture for Mood

-
Aperture: Varies (e.g., f/2.8 for shallow depth of field or f/11 for deep depth of field)
-
Effect: Aperture can be used creatively in black and white photography to emphasize textures, shapes, and contrasts.
-
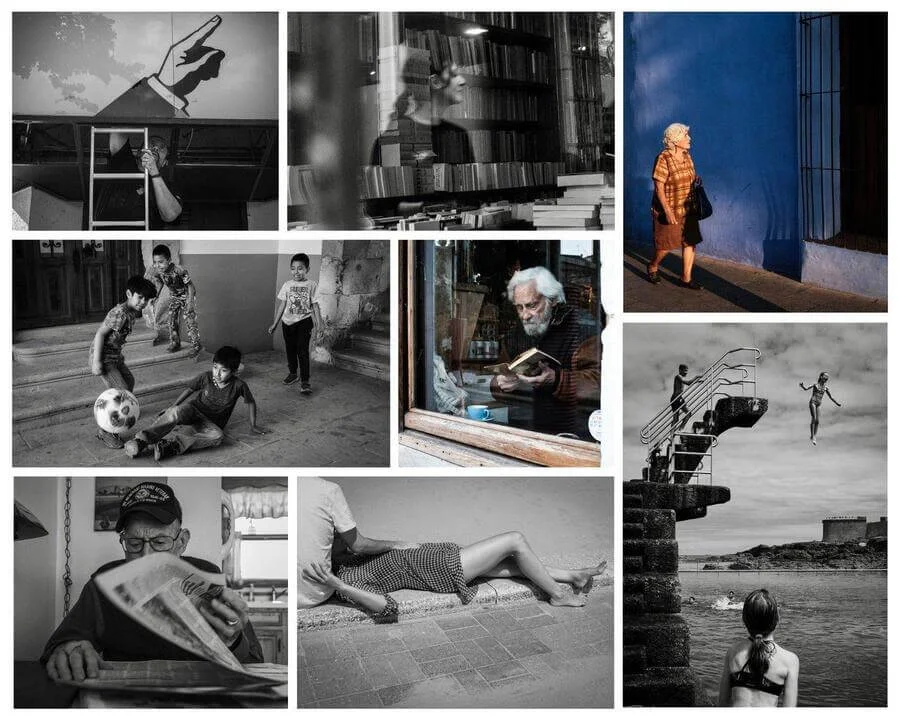
Example: A black and white portrait with a shallow depth of field, where the subject’s face is sharply defined against a blurred background, creating a dramatic and moody effect.
Our Related Articles
Conclusion: Mastering Aperture for Creative Photography
Aperture is a powerful tool in photography that affects exposure, depth of field, and image sharpness. By understanding how aperture works and how to use it creatively, you can take control of your camera and produce images that reflect your vision. Whether you’re shooting portraits, landscapes, or anything in between, mastering aperture will elevate your photography and open up new creative possibilities.
Remember, photography is as much about experimentation as it is about technical knowledge. Don’t be afraid to try different apertures and see how they affect your images. Over time, you’ll develop an intuitive sense of which settings to use in various situations, allowing you to focus on capturing the perfect shot.
Happy shooting!