Since the beginning of the Internet, user interface (UI) design has been a vital component of any digital product. The best UI design tools can help you create a user interface that is easy to use and looks professional.
But as there are numerous UI tools available in the market, it’s pretty normal to be confused when choosing the best UI tools for you. Don’t worry we are here to take off your pain. So, which one is the best UI design tool? Read through this article, and we assure you, that you will not leave today with any confusion.
Today, We’ll run down the basics of UI design and also have compiled the 15 best UI design tools that can help.
UI Design: What’s It Mean
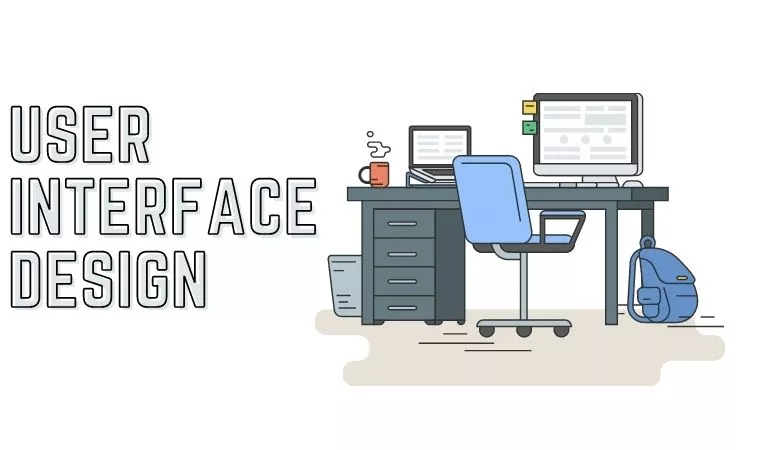
Interface design is the process that designers use to create interfaces in software or digital devices, focusing on style and aesthetics design. More and more, UI design is concerned with the design of user interfaces that go beyond the traditional graphical user interface.
Consequently, the scope of UI design includes everything from screen layouts to transitions, animations, and the visual aspects of buttons, whether static or dynamic. For a well-designed UI, the primary goal is to ensure that every micro-interaction is both visually beautiful and practical.
For an application or a website to succeed, all of its components must work together to achieve a single goal. To put it another way, a well-designed user interface should not only be visually appealing but also enhance the overall operation of the app or website.
Digital UI design is distinct from user experience (UX) design. Designing user interfaces does not apply to actual objects, only to the internet. Any design that incorporates actual objects, interactions, or the physical appearance of an image or a product goes under UX design.
It’s not uncommon for UI design to be used in conjunction with UX design when it comes to physical objects that are increasingly linked to the digital world (such as automobile dashboard screens, mall interactive maps, or even smartphones). To put it another way, both are aimed at making the product easier and more user-friendly to operate.
15 Best User Interface UI Design Tools in 2024
01. Figma | Best UI Design Tools
You may use Figma to sketch, wireframe, prototype, and manage design systems all in one place. When it comes to UI design and prototyping tools, Figma, like other multi-purpose tools, excels in a specific stage of the process.
However, it lacks adequate vector tools and is only available in the browser, slowing down projects with a large number of pages and a large number of graphic resources.
Figma allows you to put your concepts through their paces by allowing consumers to test them out in real-time throughout the research phase. This implies that you can get input from a real person before you even begin testing your design. It establishes a creative synergy between the user and the designer to enhance the UI design.
Pros
- A full-featured application.
- Expressive using OpenType.
- Resize images less manually.
- Browser compatibility.
- Collaboration is outstanding.
Cons
- Prices are relatively high.
02. Sketch | UI Design Tools
Most UI design pros use Sketch as their primary tool. If you’re using Mac OS, you’ll want this. When it comes to generating prototypes, Sketch is a must-have for any UI designer, as it is one of the most powerful tools available on the market.
Everything you need to produce quality artwork, and prototypes and hand over the finished product to developers is provided by this software. To make it easier to reuse and save time, Sketch allows you to apply universal changes to your project, such as a layer or kind of text that may be used in several prototypes.
Sketch’s learning curve isn’t severe, making it suited for both novices and seasoned pros alike. As a bonus, you can take advantage of Sketch’s extensive collection of third-party plugins and component repositories.
Pros
- Standard practice in the industry.
- Necessary components.
- Instant preview on mobile.
Cons
- Only Mac users can operate this.
03. InVision Studio | UI Design Tool
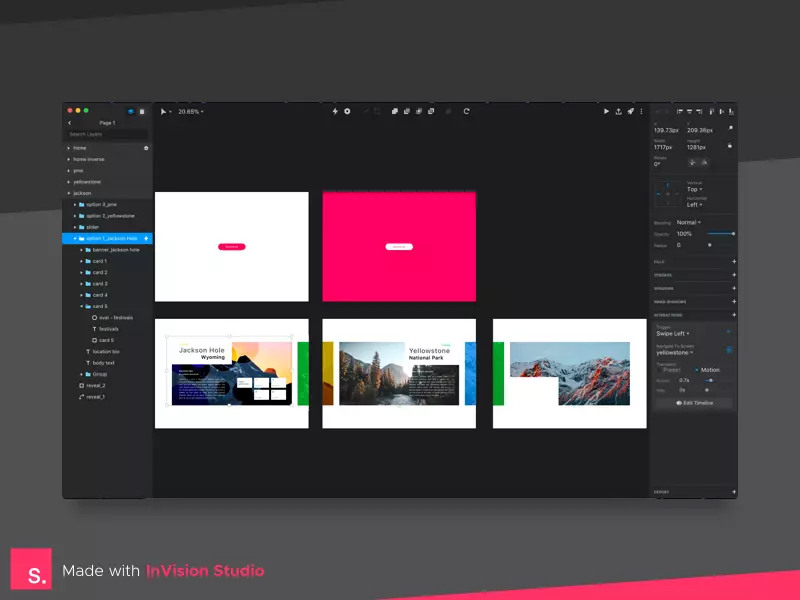
InVision provides designers with all the UI design tools they need to develop fully realized and functional prototypes with dynamic features and animations, thanks to its entire suite of applications.
These user interface design tools make it simple for developers to share their work, receive comments, and make recorded modifications throughout the design process. Using the digital whiteboard feature of InVision, team members can share their ideas, collaborate, and gain final approval before moving forward.
Pros
- Numerous plugins are available.
- A complete design suite with tools for every stage of the process.
- Up to 10 users can use the free plan.
- Value for money.
Cons
- Premium features do not offer a free trial.
04. Axure | UI Design Software
Axure serves both as a prototyping tool and a workflow tally. It has an easy-to-use interface for taking notes while you’re on the road. This app is driven by high quality, resulting in prototypes that are jam-packed with information.
Prototyping and UI design tools like Axure have many of the same features as Axure. Allows testing of functionality and makes it easier for developers to hand off the project.
An emphasis on communication ensures that everyone involved in a project is kept abreast of progress and changes in real-time, making Axure a good choice for user interface design.
Pros
- Free trial for 30 days.
- Develop complex prototypes.
- The best tool for professionals.
Cons
- Free plan not available.
- Web version not available.
05. Adobe XD | Digital Prototyping Tools
Digital prototyping tools like Adobe XD, which launched in 2016, have quickly gained traction in the design community and are already rivaling Sketch in terms of popularity. However, XD’s primary advantage over Sketch is that it can run on both a Windows and a Mac computer.
If you’ve been creating in Photoshop for a while and are switching to XD, you may find the UI unfamiliar if you’re used to Adobe. There are better options out there, and if you’re an Adobe devotee, this one is worth the price tag.
Adobe XD is a design tool included in the Adobe Creative Cloud, but it is also available as a free trial or a paid subscription.
Pros
- Standards in the industry.
- Supports Windows.
- Plans with free and paid options.
- Seamless integration with apps in the Adobe Creative Cloud.
Cons
- It takes time to learn.
- Costly.
06. MockFlow | Greatest Software for Wireframing
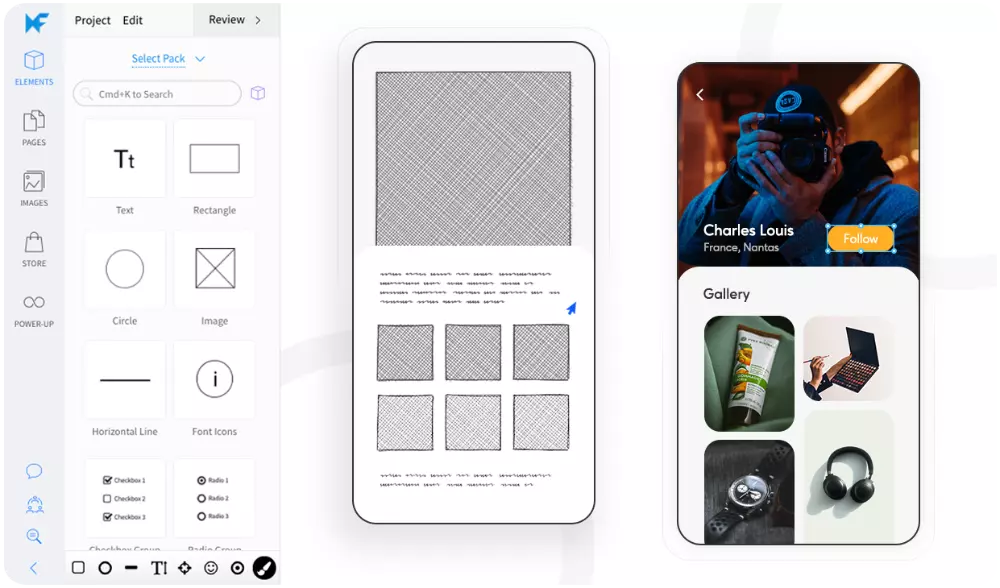
MockFlow is one of the greatest software for wireframing, which is vital for building websites and mobile apps. The wireframing and design process can be accelerated by using MockFlow’s revision tracking feature, which is hidden behind the surface.
It’s an excellent tool for beginners because it allows you to develop designs rapidly with a huge library of components. You don’t need to deploy your entire app to develop basic layouts for testing with all of your app’s features and functions.
Mockups can be shown to clients to receive their approval or suggestions for improvements, which is extremely useful for developers.
Pros
- Makes wireframing fast and easy.
- Dedicated wireframing.
- Free plan.
Cons
- Lack of advanced features.
07. Framer
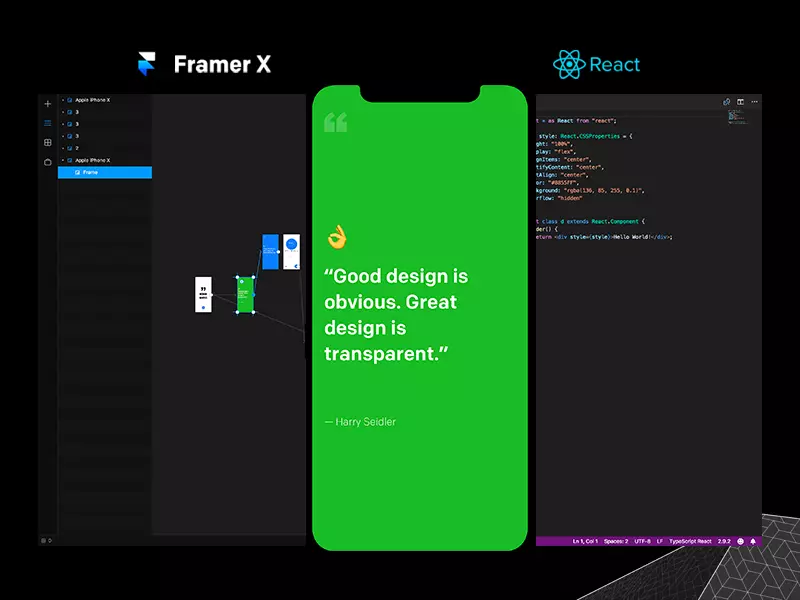
Framer X allows for the creation of highly interactive prototypes. Designers can go beyond static mockups and add real interactions, animations, and transitions, which makes it easy to test and demonstrate how an app will behave.
Framer X offers a store where users can share or purchase pre-built components and design elements. This feature allows for quicker design processes by utilizing ready-made assets.
Like many modern design tools, Framer X supports real-time collaboration. Multiple users can work on the same project simultaneously, making it suitable for team environments.
Pros
- High Interactivity.
- Design-to-Code Workflow.
- Powerful Animation Capabilities.
- Growing Community and Resources.
Cons
- Limited Third-Party Plugin Support.
- Steeper Learning Curve.
08. Flinto | An Interactive Prototyping Tool

Almost everything you need to bring your concepts to life is included in Flinto, an interactive prototyping tool for Mac. It’s easy to add layers of video and GIF files by dragging and dropping them into your designs.
You can also add sound effects to your UIs and change the scrolling speed. It’s also possible to import your Sketch files and then examine how your designs look on the free iOS app.
Pros
- Drag and drop feature.
- Animated transitions.
- Micro-interactions.
- Drawing tools.
Cons
- Only Mac users can operate this.
09. Marvel | Modern UI Design Tool
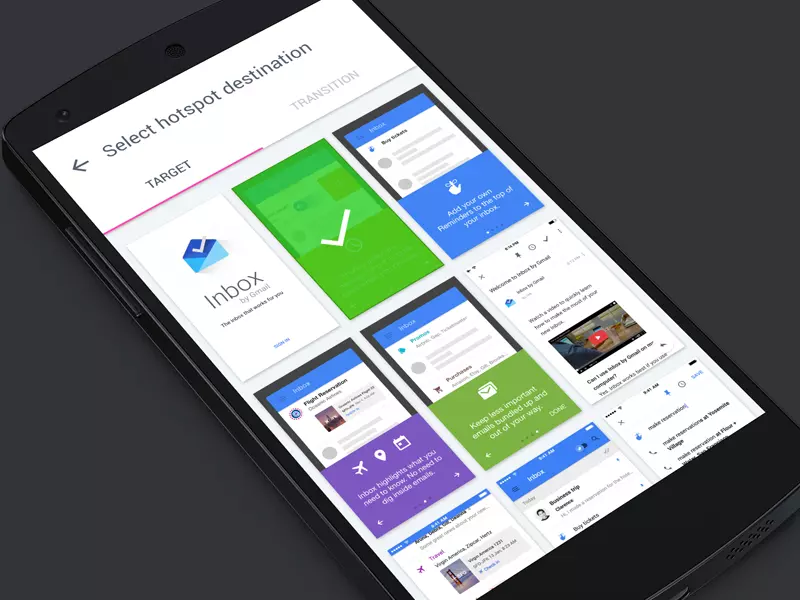
Marvel is a modern UI design tool that everyone can use. Marvel is a versatile all-in-one tool that does it all, whether you’re an individual or a large business developing low or high-fidelity prototypes, mockups, and wireframes.
You can use it for seven days for free in any browser, on any mobile device (Android or iOS), and any operating system (Windows, Mac, Linux).
One of the most impressive features of Marvel is its ability to immediately convert drawings into code, specifications, or assets for developers. It saves time and makes it easier to send over the file to the back-end team to finish the project.
In addition, Marvel features an integrated user testing tool that allows you to receive feedback in the form of voice and video, as well as an option for analytical feedback.
Pros
- Web-based.
- Good integrations.
- A single person and one project can utilize the free version of the service.
- To transfer files, handoff features” make it easier.
Cons
- There are no desktop apps available.
10. ZEPLIN | Best UI Design Tools
Handing along designs to developers is an important component of UI design, and Zeplin is a great tool for making this communication easier. Non-designers can use it to organize designs, publish them, and scale design systems in an intuitive workspace, but it’s the greatest option for handovers.
Designers and developers can now collaborate more easily thanks to Zeplin, which generates specifications and standards for your designs and reduces the time and effort required by front-end developers to manually generate code from designs.
Importing a design from an integrated software like Adobe XD or Photoshop may be done in seconds and the design can be turned into code, assets, and specifications.
Custom webhooks and workflows can be used to automate repetitive operations and enhance productivity. Apps like Slack, Microsoft Teams, Trello, and more may be linked with Zeplin so that engineers can communicate directly with the product team.
Pros
- Windows and Mac OS X are supported platforms.
- Custom workflows and webhooks
- Free plan with all features
- Workflow automation is made possible by a variety of tools.
- Beginner-friendly
Cons
- Free and low-cost plans come with only a few style guides.
- Integration options are limited
11. Justinmind | Built-in Wireframing Feature
This UI tool’s built-in wireframing feature is what sets Justinmind out from the others. Wireframes for online and mobile apps are available in a wide library, making the process much easier and faster.
The prototyping capabilities in Justinmind allow for testing mobile motions on a wireframe before moving on to the next stage of the design process. It is easy to select a base, drag & drop elements, and quickly test out your ideas in a single fluid flow.
All UI elements, even predefined ones, can be customized with Justinmind. Guides and rules can also be used to arrange and align-items with pixel-perfect accuracy. Additional features include the ability to seamlessly import photos and graphical elements from well-known graphic design programs like Photoshop and Illustrator.
Pros
- Drag and drop capabilities
- Plugins for Photoshop, Illustrator, Sketch, and other similar applications.
- Infinite wireframes and customers.
- Interactive prototypes can be exported
Cons
- Lack of storage
- With a large workforce, costs might quickly escalate.
12. Whimsical | Most Popular Design Tools
Use Whimsical to create product specifications, brainstorming, and user flow diagrams. It’s easy to use and has a clear layout, making it ideal for early-stage real-time collaboration on UI design. Because it’s so user-friendly, even those of your coworkers who aren’t familiar with user interface design can contribute.
However, the seamless incorporation of diagram parts makes up for the lack of freehand writing tools in Whimsical and thus speeds up the process while also creating an orderly framework. In addition, you may use this tool to create wireframes as the next phase in the UI design process.
Pros
- Controls and features are easy to use.
- Instantaneous teamwork.
Cons
- Features that are drawn by hand are not included.
- With a huge team, things get pricey.
13. Craft UI Design Tool

Using Craft, a plugin from InVision, you can keep working on your design in Photoshop or Sketch as Craft syncs with what you’re doing. This time-saving feature is only one of the many features that Craft has to offer.
To ensure that everyone is working with the same version of a project, any style, edit, or tweak changes are rolled out to the entire project.
Craft’s placeholder content sets it unique from other UI design tools. Getty and iStock photographs are included, so you may enhance your design with more eye-catching images. And if your design calls for data, you can use data you already have on hand or get it from elsewhere.
Few UI design tools allow you to add more significant content to your mockups. Using Craft’s mockup function, you may get a more accurate image of what your final design will look like.
Pros
- Collaboration with Photoshop.
- Time-saving features.
Cons
- Limitations to cooperation
14. Origami Studio | UI Design Software
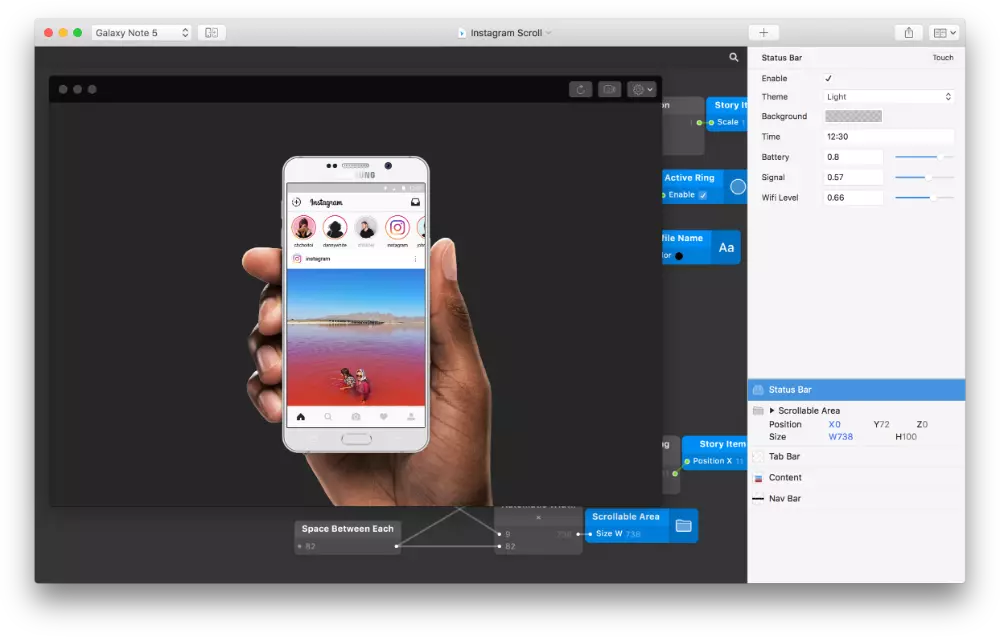
With a Facebook pedigree (it was designed by and for Facebook designers), Origami Studio is more complicated than InVison or Sketch, which are a bit easier for design newbies. Origami Studio offers a lot to offer people who need a more advanced prototype tool as part of their design system.
This platform provides the tools required to create comprehensive prototypes that are powered by a powerful patch editor, allowing designers to include advanced features. Prototypes are designed to look and function like genuine apps or websites.
Origami Studio works well with Sketch as well. When working in tandem with Sketch, it allows you to bring in layers and directly copy and paste them without any hiccups.
Pros
- Using its patch editor, create the logic behind prototypes.
- Provides users with a real-time patch library.
- Sketch layers can be copied and pasted easily without any hiccups.
- It simplifies the process of editing dynamic layouts.
Cons
- Control is inconvenient.
- Lack of Apple support.
- A little difficult to navigate after a while.
15. Maze | User Testing Software
Remotely test prototypes, wireframes, and other site and application pieces with your team through Maze. If you want to test out your ideas and functionality in a browser and on a device, this is the tool for you.
In addition to missions, conditions, open-ended questions, card sorting, and five-second tests, Maze offers a variety of testing options. Maze’s post-test reporting features are yet another advantage of the software.
You don’t have to rewatch the full testing session to develop custom reports or to build on predefined reports.
Misclick reports and heatmaps show you where your app or site’s users are focusing their attention, allowing you to fine-tune your design accordingly. Both of these tools assist you to improve the usability of your designs.
Figma, InVision, Adobe XD, and Sketch are all supported by Maze. Using these design tools, you can easily test your concepts and collaborate with colleagues throughout the company for further feedback.
Pros
- Incorporating popular design tools into the mix.
- Remotely simulated design evaluations.
- Reporting that includes all stakeholders.
Cons
- Costly
- The free plan has a limited set of options.
Final Words
Which one of the UI design tools do you prefer? You already know which one to choose after going through this article. UI design is a multi-step process that requires a lot of time and effort to complete.
All-in-one or specialist tools can be used to define and tackle the many stages of the process, each with its own set of advantages and disadvantages.
For the most part, it’s a matter of personal preference and financial considerations when it comes to which tools to utilize.
Checkout The Latest Article
What Is Graphic Design? A Complete Guide for Beginners
Frequently Asked Questions
How are UX Design and UI Design Different?
UI refers to the graphical elements that users use to interact with a product, whereas UX is concerned with the overall experience a customer has with a product or service.
What’s the Newest UI Design Trend You’ve Noticed?
The use of natural and pastel colors by UI designers is an encouraging development. Users will get an immersive experience thanks to the combination of this technique and simple design principles. When it comes to a good example, look no further than Dropbox’s official website. Impressive pastel hues are used.
Is it Better to Start with UI or UX?
It is common for UX design to come first in product development, followed by UI design. The UX designer creates a rough outline of the user’s journey; the UI designer then adds visual and interactive features to make it more appealing and user-friendly.


