Table of Contents
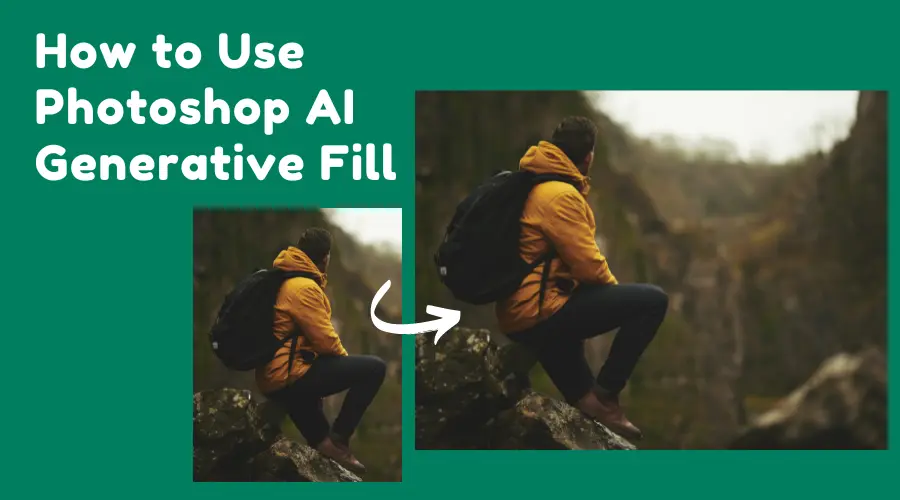
The Photoshop AI Generative Fill is a groundbreaking addition to the photo editing world. Adobe introduced this tool in 2023. Since then, it has been helping the photo editors to create impressive effects. You can fill or replace areas in your photos with just a few clicks.
Unlike other AI image editors, this tool gives more realistic results. Using this creative tool, you can precisely remove unwanted objects from your image. You will get step-by-step guidance to make the best of generative fill AI here. So, let’s jump into the main topic.
Features | Photoshop Ai Generative Fill Online
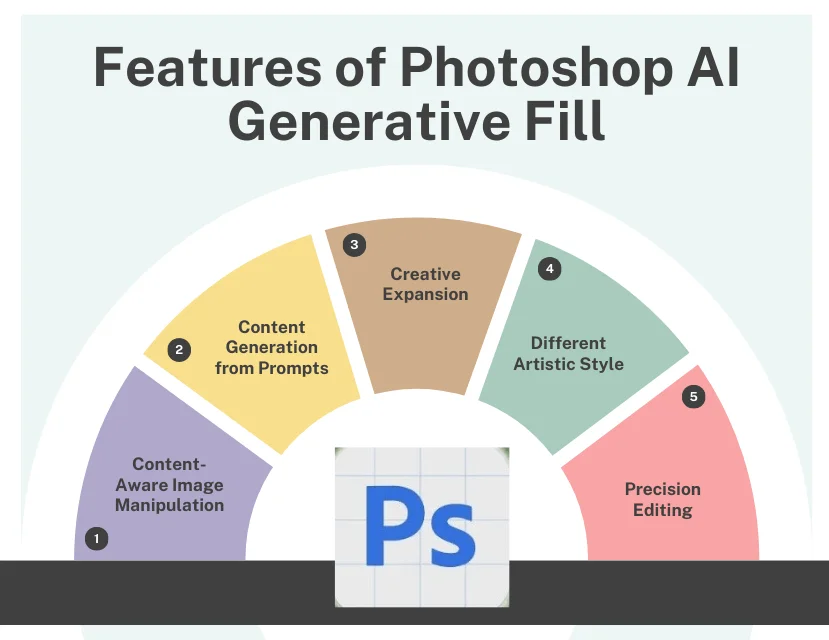
Let’s understand the features you will get in Photoshop AI Generative Fill.
A. Content-Aware Image Manipulation
You can easily remove unwanted objects from images. Just make a selection of the object using the quick selection tool or the lasso tool. Then write a prompt on the Generative Fil. The AI will replace the removed area with contextually appropriate content seamlessly.
Again, you can replace the background without painstakingly masking subjects. The AI generates a new background that blends naturally with the rest of the image.
B. Content Generation from Prompts
The AI power tool allows the generating parts of an image from textual description. Describe a scene or object in the prompt box, and the AI will generate content matching that description within the selected area. Based on the prompts, it helps fill in missing or damaged parts of an image.
C. Creative Expansion
The Photoshop AI Generative Fill extends the boundaries of your image. AI fills the newly added space with coherent content. You can add new elements that align with the initial context. Thus create more creative designs with less effort.
D. Artistic Style
The AI allows the application of different artistic styles to portions of an image. It creates realistic effects based on the rest of the content. You can also create a dramatic mood in the photo. You can change a daytime scene to nighttime.
E. Precision Editing
It helps to edit more precisely. Select specific areas of an image for targeted editing without affecting the rest of the image. So, you can edit non-destructively.
How Does Photoshop AI Generative Fill Work?
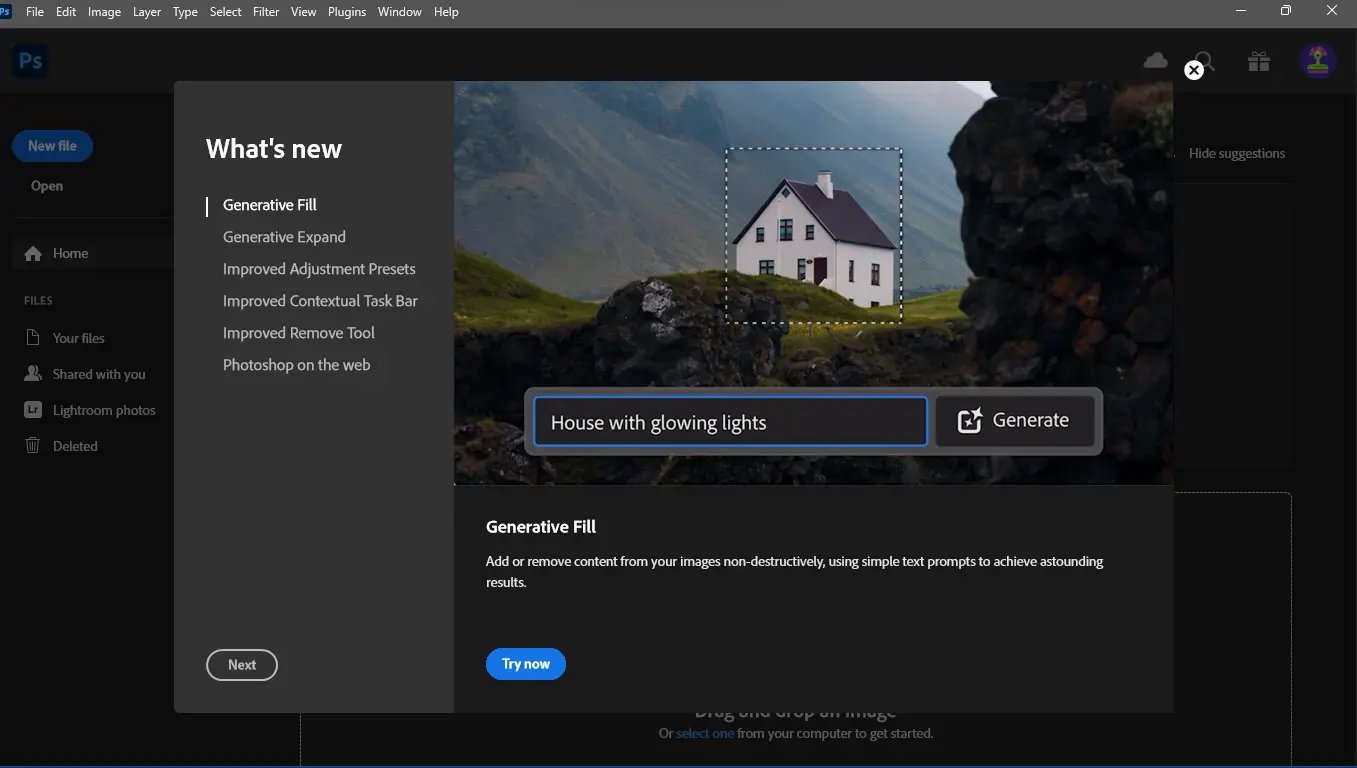
Photoshop’s AI Generative Fill uses advanced machine learning techniques. It is trained on Adobe’s Firefly AI models. They contain a vast dataset of images and textual descriptions to understand and generate contextually appropriate content.
The training process involves learning patterns. It follows relationships between various visual elements and how they relate to textual descriptions. The AI understands context, style, and semantic meaning from the input data.
Generative Fill uses GANs. This Generative Adversarial Networks is a class of machine learning frameworks. Here two neural networks (a generator and a discriminator) are trained simultaneously.
Additionally, the diffusion models generate images by progressively refining noise into a picture. They are effective for creating detailed images by iteratively enhancing rough drafts into polished visuals.
The AI analyzes the selected area and its surrounding context. Thus, it understands what content would seamlessly blend into the image. It considers colors, textures, lighting, and spatial relationships within the scene.
Additionally, The Generative Fill operates on separate layers. It ensures the original image remains unchanged. However, you can further refine the generated content using Photoshop’s tools.
How To Use | Generative Fill AI
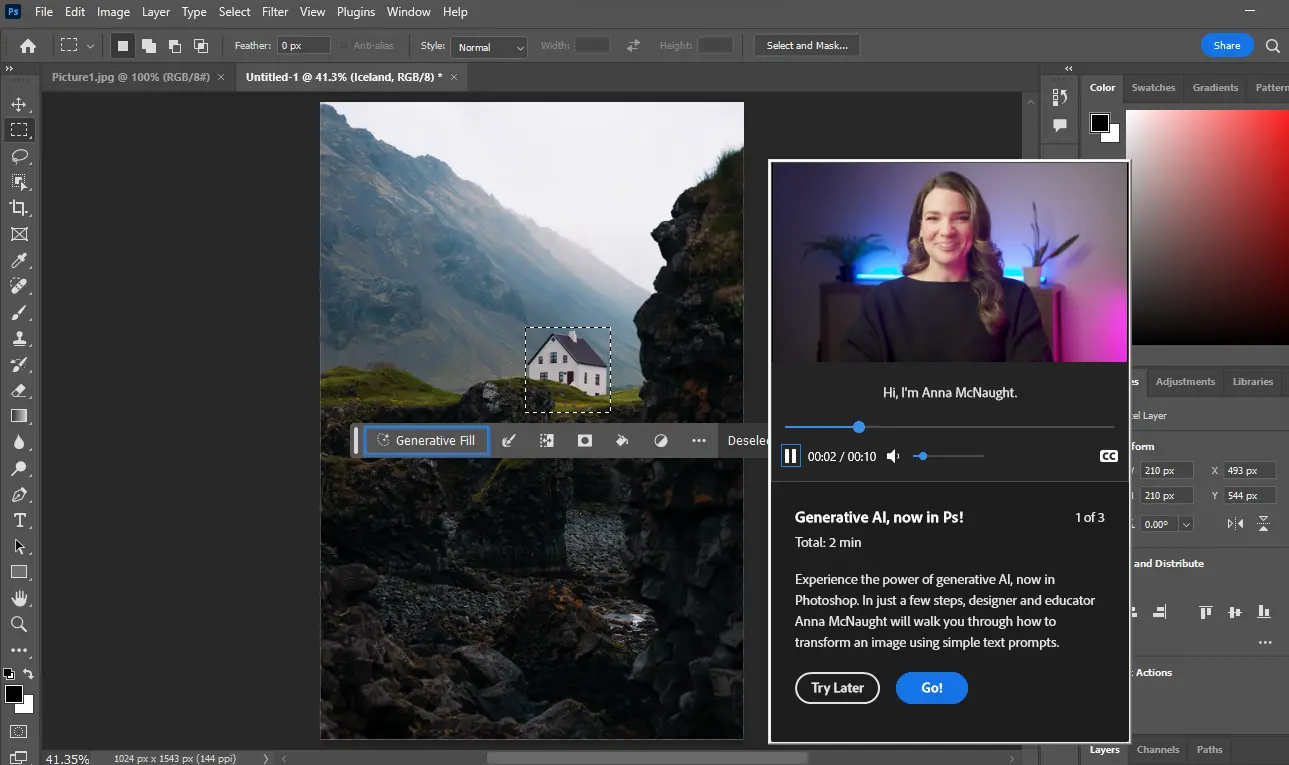
Using AI Generative Fill of Photoshop is super easy. Here is how you can use it:
Step 1: Open Your Image in Photoshop
Go to Photoshop on your computer. Now open the image by going to File > Open. You can also do it by dragging and dropping the image into Photoshop.
Step 2: Select the Area to Edit
Here you need to select the area where you want to apply the generative fill. There are different image selection tools available in Adobe Photoshop. You can use the lasso tool for freehand selections. Meanwhile, quick selection allows the automatic selection of areas. Moreover, the object selection tool automatically detects and selects objects within your image.
Step 3: Activate Generative Fill
Now it is time to activate the generative fill. Right-click inside the selected area to bring up the context menu and choose Generative Fill. Also, you can find the Generative Fill by going to the Edit menu at the top.
Step 4: Provide a Text Prompt
Now you will get a dialog box to input a textual description. The AI will generate content based on your description. For instance, you can type “sunset sky” to replace the current sky in your image with a sunset scene.
You can also leave the text box blank. In this case, the AI will generate content based on the surrounding area without specific guidance.
Step 5: Review Generated Options
Photoshop generates multiple fill options. You can choose the best one from the outputs. Scroll through these options to see how each fits within your selection. If you find the best match, click on that option. If none of the options are perfect, you can either modify your selection or text prompt and try again.
Step 6: Refine and Adjust
The selected fill will be applied to your image as a new layer. After that, you use Photoshop tools and features to blend and refine the generated content.
Step 7: Finalize Your Edit and Save the File
Now merge the layers or keep them separate for future adjustments. Save your work by going to File > Save As and choosing your preferred format.
Applications of Photoshop AI Generative Fill
The Photoshop AI Generative Fill is powered by Adobe’s Firefly AI models. It has become a revolutionizing addition to the photo editing industry. The Photoshop AI is helping the professional photo editors in different ways. Here are the applications of Photoshop Generative Fill:
Photography & Photo Editing
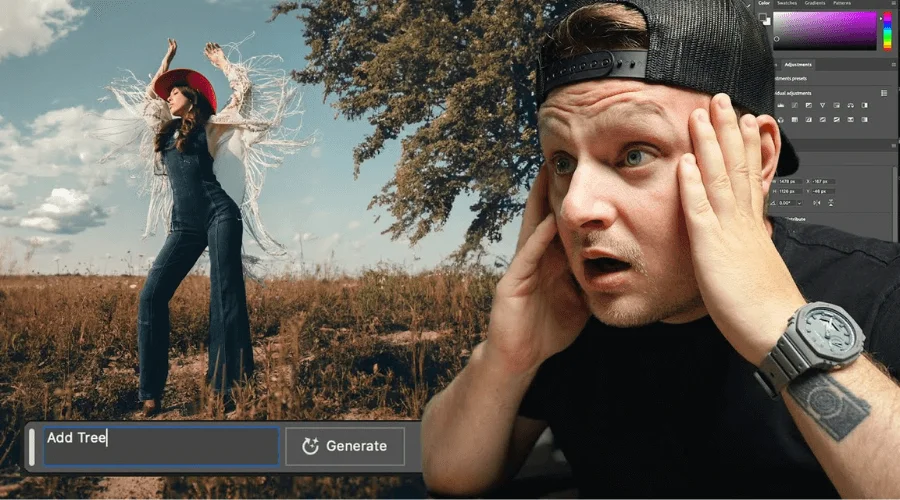
In photo editing, you can use this tool to remove backgrounds from the photos. It is a time-saving and cost-saving option.
So, you can create a suitable background for e-commerce product images. Previously it had taken a lot of time to replace the background. Now you are just a few clicks away from getting cutout photos.
Moreover, this tool allows removing distracting elements. Then, you can fill the space with contextually appropriate content. Thus, repairing the damaged photos becomes much easier. It also helps to add a particular element and enhance them.
For instance, you can add makeup, hair, and accessories to the photos. Thus the Generative Fill saves time and cost for both the photographers and photo editors.
Marketing & Advertising
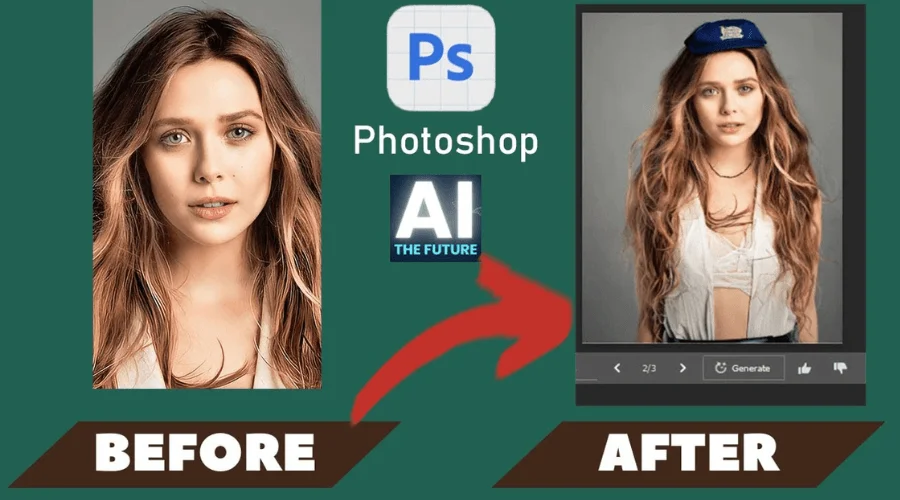
You can quickly generate promotional material using the generative fill ai. Additionally, you can create product mockups by using this technology.
For example, you can create a series of holiday-themed ads by generating festive elements like decorations and seasonal backgrounds. After generating, you can customize the image to make look more eye-catching.
Film & Entertainment
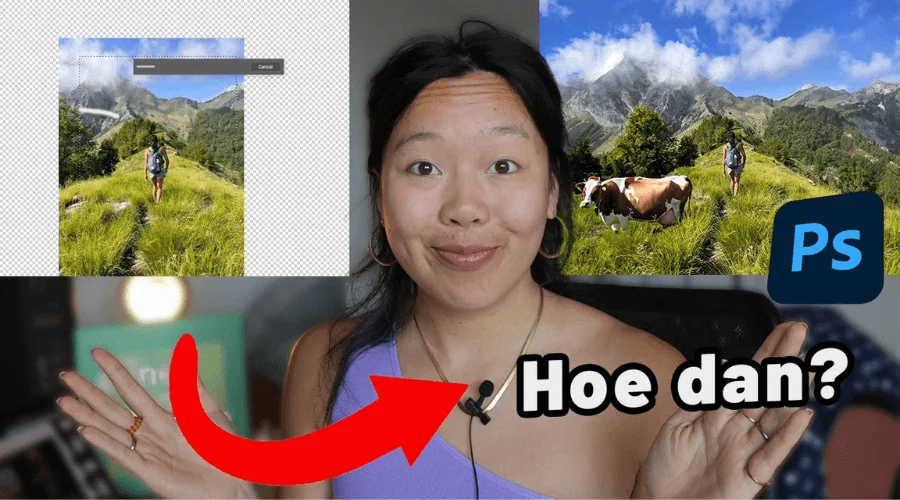
Photoshop AI will be effective for creating entertainment content. It can help you design a set by generating and adjusting elements within the scene. By creating conceptual art, you can visualize the scenes and characters described in scripts or narratives.
For instance, you can create concept art pieces depicting various locations described in a fantasy novel. Moreover using AI you can create and enhance the visual effects. It can generate CGI elements with real-world footage.
Education & Research

You can also use this AI to generate illustrations for educational materials, such as textbooks and presentations. You can reconstruct historical sites or artifacts by filling in missing parts based on contextual information.
Photoshop AI also enhances scientific images, such as satellite or microscopic images. It can create representations of theoretical models or hypotheses.
Web & UI/UX Design

The UI and UX designer can generate UI elements or backgrounds for app and website prototypes. You can create user interfaces based on different contexts or themes. It also helps apply generative styles to web elements like buttons, headers, and backgrounds.
Adobe Generative AI Online
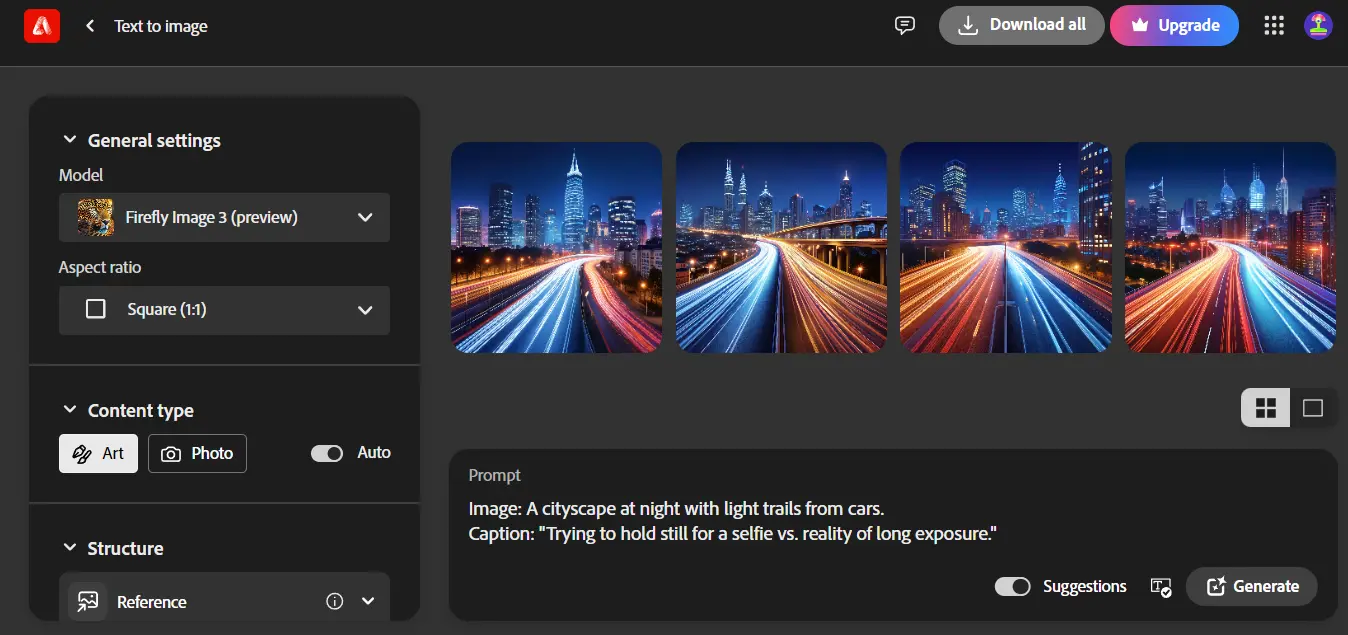
The Firefly web app is a gateway to the world of generative AI. It empowers you to unleash your creativity using simple text descriptions. It is free to use. Firefly is accessible to anyone with an internet connection.
Additionally, it has a super easy user-friendly Interface. You do not need any expertise or downloading the software. It has some basic image editing functionalities but you will not get the advanced photo editing tools here. Here’s what Firefly has in store for you:
A. Image Generation
You can use Firefly for image generation like Photoshop generative AI. It creates new images from scratch by feeding your imagination into the text prompt. All you need is to describe in the prompt box.
B. Text Effects
Breathe life into your text with unique styles and textures. Imagine fiery neon letters or shimmering chrome headlines. The AI will create your desired typography.
C. Image Editing Magic
This generative fill online will take your photo editing to a new level. You can remove unwanted objects, seamlessly replace backgrounds or recolor vector artwork. The Firefly’s AI assistants handle these tasks with impressive finesse.
Photoshop Generative Fill Not Showing Up Problem
Photoshop generative fill not showing up may happen due to a couple of reasons. To resolve this issue download and install the latest version of Photoshop. Generative Fill is a core feature of Photoshop 2024 and beyond. Ensure you’re running the latest version by opening the Adobe Creative Cloud app.
It may also happen if you are logged out of your Adobe Creative Cloud account. So, make sure that you are logged in to your account. Moreover, the Generative Fill options might be hidden within the Contextual Task Bar. So, enable it to get the option.
Again, a corrupted installation might cause issues. Consider uninstalling and reinstalling Photoshop from the Creative Cloud app.
Checkout Our Latest Articles:
- How To Make A Transparent Background [5 Easy Ways]
- Rule of Thirds | A Complete Guide for Beginners
- How to Add a Drop Shadow in Photoshop
- How to Turn Photo into Line Drawing Online Free
FAQ | Photoshop AI Generative Fill
Which Version of Photoshop Has Generative AI?
The Photoshop generative AI launched as a beta version in early 2023. However, the detailed version was launched in 2024 with Photoshop version 25.0.
Where Can I Learn More about Generative Fill?
The Adobe help center can help you get detailed instructions and tutorials on the Photohsop Generative Fill. Moreover, numerous YouTube channels offer video tutorials on using Generative Fill for various editing tasks.
Final Thoughts
So this is all about the Photoshop AI Generative Fill. You can use this tool of Photoshop to create unique designs for your projects. It allows you to edit photos in a more quick time. However, this is not free of cost anymore.
So need to buy a subscription to use the generative fill of Photoshop. Yet there are some alternatives that you can use to create similar types of designs free of cost.


