Table of Contents
Are you a professional photographer looking for a reliable platform to showcase your photos, share them with clients, and sell them online? This Pixieset Review is for you. This review is based on my personal experience of using this platform.
Pixieset has revolutionized the way to share and sell photos. The photo delivery has become as beautiful as your photos. So, the clients will be happy and repeat purchasing from you. Thus Pixieset is becoming the most popular photo-sharing platform for photographers who require online clarinet galleries.
But does Pixieset live up to the hype? We’ll put it to the test with an objective and comprehensive look at its features, usability, and value.
What does the Pixieset offer?
Pixieset is not only a photo-sharing platform. It is an all-in-one platform for photographers where they get complete support for client interaction. You may have a website to display your photographers. But what about the file-sharing channel? It has to be smooth to impress the clients so that they intend to purchase yours again.
Moreover, maintaining a complete and secure website to showcase, share, and sell the photos is a challenging task. And it requires a lot of investment. But the Pixieset allows you to create Client Galleries and share them with the clients at ease.
So do not need to take the hassle of painting a website. You just capture amazing photos and share them through this platform. Also, it acts as an online store. So, the visitors can buy your products and make the payment in a safe channel.
The Pixieset also helps with a set of studio management tools. That makes managing the photos and interacting with clients effective. You will get mobile-friendly galleries for easy client viewing on any device.
Pixieset caters to photographers of all levels, from beginners starting their businesses to established professionals. It’s a popular choice for wedding, portrait, family, and event photographers.
Getting Started with Pixieset
First, you have to visit the Pixieset website and create a free account using your valid Gmail account. You will have to put your business to get started. However, you can either add your website link or skip it. Then you will get a confirmation mail to complete your sign-up. Click the “Verify Your Email” button to verify your account.
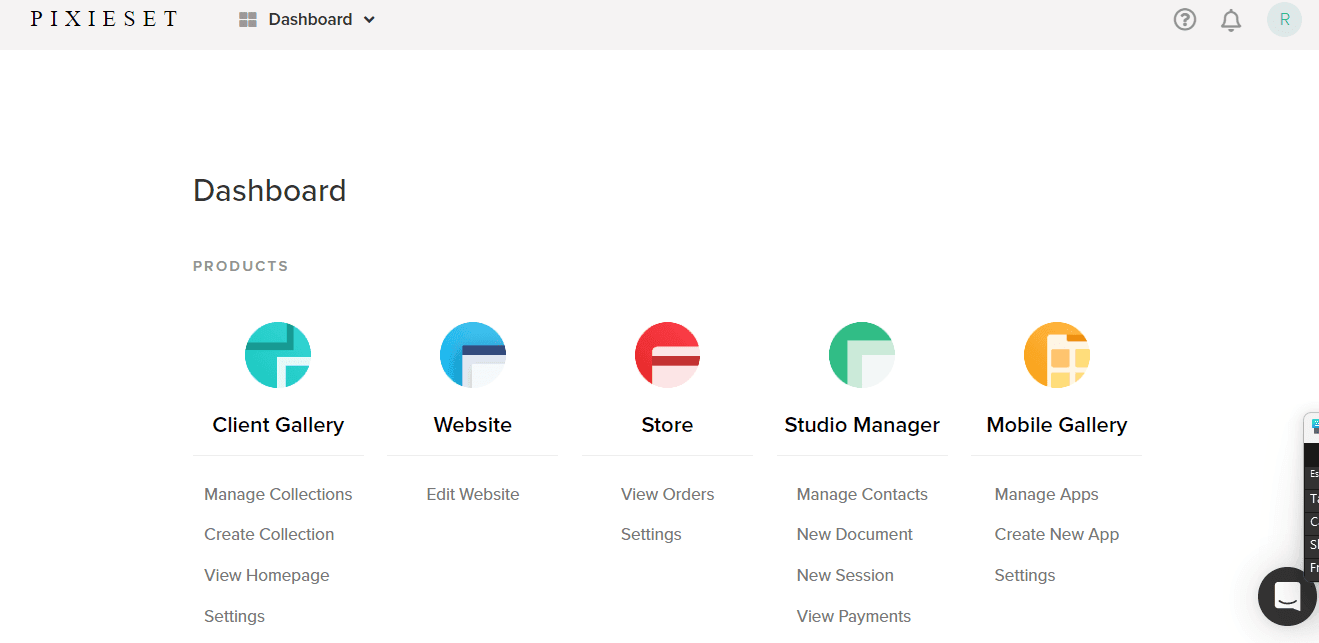
Go to the profile section from the top right corner of the interface. And add the relevant information to complete your account setup.
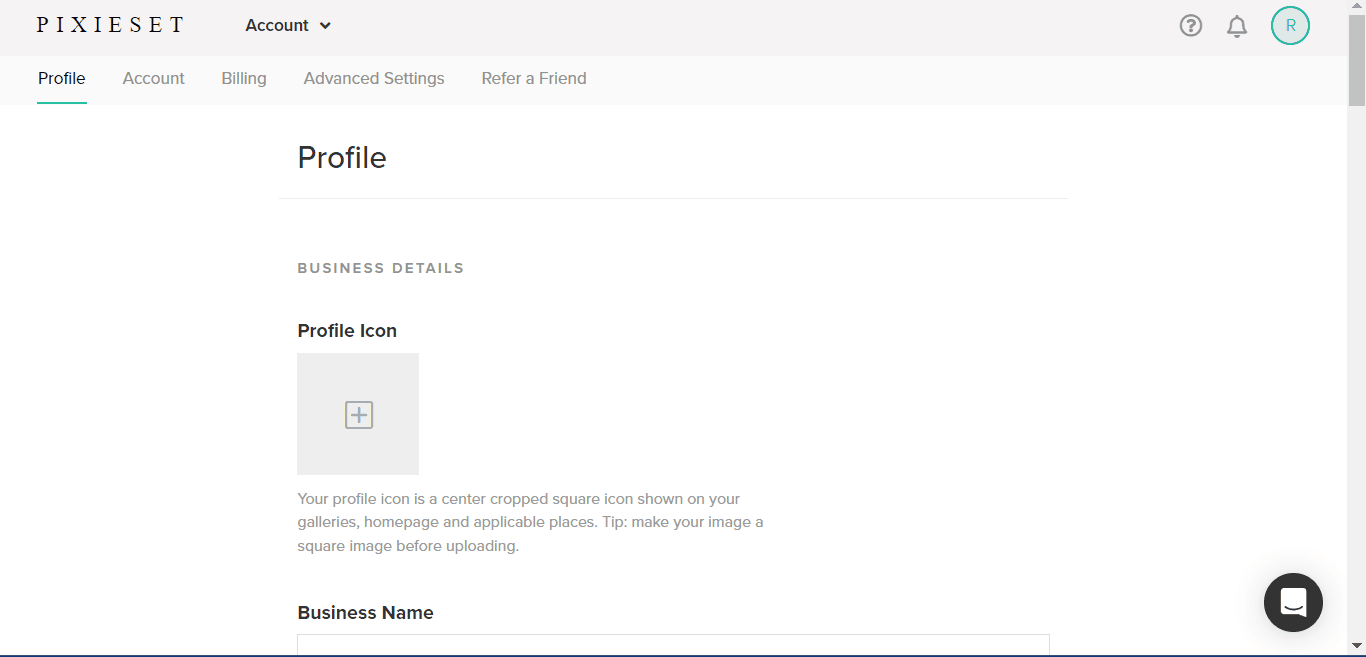
Now you get a free account. You can still use this free account to create client galleries and share them. But it has some limitations. You will get limited storage for the free accounts and the URL is not customizable. So, you need a paid plan for the experience professional use of this platform.
But my recommendation is, as a beginner, you should start with the free plan. Once you get accustomed to the features and tools, go for the paid option. Now explore the dashboard and try to familiarize yourself with the main features. Use the drag-and-drop interface or bulk upload option to add your photos.
Create folders and subfolders for better organization within your collections. The platform also offers using keywords and tags to make searching and filtering easier. In the advanced setting option, you will get the Collection Level, Client Level, Website Level settings, options for branding, and updated terms of service and privacy.
Thus you can control what your clients will see in your profile and their interactions. Clicking on the refer a friend you can refer Pixieset to your friends. Thus, you can get a 250 MB storage bonus or a $10 referral credit.
Features of the Pixieset
Client Gallery
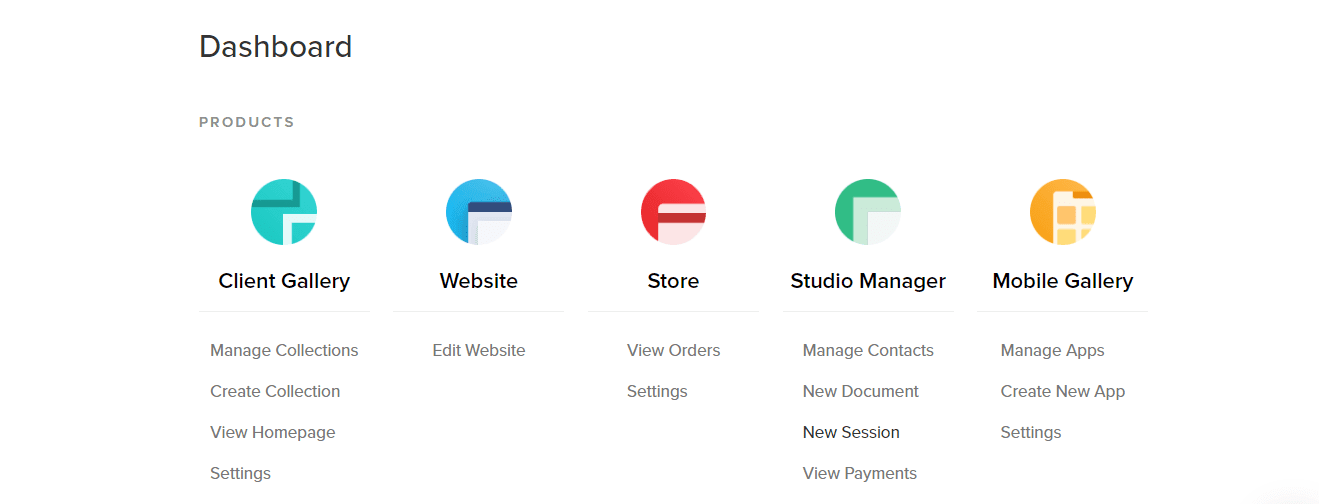
The Client gallery of the Pixieset is known as the collection. You can create collections, manage them, and as per your requirements.
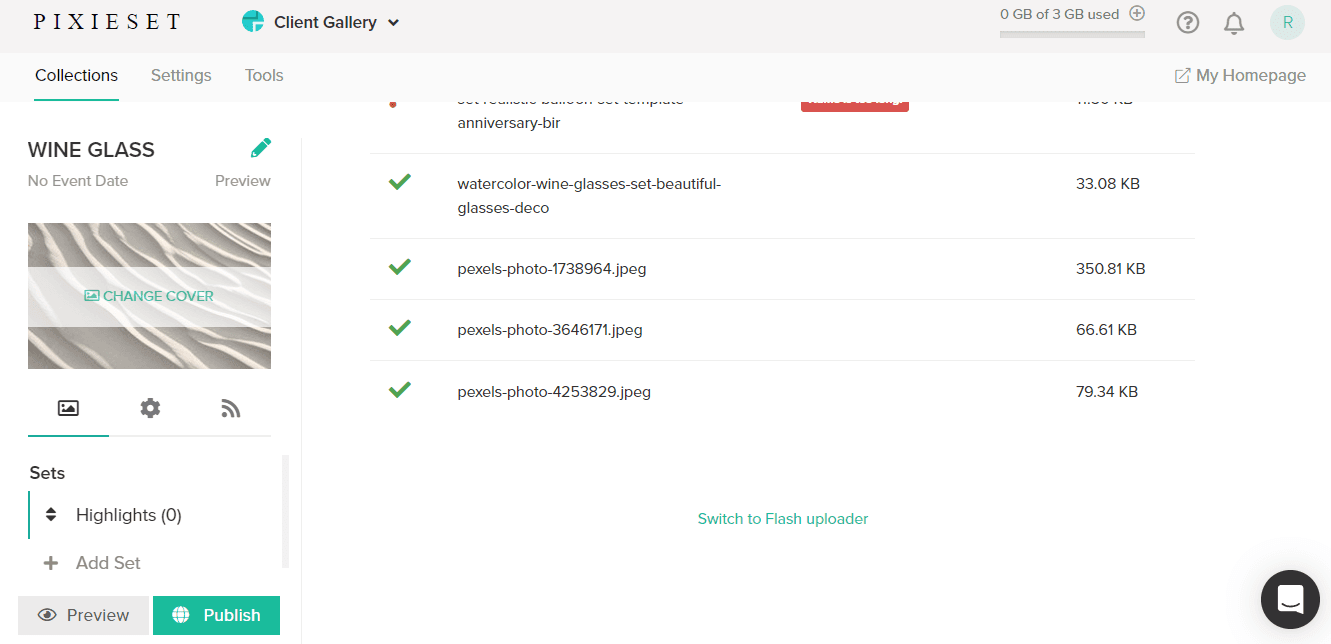
It is a room for the photographers to work with clients in an organized manner. So, your customers faltered with the outlook of your collections and eventually made a purchase. Moreover, the extensive set of features allows you to customize your pixieset gallery professionally and control it. Thus you can facilitate sales.
The Pixieset has various themes and layouts to uphold your brand. So, you can create stunning galleries by customizing the colors, fonts, and logos. It creates a cohesive look that reflects the motive of your brand. The folders and subfolders allow to categorization of the images within each gallery. Moreover, adding captions, keywords, and tags makes it easy to search for the desired photo.
using the control options, you can protect your folder or subfolder using a password. Also, it allows you to make your galleries public or private. Thus they ensure your data security. Moreover, the client proofing feature helps to receive comments and feedback directly on photos. So, you can see how your customers are responding to the photos and what you may need to improve to satisfy them.

The e-commerce integration within the galleries allows you to sell prints or download photos directly from the galleries. Another important feature I love about the client’s galleries is the feature of tracking client activity. You can directly communicate with them and invite clients to your gallery.
Here are a few specific things that will make you love this Clinet gallery:
- Professional Presentation
- Streamlined Workflow
- Increased Sales
- Improved Client Satisfaction
Lightroom Plugin
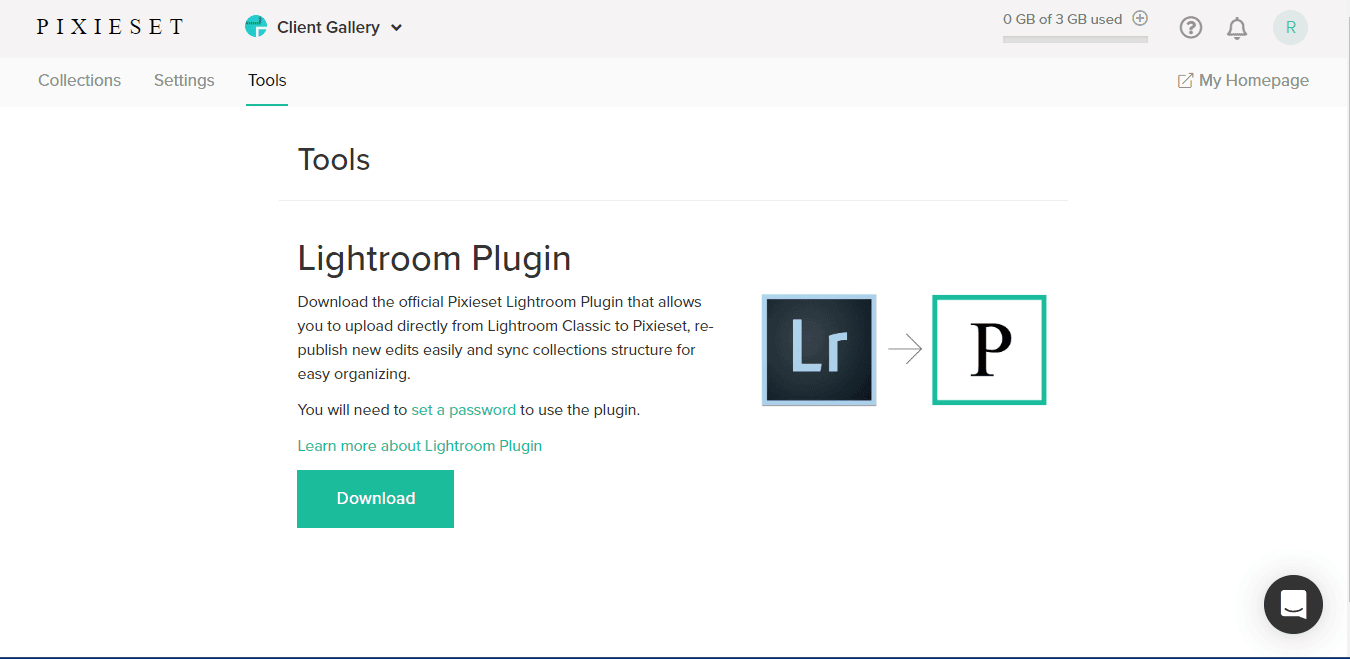
The Lightroom Plugin of the Pixieset in the client gallery is an addition for the photographers. It is a valuable tool for photographers who want to streamline their workflow. Using this plugin you can upload photos directly from Lightroom to your Pixieset galleries. So, it saves the time and effort of the photographers.
Also, the uploaded photos from the Lightroom will maintain your existing organization. So, you do not need to organize your folders and subfolders again.
Let’s see the features of the Pixieset Lightroom plugin
- Direct Uploads
- Seamless Organization
- Batch Uploads
- Automatic Updates
- Reduced Export from Lightroom
How to use Lightroom Plugin:
- Download the Pixieset Lightroom plugin from Pixieset’s website.
- Then install the plugin in Lightroom Classic.
- Now go to pixieset login and your account through the plugin.
- Choose your preferred settings for upload behavior, metadata, and more.
- Connect your Pixieset account to the plugin for seamless integration.
- You also need to choose which Pixieset galleries you want to upload to.
- Match Lightroom metadata fields to Pixieset’s custom fields for consistent information.
- Select specific photos within a collection or folder for upload.
Analytics
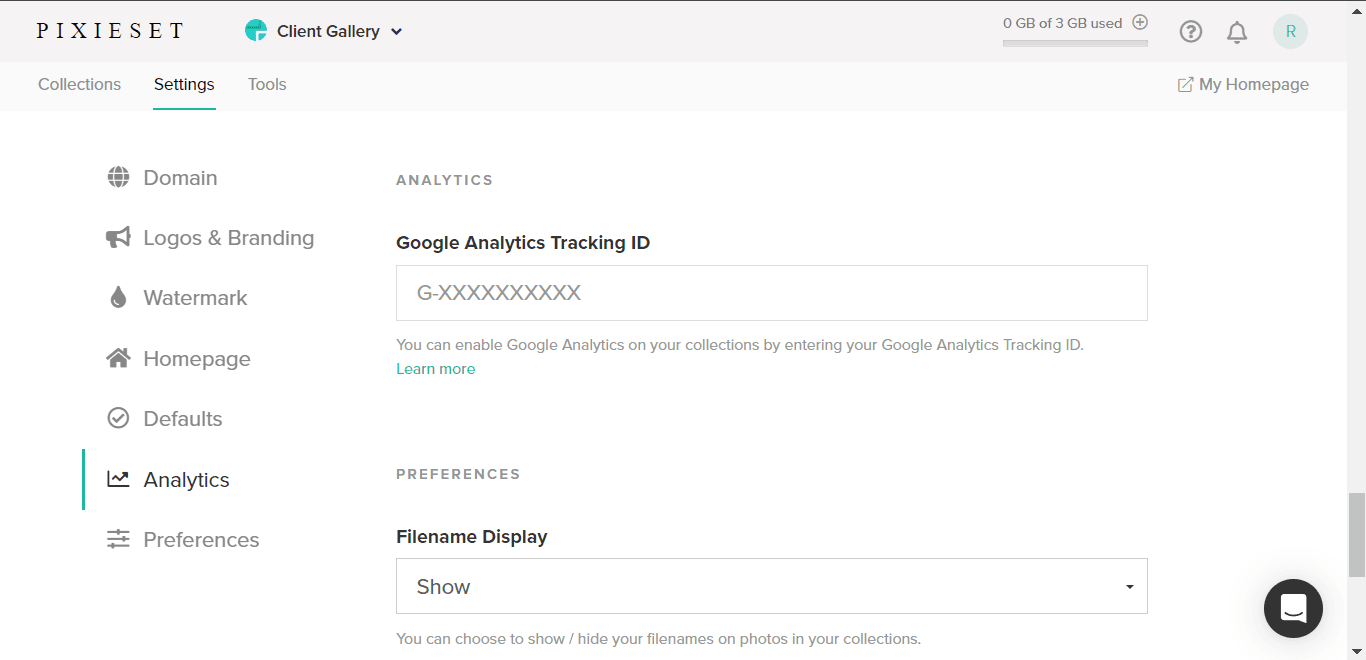
The Analytics of the Pixieset helps to understand how your clients interact with your galleries. It is an opportunity for improvement. To get the analytics, go to the Client Gallery. Here you will get the “Settings” option beside the “Collection” option. Under the “Settings” option, you will get the Analytics option.
Here you can track how many times each gallery or webpage is viewed. Also, it offers tracking of the the number of photos downloaded by clients. Also, you will get information on print orders placed through the gallery. Thus, by analyzing the client’s behavior, you can improve client communication.
Moreover, Pixieset offers customization options. You can filter data by Date. It helps to track trends and performance over time. Compare the performance of different galleries side-by-side. So, you can understand why a gallery is so successful while others are not getting the result.
Pixieset as an online store
As an online store, I loved the features of this platform. It works more efficiently than the other platforms. Here you will get several features for selling prints, digital downloads, and other products directly to clients. You can partner with professional print labs for high-quality prints. Here you do not need to manage inventory or shipping.
Set individual prices for photos, packages, or custom collections. Clients add the desired photos to their cart and purchase directly within the gallery. The payment system is also secured. You can withdraw your payment through Stripe or PayPal.
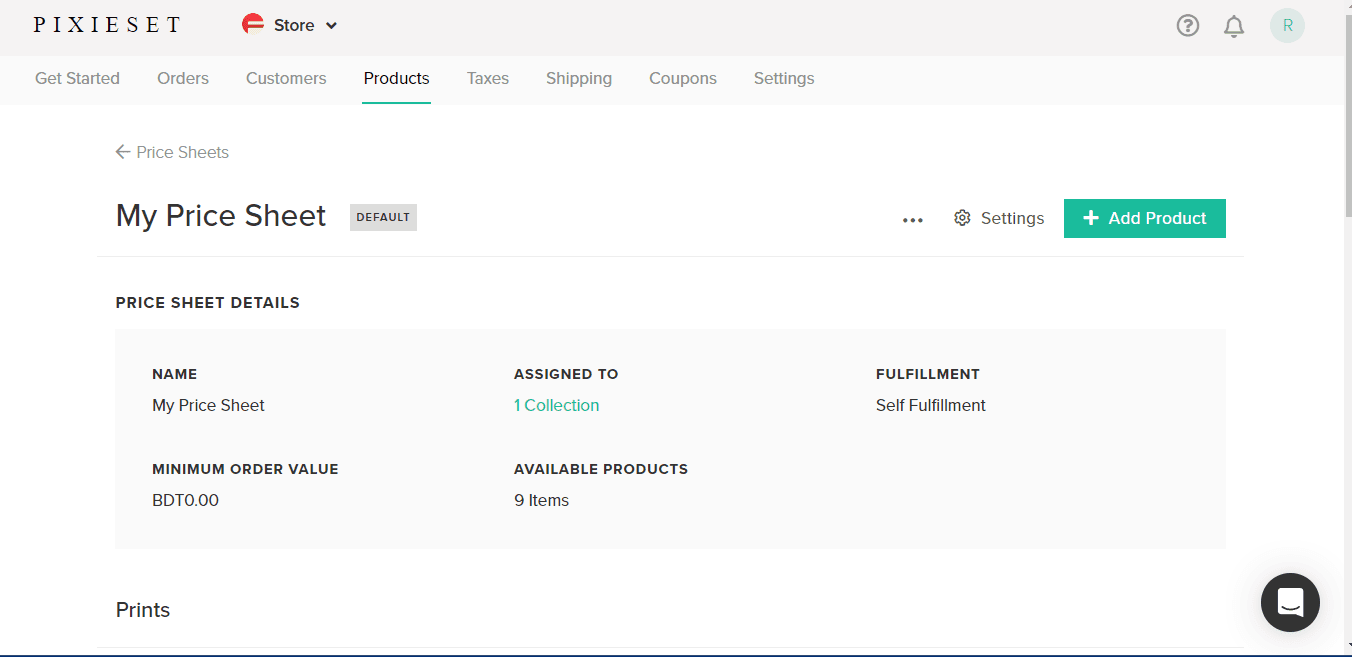
To add a product to the Pixieset, click on the Add Product button.
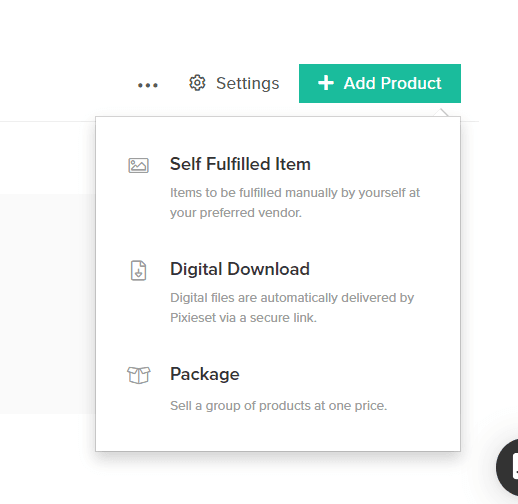
Here you will get three options for the product category.
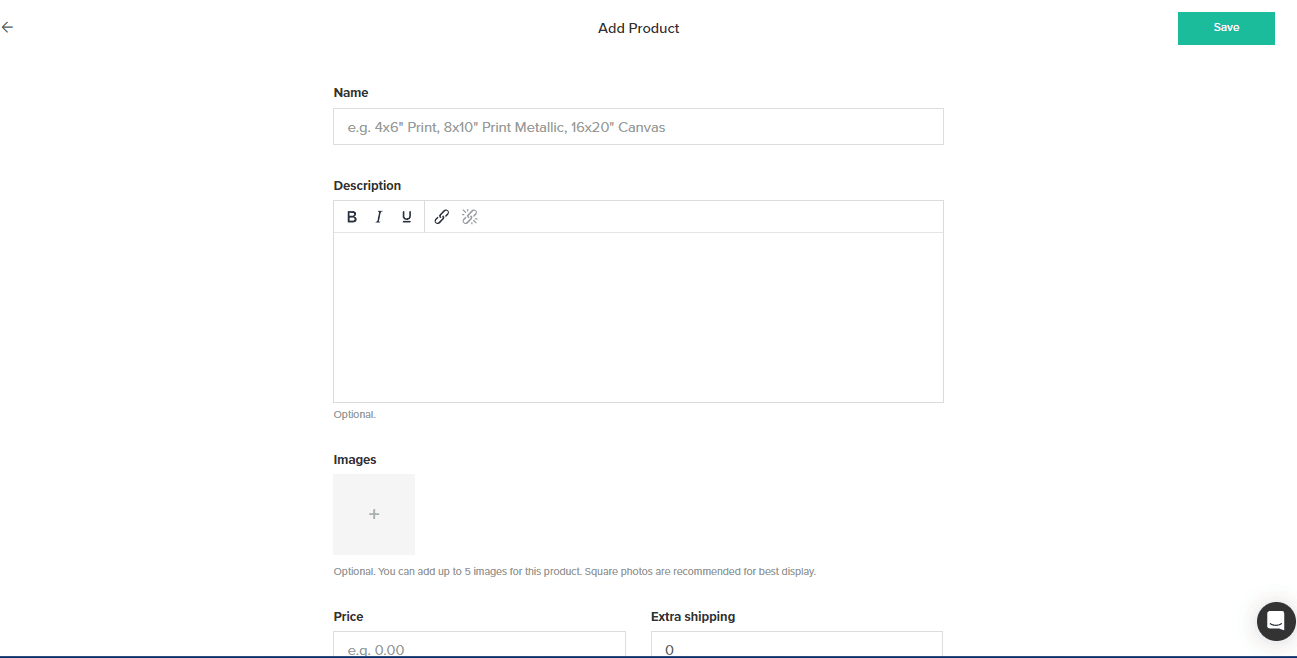
Then give a name or title to the product. Write a short description of it. Then upload the image by clicking on the “+” sign. Now set the price and Shipping cost for the product. Here you will also get other options like product option, no image required, and exemption from sale tax. After uploading the image click on the save button.
Studio Manager
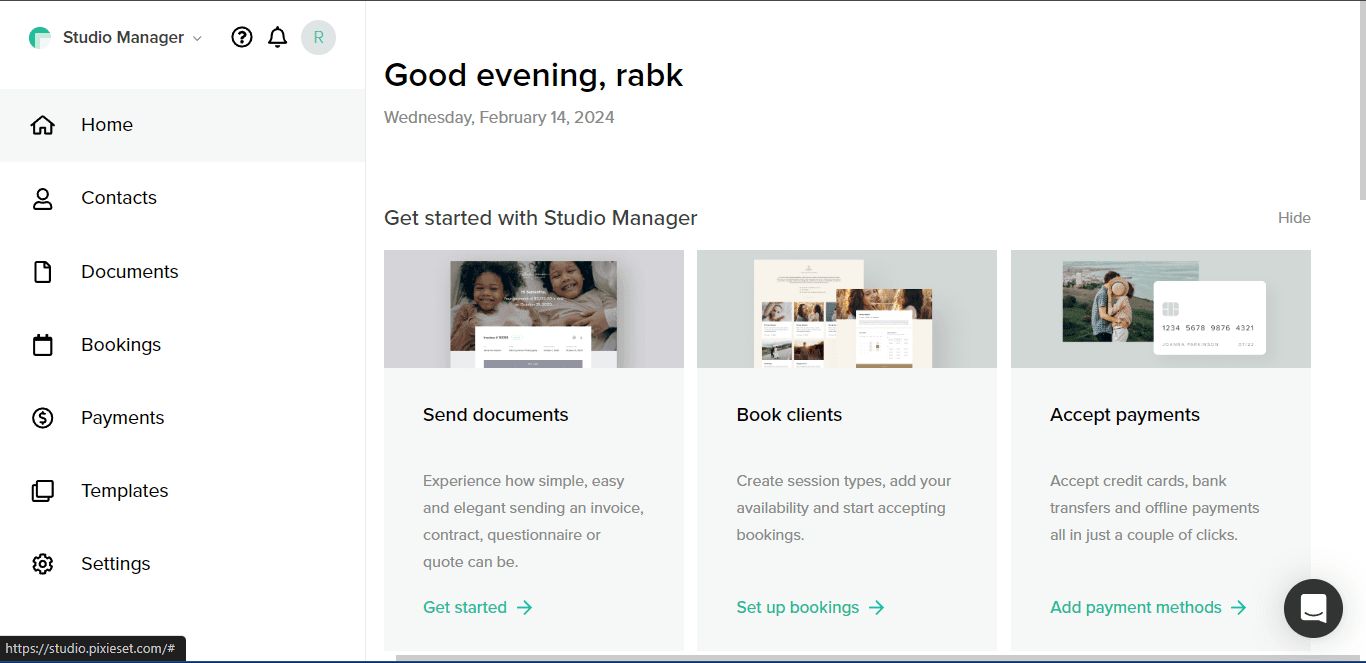
As a studio manager, the Pixieset is one of the best programs available in the market. You can manage all client interactions, bookings, and projects in one place using this studio manager.
Thus your clients get a seamless experience with branded contracts, invoices, and beautiful galleries. Ideal for managing multiple clients, bookings, and projects efficiently. It helps professional photographers manage their clients easily.
Here are the specific benefits of Stidio Manager:
- Centrally organize client information and interaction
- Professional presentation
- Increased efficiency with automated workflow
- Improved client communication
Pixieset as a website builder

Pixieset also offers a website-building solution to photographers. It primarily offers a portfolio website for the photographers to facilitate client interaction.
Here you will get various pre-designed templates. You can choose anyone from them. Then, customize fonts, colors, logos, and layout elements according to your requirements. The easy-to-use interface allows for intuitive editing and placement of content.
So, you do not need to know any coding language to create a website. You can create pages like “About Me,” “Services,” and “Contact” with ease. Moreover, it offers the option to connect your existing blog platform or start a simple blog within Pixieset.
Pricing
The Pixieset offers three pricing categories for its clients. For the Starter category, you have to pay $28 per month. The “Pro” category is the most popular pixieset pricing category. It offers extensive services at the cost of $38 per month. You can also go for the Ultimate pricing category at the cost of $ 55 per month to get access to all the services.
Alternatives of the Pixieset
The Pixieset is a popular platform for photographers. Still, there are a few alternatives to it. If you think the Pixieset is not fulfilling your requirements, you can take a look at these programs.
| Platform | Features | Pricing | Pros | Cons |
| ShootProof |
|
$17/month |
Excellent for client interaction and proofing workflows. |
Lacks website-building capabilities. |
| SmugMug |
|
Starts at $7/month | Offers advanced features and customization options. | Limited customization options. |
| Zenfolio |
|
Starts at $6/month | Budget-conscious option with basic gallery creation and mobile app support. | Limited advanced features. |
| PhotoShelter |
|
$30/month | Suitable for established photographers needing advanced features and marketing tools. | Higher pricing compared to alternatives. |
| CloudSpot |
|
Starts at $3/month | An affordable option with a simple interface, suitable for professional photographers. | Lacks advanced features like proofing tools and website builder. |
Checkout Latest Articles
- 24 Best Camera Accessories | Photographer Needed in 2024
- Expert Guide to Standard Photo Sizes & Best Aspect Ratios
Final Thoughts | Pixieset Review
The Pixieset has created a revolution in the field of photography business. Using this platform photographers get so much freedom in capturing their shots as they no more need to think about the hectics of selling their photos. You can manage your photos most efficiently. The whole process of interacting with clients, selling products, and receiving payments is now much with this platform.
However, it has some limitations. The pricing may seem higher compared to other companies providing similar services. Moreover, customization options for colors, fonts, and logos may not be as granular as desired for specific branding needs. So, you should start with the free version. If you think, it serves your purpose, purchase a plan.


