


Table of Contents
Do you also want to create mind-blowing compositions? The rule of thirds allows you to achieve that goal with minimal effort. However, the rule of thirds is more like a guideline than a rule. It doesn’t mean that you can not break it.
Yes, you can think beyond the rule of thirds in some situations. And that is the most amazing thing about photography. You experiment with new ideas and settings to create authentic compositions.
Yet, the rule of thirds or the golden grid rule helps to get a perfect composition in most situations. That’s why beginner photographers must start with this guideline. It works as a foundation that allows you to build your skills in the field of photography.
However, the main secret of photography is how much bonding you have with your camera. That means how much practice you do to get the best result. You may not get the results at the first attempt. You have to build your relationship with the camera and have patience to capture the desired shots. This is how great photographers were born.
Let’s learn how you make the best of the golden grid rule in your photographs.
What is the Rule of Thirds?
The rule of thirds in photography is also known as the golden grid rule. It is the most widely used and accepted compositional technique. Now only in photography, this technique is also famous in the other disciplines of visual arts.
The rule of thirds works as a guideline, using that you can arrange the elements in your photo. The purpose of using this tool is to create eye-pleasing compositions.
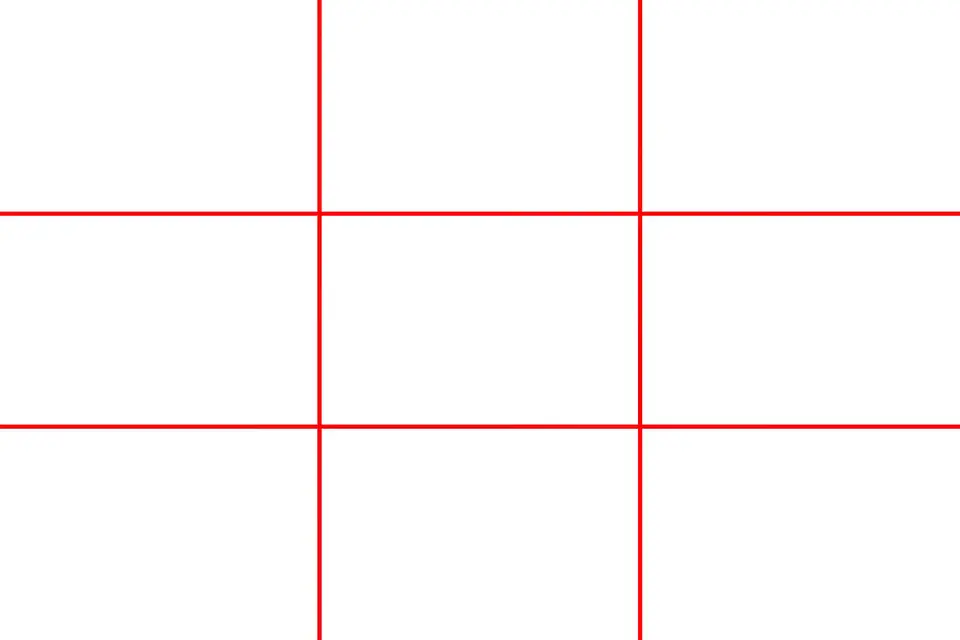
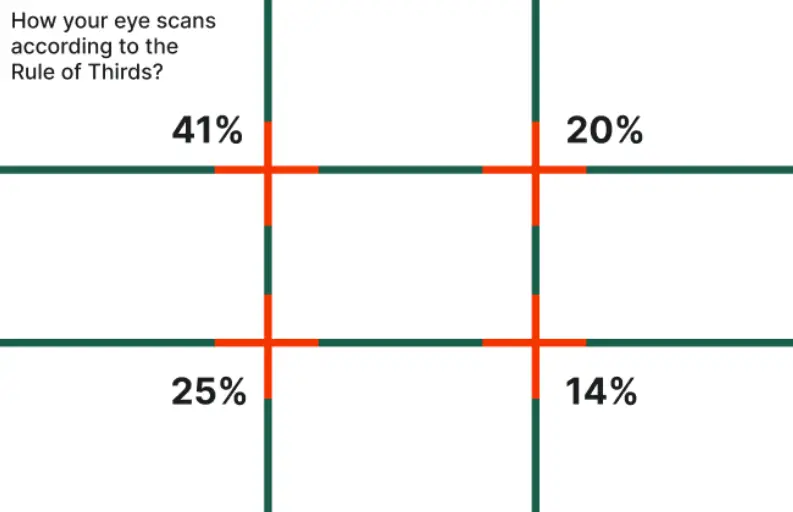
There are two horizontal lines. They get intersected by the two vertical lines. As a result, we get a grid of nine equal squares. The key spots are the four intersection points.
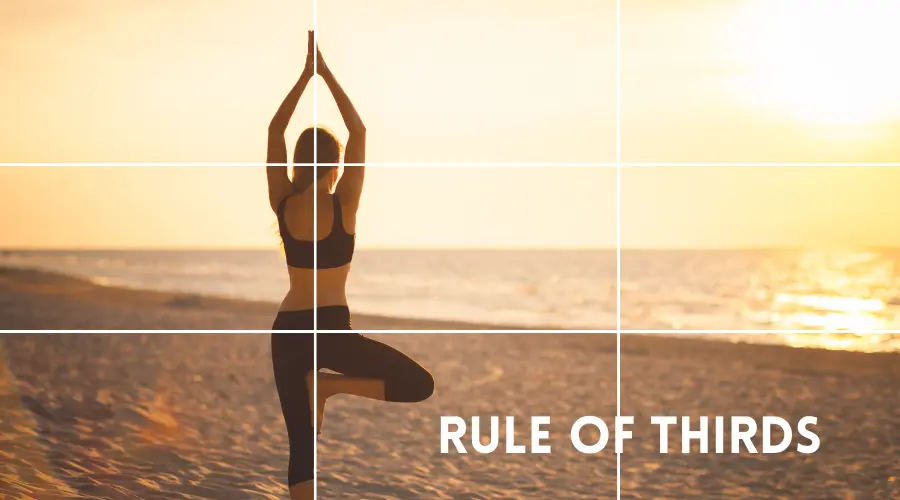
Usually, we place our subject right in the center of the frame. But the rule of thirds suggests placing your main subject on one of these four points. Placing the subject off-center may seem an odd idea. But it creates a more natural and engaging composition. The negative space in the photo complements your subject.
Why Is It Important?
Learning the rule of thirds grids is important for several reasons. The first one is creating balance in the photo. Placing your subject off-center creates a more natural tension. Thus it helps avoid a static composition and create a dynamic and engaging composition.
This method is also important in leading the eye. It helps to guide the viewer’s eye around the photo. So, place the leading lines like roads or fences along the gridlines or intersections. It draws attention to your subject.
Again the rules of thirds create a negative space. It is the space around the subject. This negative space works as a breathing space for the subject making the photo more balanced and harmonic.
Meanwhile, a centered focused subject can often feel cluttered by background elements. So, placing it off-center allows us to get rid of that issue.
Finally, this technique is easier to grasp by beginners. It offers a clear and simple guideline to follow. Thus you can think about composition and avoid placing your subject in boring positions.
Understanding the Rule of Thirds Grid
Let’s dive deep into this topic. Here we are going to learn about the rules of thirds in detail.
A. The Grid
First, we have to understand the girds that appear on the camera screen. Most modern cameras and smartphones have a built-in grid overlay. All you need is to enable it from your camera settings.
However, you can use your imagination if your camera doesn’t have a grid overlay. Also, you can create your overlay using transparent film and markers.
I have already told you that there are 9 squares in the golden grid rules. These squares are made of two horizontal and two vertical lines.
B. The Intersection Points
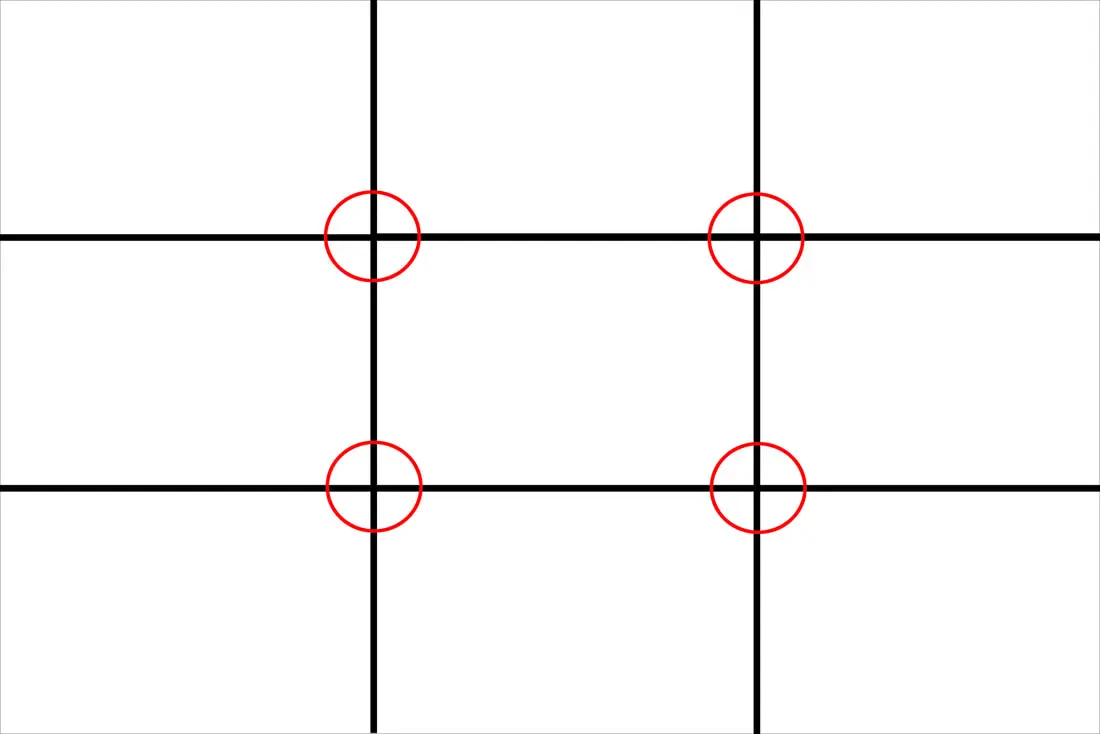
Then comes the intersection points of the horizontal and vertical lines. There the key areas of the grid lie. You will get 4 intersection points in the 8 squares. You have to place your main subject or a point of interest, on one of these four intersection points.
C. Beyond the Intersections
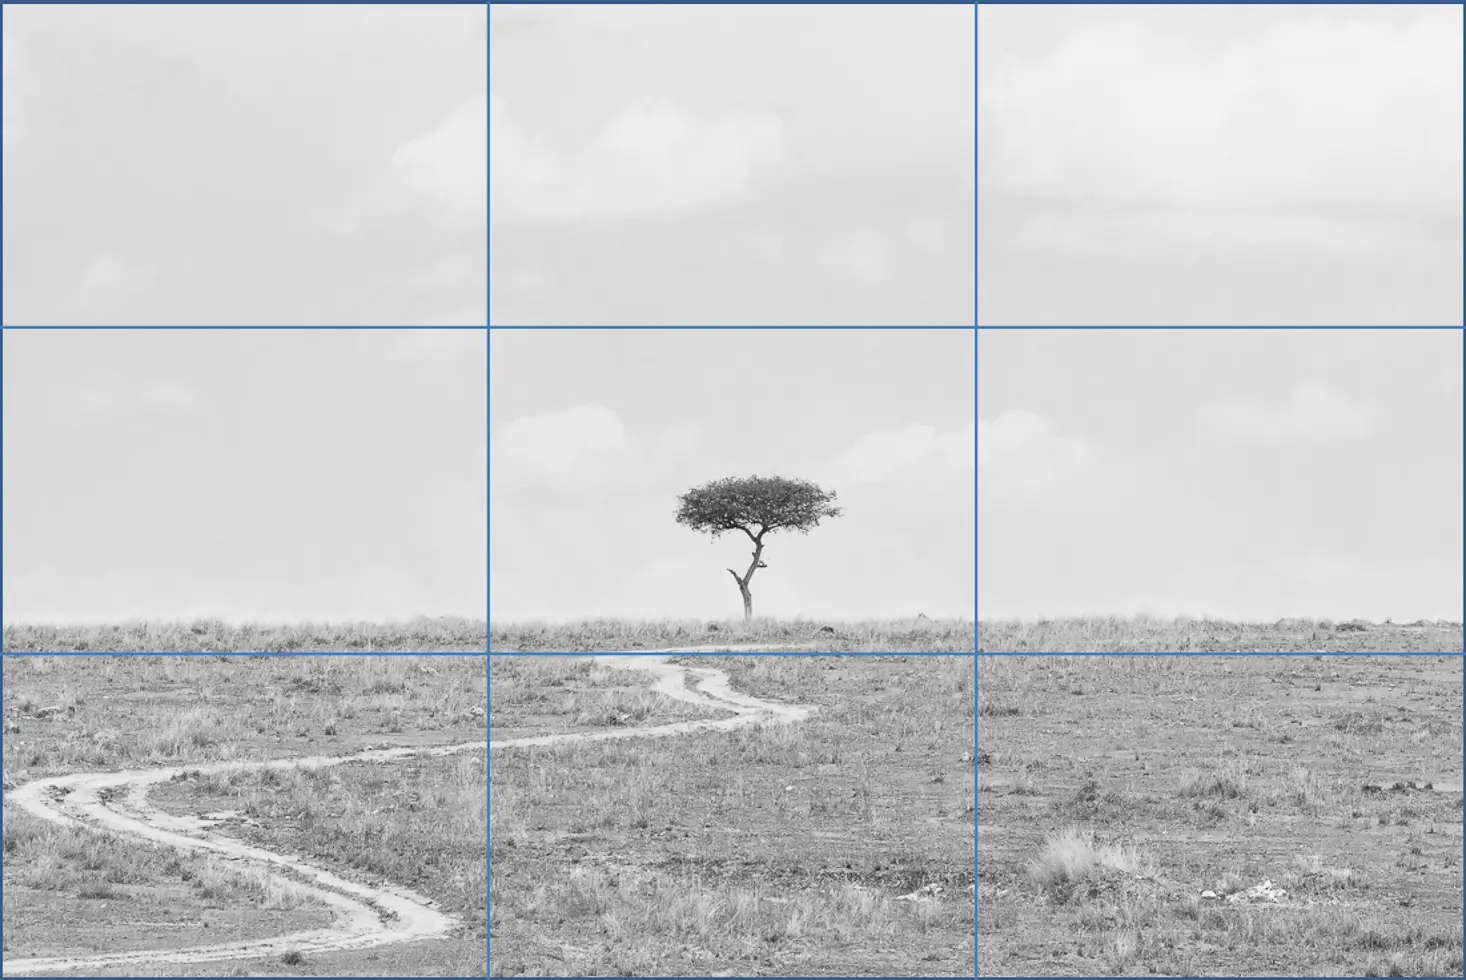
Though the intersections are the main point of interest, you can place your subject on one of the horizontal or vertical lines. Positioning subjects or elements along these lines also helps create a balanced composition. For example, placing a person walking down a path along the bottom horizontal line creates a sense of movement and journey.
D. Remember, it’s a Visualization Tool
The grids are just a visual aid to help you arrange the elements in your frame. Once you understand the concept, you can use the rule of thirds to compose your shots even without the grid overlay.
Applying the Rule of Thirds
Now it is time to apply the rule of thirds accurately to capture authentic compositions.
First, we have to start with positioning the Subject. This is the main application. Your main subject has to be placed within the frame.
Now, you have put the subject on one of the four intersection points of the rule of thirds grid. This is the secret of creating a more engaging composition. If you are taking the portraits, consider placing the subject’s eyes on the top intersection point. Thus you can draw the viewer’s attention to their gaze.
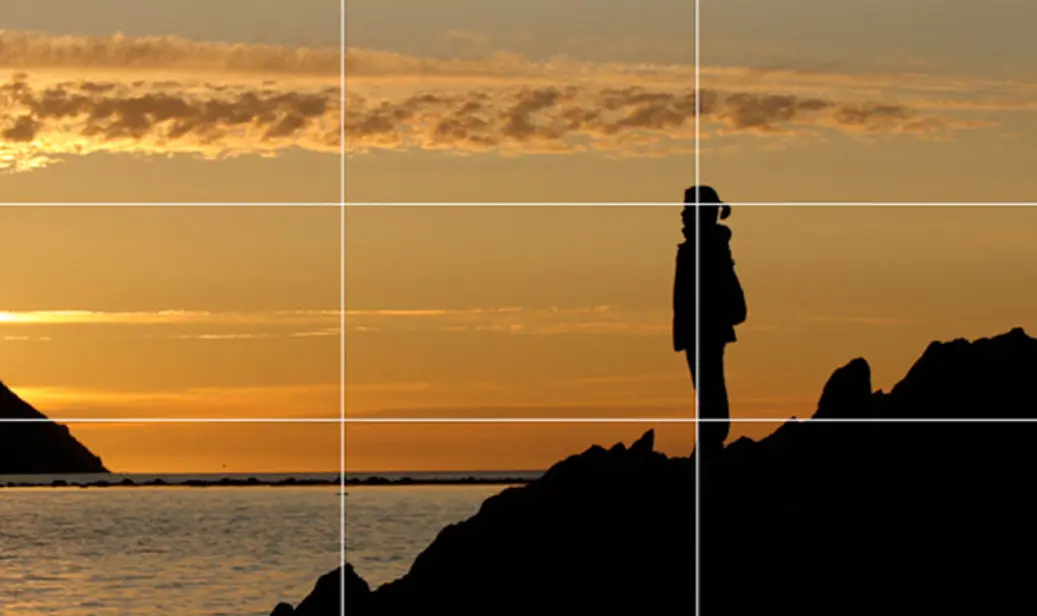
The second application of this rule is capturing the Horizons and Landscapes. Don’t just place the horizon line directly in the middle of the frame. Instead, use the top or bottom third of the grid to position the horizon.
In this way, you can create a more dynamic composition, It focuses on the foreground or sky depending on your choice. If there is a vast sky, you can place the horizon line on the bottom third. It allows us to showcase the sky’s drama.
Now it is time to place the leading lines in the right position. Leading lines draw the viewer’s eye into the photo. These can be roads, fences, rivers, or any element with a strong linear direction. Position leading lines along the grid lines. Thus you can naturally guide the viewer’s eye towards your main subject placed on another intersection point.
Advanced Techniques of Rule of Thirds
Let’s learn about the advanced technique of using the golden grid rules.
The golden grid rules work for creating eye-soothing composts by applying minimal effort. Now you know the basics of these methods so we are going to dive into the advanced techniques to take your compositions to the next level.
Off-Center Placement with Tension
The rule of thirds suggests placing your subject on the intersections. However, you can create a mystery by placing it slightly off-center. Position your subject just outside an intersection point. It will help create a feeling that it’s about to enter or leave the frame.
Diagonals for Dynamism
Straight lines create a balance in the photo. But diagonals can introduce dynamism and movement into your composition. So, place your subject along a diagonal line. You can also use the leading lines that run diagonally across the frame. It will create a more dynamic and engaging image.
Negative Space as a Tool

The negative space plays an important role in the rule of thirds. You can use this space more creatively to create advanced compositions. Moreover, the negative space makes your subject isolated from the surroundings. As a result, it creates a minimalist look.
Combining Rule of Thirds with Other Rules
Well, this is not the only compositional guideline in the world of photography. Experiment by combining it with other rules like leading lines, the golden ratio, or the use of foreground, midground, and background. Thus you can bring more depth making it more interesting.
When to Break the Rule
Yes, the rules of third are a fantastic guide for composing well-balanced photos. But it’s not a strict rule. It is a guideline that you have to follow to create an interesting composition. Photography is about experimenting. Some situations demand breaking the rules to create more impactful images.
Centered Subjects
Some subjects require to be placed in the center of the frame. Especially for the symmetrical subjects. We need to place them in the centering position to create a balanced photo. A perfectly centered reflection in water or a building with symmetrical architecture might benefit from a centered placement.
Moreover, we have to center a subject to give it the most importance in the frame. A single flower in a minimalist composition can gain impact by being centered. Additionally, centering a subject can evoke a sense of power. It is useful for portraits and photos of historical monuments.
Leading Lines

Sometimes, the strongest leading lines might not fall on the rule of thirds intersections. In this situation, all you need is to trust your eyes. Place them where they create the strongest visual flow.
Again the rule of thirds does not work in some cases. For example, a photojournalist capturing a breaking news event might not have the luxury of composing perfectly balanced shots.
Finally, photography is an art form. If you have a strong artistic vision for your photo and it requires breaking the rule of thirds, go for it! Experimentation and creativity are important for developing your unique style.
FAQ | Rule of Thirds
How Do You Get the Rule of Thirds On A Camera?
Almost all modern cameras and smartphones have this feature. they enable a grid overlay within the camera’s viewfinder or live preview on the screen. In the camera settings, you will get the option to show the grids. Then enable it and apply them while capturing the photos.
What is the Golden Ratio in Photography?
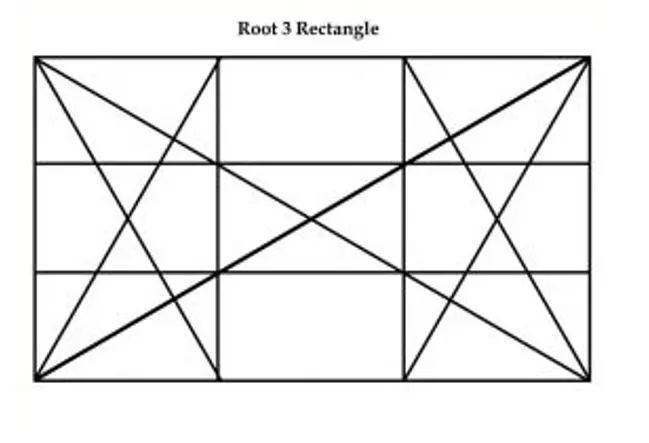
The golden ratio or phi (Φ) is a mathematical proportion of roughly 1.618 to 1. We find this golden ratio in nature. The artist and the photographers use this concept as a compositional tool. It is similar to the rule of thirds, but it offers a slightly different approach.
Checkout Our Latest Articles
- Lilac Color’s Best Uses for Design in 2024
- Guide to Aesthetic Photography – Best Use of It
- How To Make A Transparent Background [5 Easy Ways]
Final Thoughts
The rule of third is the basics photography techniques. Wherever you go for learning photography, the first lesson you will get is how to use the girds. And for beginners, this is a great point to start. You can create more realistic compositions by applying this technique.
It’s a simple yet powerful guideline that helps you arrange elements in your frame. Thus you will get more balanced, interesting, and appealing photos.
Here you have got an insight into this topic. We have tried to explain the fundamentals of this rule, its key points, and how to position your subject, horizons, and leading lines.
The motto was to help you take your photography to the next level. However, it is just a starting point. Explore advanced techniques like off-center placement, diagonals, and creative use of negative space.
Finally, do not be afraid of breaking the rules. Try to create more artistic photos even if it requires breaking the rules. Try to experiment with new ideas and do not think about the result. Practice more and more to build your skills. Thus one day you will also become an expert photographer.