





Aperture in Photography: A Practical Guide
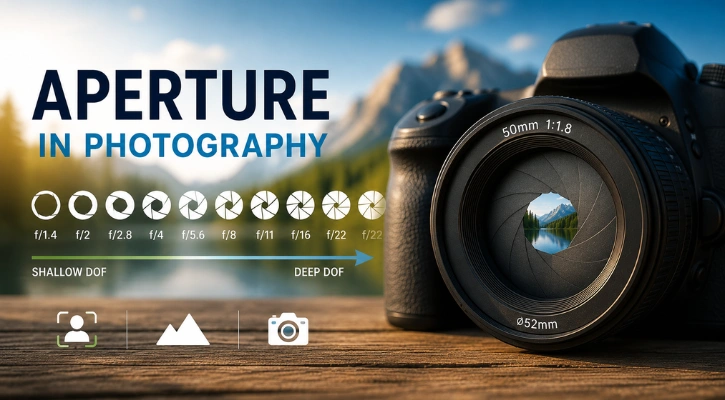
Aperture in Photography is one of the most important camera settings because it controls how much light enters the lens and how much of your image stays in focus. Whether you’re capturing portraits with creamy background blur or landscapes with sharp details from foreground to background, understanding aperture is essential. It also affects exposure, depth of field, and overall image quality. In this guide, you’ll learn what aperture is, how f-stops work, and how to choose the right aperture for different photography styles and shooting situations.
What is Aperture in Photography?
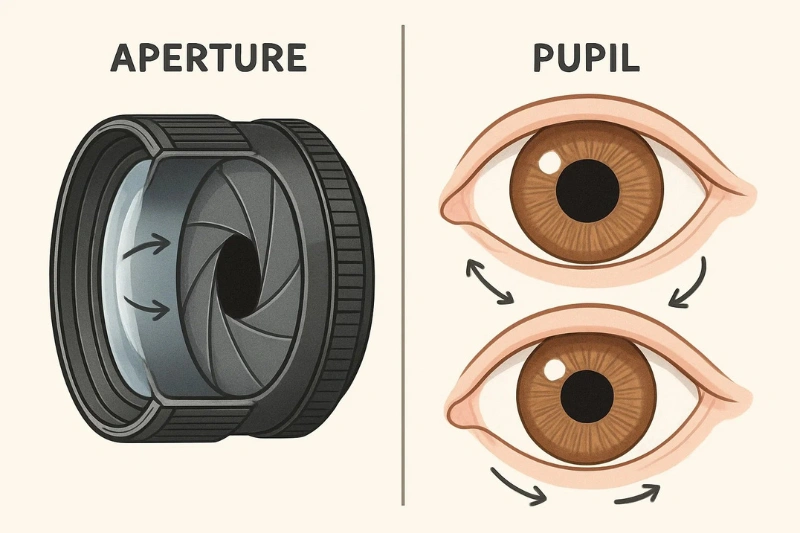
Aperture is the opening in a camera lens through which light passes to reach the camera’s sensor or film. Think of it like the pupil of your eye — it can expand or contract to regulate how much light enters. In photography, aperture is expressed in f-stops — numbers like f/1.4, f/2, f/2.8, f/4, f/5.6, f/8, f/11, f/16, and f/22.
The f-stop number is the ratio of the lens’s focal length divided by the diameter of the aperture. For example, a 50mm lens with a 25mm aperture opening corresponds to f/2 (50 ÷ 25 = 2). Lower f-stop numbers mean a wider aperture opening, and higher numbers mean a smaller opening. This inverse relationship takes some practice to grasp.
How Aperture Affects Exposure
Aperture is one of the three elements in the exposure triangle, alongside shutter speed and ISO. Together, they control the brightness or darkness of your image.
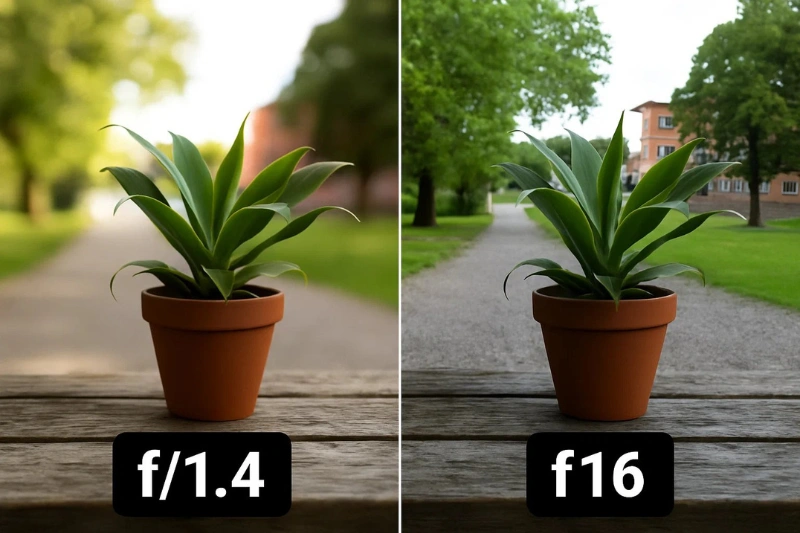
- Wide Aperture (Low f-stop, e.g., f/1.4): Allows more light to enter, brightening the image. Ideal for low-light scenes or when a shallow depth of field is desired.
- Small Aperture (High f-stop, e.g., f/16): Lets in less light, darkening the image. Perfect for bright conditions or when a deep depth of field is needed.
Opening the aperture impacts not just exposure but also depth of field and sharpness — all important creative factors.
Depth of Field and Aperture
Depth of field (DoF) describes how much of the scene is in focus.
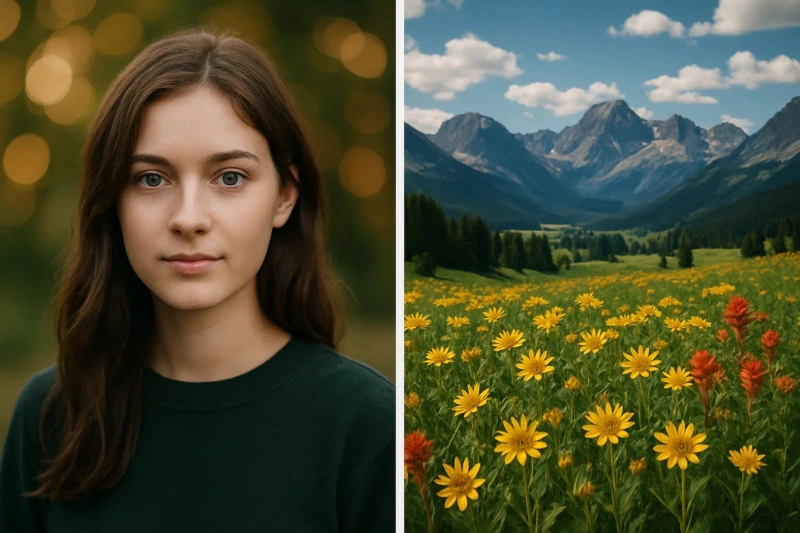
- Shallow DoF (Low f-stop, e.g., f/1.4): Focuses sharply on the subject, blurring foreground and background.
- Deep DoF (High f-stop, e.g., f/16): Keeps foreground and background sharp for maximum detail.
Your aperture choice depends on the effect you want to achieve and your photography style.
Aperture and Lens Sharpness
Aperture affects not only exposure and depth of field but also image sharpness. Most lenses are sharpest at f/8 to f/11, often called the lens’s sweet spot. Very wide apertures (such as f/1.4 or f/2) can produce softer edges and slight vignetting, while very small apertures (like f/22) may reduce sharpness because of diffraction.
For the best image quality, use your lens’s sweet spot whenever possible, but choose your aperture based on the creative effect you want to achieve.
Aperture Priority Mode
Many cameras offer Aperture Priority mode (“A” or “Av”), where you select the aperture and the camera adjusts shutter speed automatically for correct exposure. This mode is perfect when lighting changes rapidly (like sunsets or indoor events), allowing you to focus on depth of field and composition without constant adjustments.
Practical Aperture Applications in Photography
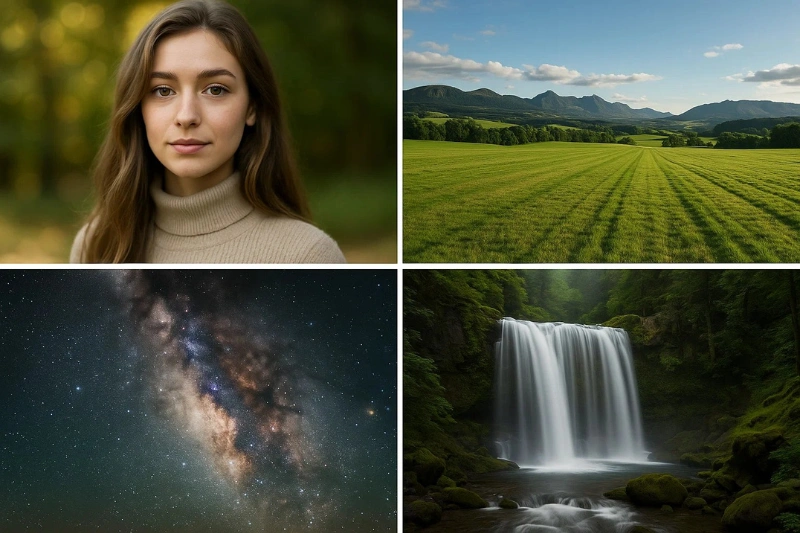
Understanding how aperture influences your images helps you make creative choices across various photography genres. Here’s a quick guide on which apertures to use and what effects you can expect:
- Portrait Photography: Shallow Depth of Field (f/1.4 – f/2.8)
Create beautifully blurred backgrounds (bokeh) that make your subject pop. - Landscape Photography: Deep Depth of Field (f/8 – f/16)
Keep everything from foreground to horizon crisp and in focus. - Macro Photography: Balanced Depth of Field (f/5.6 – f/11)
Maintain sharp details on your close-up subject while gently softening the background. - Street Photography: Versatile Mid-Range Aperture (f/5.6 – f/8)
Achieve a natural balance between subject clarity and environmental context. - Low-Light Photography: Large Aperture (f/1.4 – f/2.8)
Let in more light for bright, noise-free images without pushing your ISO too high. - Product Photography: Controlled Depth of Field (f/4 – f/8)
Focus attention on your product by keeping it sharp while subtly blurring distractions. - Astrophotography: Large Aperture (f/1.4 – f/2.8)
Capture the faint light of stars with bright, detailed results. - Architectural Photography: Small Aperture (f/8 – f/16)
Ensure every detail of the structure is sharp and clear from front to back. - Wildlife Photography: Shallow Depth of Field (f/2.8 – f/5.6)
Isolate your subject from busy backgrounds for striking images. - Creative Bokeh Effects: Large Aperture (f/1.4 – f/2.8)
Transform out-of-focus light sources into beautiful, circular blurs. - Group Photos: Balanced Depth of Field (f/5.6 – f/8)
Keep everyone in focus even if they stand at different distances. - Waterfall Photography: Small Aperture (f/11 – f/16)
Use longer exposures to create smooth, silky water effects. - Food Photography: Shallow Depth of Field (f/2.8 – f/5.6)
Highlight the main dish by blurring the background. - Event Photography: Adapting to Changing Light (f/2.8 – f/4)
Maintain focus and capture moments in low-light settings with flexible aperture control. - Black and White Photography: Aperture for Mood
Adjust the aperture to emphasize textures, contrasts, and dramatic tones.
Conclusion: Mastering Aperture for Creative Photography
Aperture is a powerful tool that shapes exposure, depth of field, and image sharpness. By learning how to use aperture effectively, you gain full creative control to produce photos that truly reflect your vision. Whether shooting portraits, landscapes, or any style in between, mastering aperture opens new doors to creativity.
Remember, photography blends technical knowledge with experimentation. Don’t hesitate to try different apertures and see how they transform your images. Over time, you’ll develop an intuitive feel for which settings suit each situation, helping you capture your perfect shot every time.